 SW-04 · LVP & Vinyl Installation
Rigid vinyl planks resist water, but a floating floor has joints and an expansion space at every wall, and water can travel under it. The guides call for fixtures to go in first and for edges at tubs, showers and toilets to be sealed with silicone.1 2 They also say the floor is not a moisture seal.2 Heavily washed commercial restrooms often suit a fully adhered or welded floor better.
Waterproof is the word that sells vinyl plank for bathrooms. It describes the plank: a rigid core that does not swell when wet. It does not describe the floor. A floating floor has a joint between every plank and an expansion space at every wall, tub and fixture. Water that gets into those gaps can travel under the floor and sit there, out of sight. The installation guides are clear about the difference.
The plank is waterproof; the floor is not a seal
Daltile describes its rigid click flooring as a waterproof floating floor, then draws the line. It should not be used to seal an existing floor from moisture, and it does not inhibit mold or prevent structural problems caused by flooding or excessive moisture.2 Daltile also asks for standing water and other liquids to be removed promptly, wherever the floor is.2 National Flooring Products excludes spaces such as saunas, hot tub and pool rooms, greenhouses and exterior porches from its products.3
In practice, a floating floor in a bathroom works when water stays on top of it and is wiped up. It struggles when water is routinely left standing or forced into joints by heavy wet cleaning.
Fixtures first
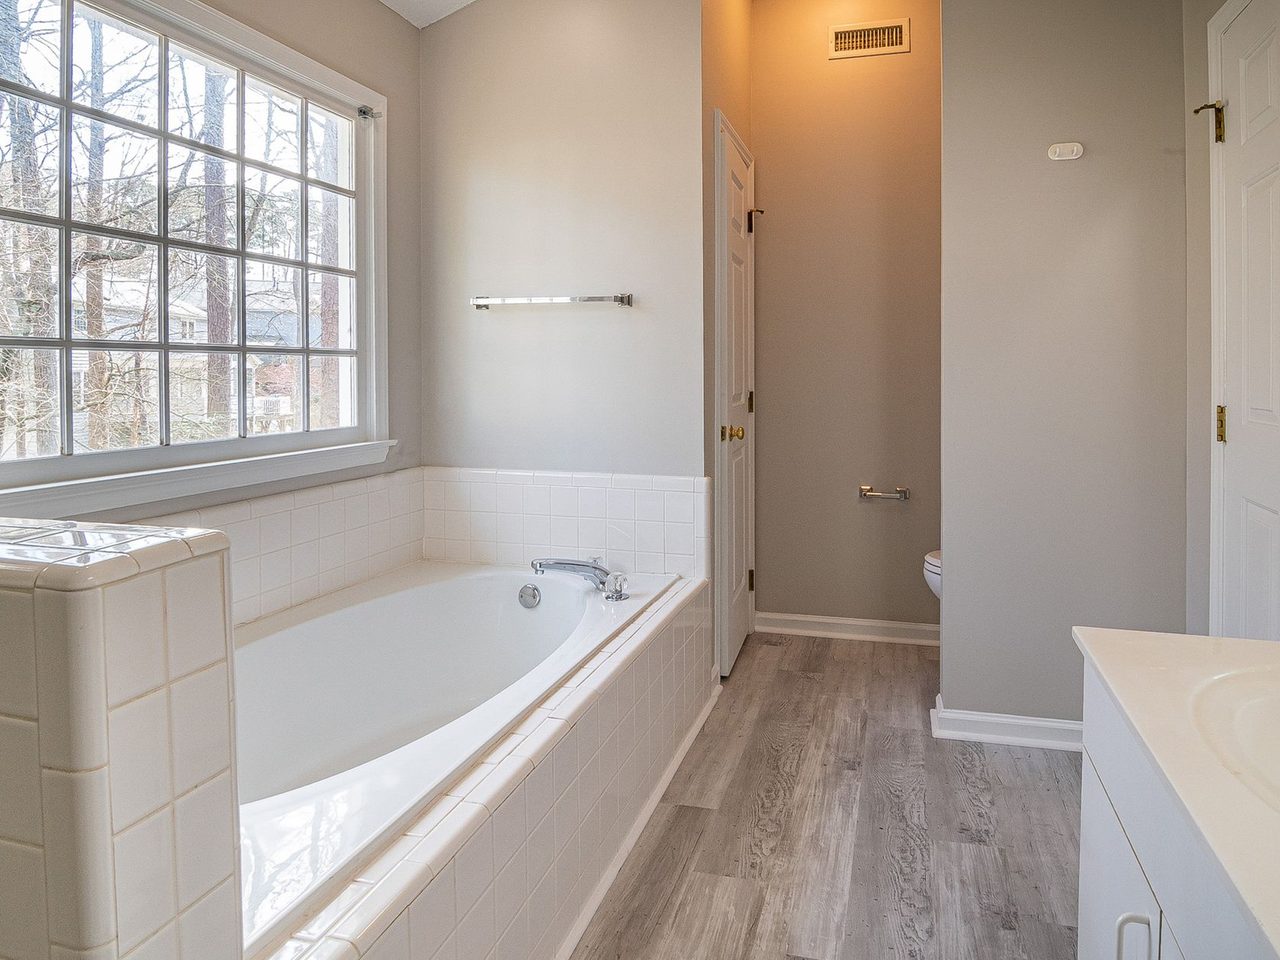
The sequence matters in wet rooms. MSI says that in a full remodel, permanent fixtures such as vanities, cabinets and tubs need to be in place first, so the floor can be finished around them.1 Daltile asks for permanent cabinets, vanities and similar items to be installed first, and allows its floor under vanities with legs and under toilets.2 A tub set on top of a floating floor pins it and puts the most critical seal on a surface that moves.
Gaps at tubs and showers
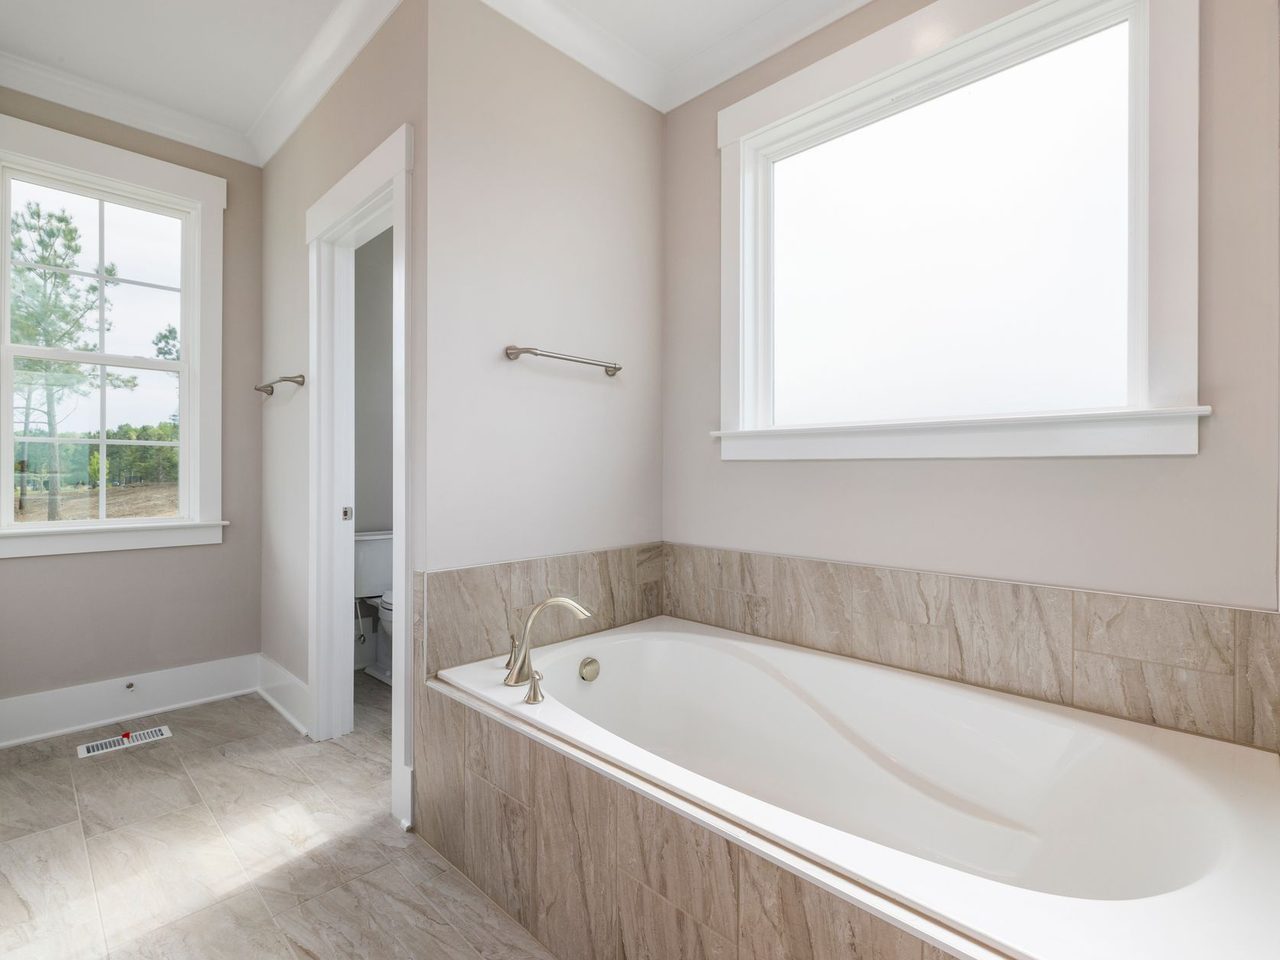
A tub apron or a shower curb is a fixed vertical surface, and the floor needs its expansion space there like anywhere else. National Flooring Products asks for 1/2 inch around walls, tubs, showers and plumbing fixtures.3 Other guides use their own wall gap, from 1/4 to 3/8 inch, at every fixed object.4 2 The gap is what lets the floor move. In a bathroom it is also the opening water will find, so it has to be sealed with something that can move too.
Silicone, not acrylic
MSI says that vinyl edges exposed at the toilet flange or the shower edge must be properly sealed with silicone caulk, because those are the areas with the most potential for moisture.1 Daltile asks for expansion spaces around potentially wet areas, such as tubs and refrigerators, to be filled with premium waterproof 100% silicone caulk.2 Elite recommends 100% silicone and does not approve acrylic caulks.5
Elite gives the reason. Silicone stays flexible and allows the floor to keep floating with temperature changes, while acrylic hardens over time and stops it.5 A bead of hardened caulk at a tub apron does two kinds of damage. It pins the floor at that edge, and when it cracks, it lets water straight into the gap it was meant to seal.
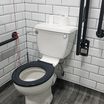
The toilet
The toilet combines a fixed object, a penetration and a wet area. The toilet guide covers whether to pull the toilet or cut around it, the flange gap, and the seal.
Commercial restrooms are a different problem
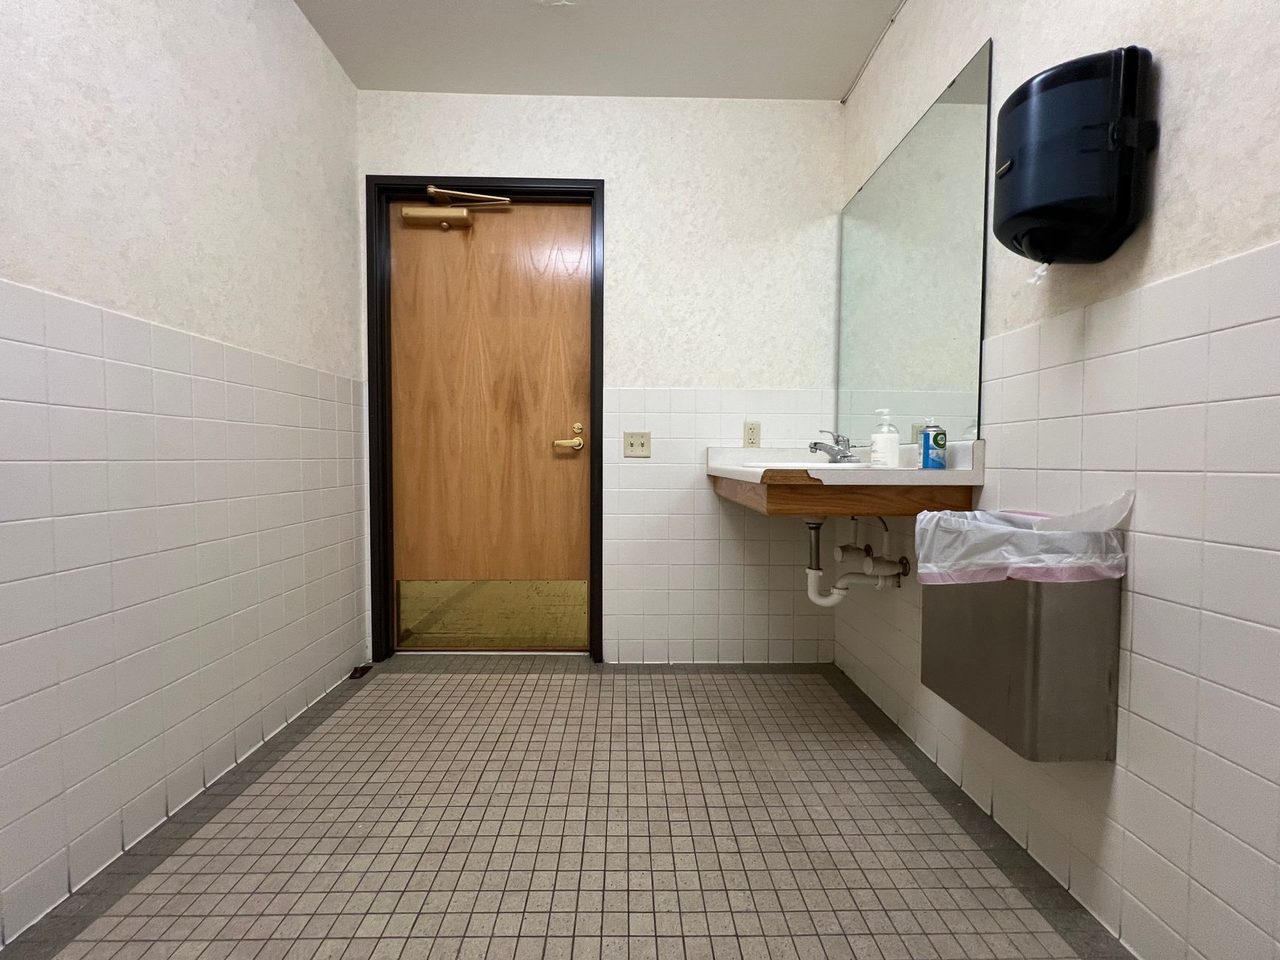
A residential bathroom is mopped occasionally. A commercial restroom is wet-cleaned every day, often with a lot of water, and sometimes with machines. That changes the floor choice before it changes the installation detail. Open joints and wall gaps, however well sealed, are a risk under daily flooding of the surface.
Many commercial restrooms are better served by a fully adhered floor with no floating joints, or by sheet flooring with heat-welded seams and an integral cove base that turns up the wall. FloorFolio, for example, recommends its two-part epoxy adhesive for areas exposed to topical water.6 The heat-welded seams guide and the flash cove guide cover those systems. Where floating planks are specified anyway, write the cleaning method into the maintenance instructions, and check it against the flooring manufacturer's care guidance.
Below the floor
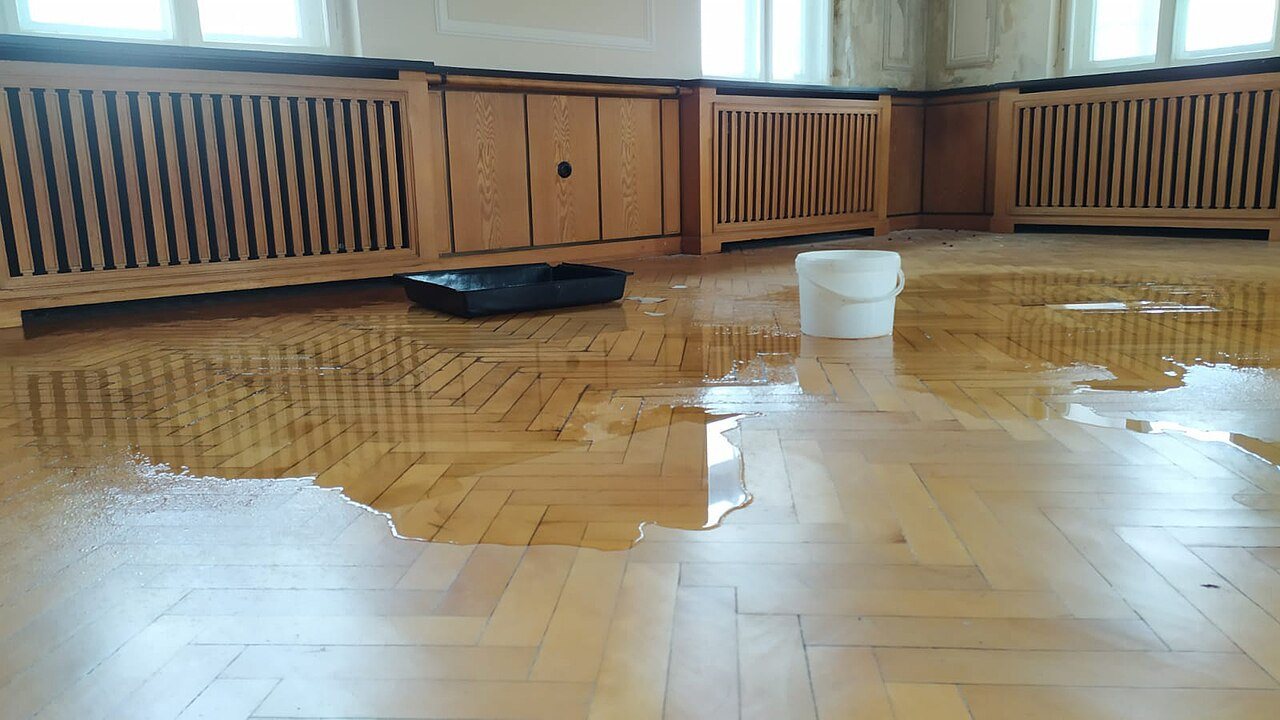
Bathrooms are often on slabs, and in multifamily buildings they sit over gypsum or concrete toppings. Test moisture to the product's requirements, and check whether the guide calls for a vapor barrier sheet over concrete. The moisture barrier guide covers on- and below-grade slabs. A leak from below will reach the floor whatever the planks are made of.
A wet-room checklist
- Fixtures and vanities in first; the floor runs to them.
- The product's expansion space at every tub, shower, fixture and wall.
- Exposed edges in wet areas sealed with 100% silicone.2
- Standing water removed promptly; cleaning method matched to the floor.
- For heavily washed commercial restrooms, consider an adhered or welded floor instead.
Sources
- MSI Surfaces, “Installing Luxury Vinyl Flooring in the Bathroom”. msisurfaces.com/blogs/post/2019/11/26/installing-luxury-vinyl-flooring-i
- Daltile, “ProSeries Luxury Vinyl Flooring Installation & Care Guide (Rigid Core Click, Glue Down)”. s1.img-b.com/build.com/mediabase/specifications/daltile/1996309/daltile-
- NFP, “Architect’s Choice LVP Installation Guide”. my-nfp.com/resource/architects-choice-lvp-installation-guide
- EverStep Flooring, “LVP Click Lock Installation Guidelines”. everstepflooring.com/lvp-click-installation-guidelines/
- Elite Flooring, “Välinge Installation Guide (Woodlands)”. eliteflooringusa.com/links/install-instructions/Elite-Installation-Guide
- FloorFolio, “Installation Guide 2025”. floorfolio.com/wp-content/uploads/2025/FloorFolio-Installation-Guide-202
General information for the flooring trade. This article was drafted with AI assistance and checked against the sources listed above; the manufacturer's current instructions and the project specification govern any real job. If something here is wrong or out of date, tell us.


.jpg)