 SW-04 · Troubleshooting & Repairs
End joints mostly break from how they are closed. Timeless says never to strike planks directly, because it can fracture the lock; tap a scrap over the seam instead.1 Debris in the profile, short pieces, staggers closer than the guide allows and an uneven subfloor are the other usual causes.2 3 4 Inspect planks before cutting, because visible defects are not covered once installed.5
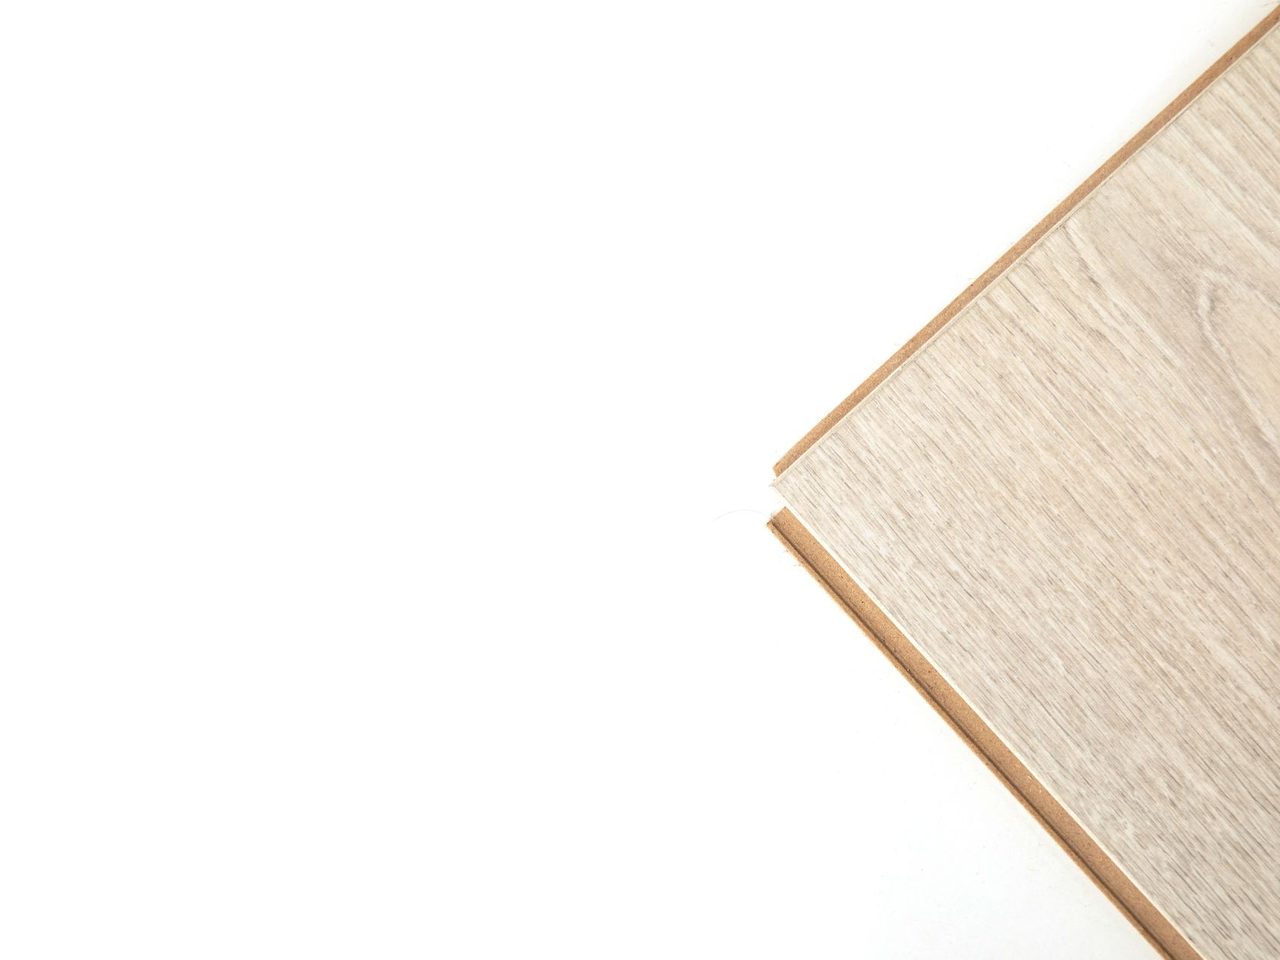
The short end of a click-lock plank carries a small locking profile, much smaller than the long side. On many products it closes by pressing down, so it takes a lot of force through a small part. When end joints crack, split or pop open as the crew works, the work stops. Most of the time the cause is in the method or the site, and the fix is a change on the next row.
Striking the plank
The most common cause is hitting the plank itself. Timeless Designs is explicit: place a scrap piece of plank over the end joint seam and tap lightly with a rubber mallet. Never strike the planks directly, as this may fracture the locking system and eventually cause end joint failure.1 EverStep describes the same idea for closing gaps. It locks a scrap piece of plank into the area to be tapped, then lightly taps the edge of the scrap.4 The force goes through a matching profile instead of into the edge of the lock.
Some guides avoid the mallet for end joints altogether. EverStep clicks the short side vertically by hand, then rolls it with a hand roller or seam roller to ensure a fully compressed fit.4 Marquis has the installer push the short side joint down with a thumb, from the inner corner out, until it clicks.5 Follow the method the product's guide names; profiles differ.
Debris in the profile
A grain of grit or a sliver of core in the groove stops the lock from seating. Forcing it then cracks the profile. National Flooring Products asks installers to inspect all edges and remove debris from the click before installing.2 Keep cut-off dust away from the working edge, and sweep the area ahead of each row. A crew cutting on the floor beside the row is a common source.
The wrong angle or sequence
Each locking system has its own engagement. For a fold-down short end, National Flooring Products holds the board against the previous one at approximately a 20º to 30º angle. It then lays it flat and presses until an audible click.2 Elite asks for the short end to be placed at an angle against the installed plank and folded down to engage. A wedge under the plank near the short side joint can support it while the long side is folded down.3 Daltile taps the long side joint closed first, then the end joint.6
Getting the order wrong loads the short end before the long side is seated. The end joint then takes stress it was not designed for, and breaks or opens later.
Pieces that are too short
A short piece has less length to hold it down and less leverage when it is folded. Elite recommends a final plank at least twice the width of the plank, and the same minimum for the first plank of each row.3 Daltile says the last planks of rows must be at least 8 inches long.6 Short pieces at row ends are the ones most often cracked or lifted.
Staggers too close
End joints that sit close to each other in neighboring rows concentrate stress in one area. The guides set minimums.
| Source | Minimum end-joint stagger |
|---|---|
| Timeless Designs | 9” apart row to row1 |
| EverStep (planks) | 6”4 |
| Marquis | 6˝ apart5 |
| Elite | Twice the plank width3 |
EverStep also says not to install four corners together, because that does not provide a stable installation.4 See staggering rules.
An uneven subfloor
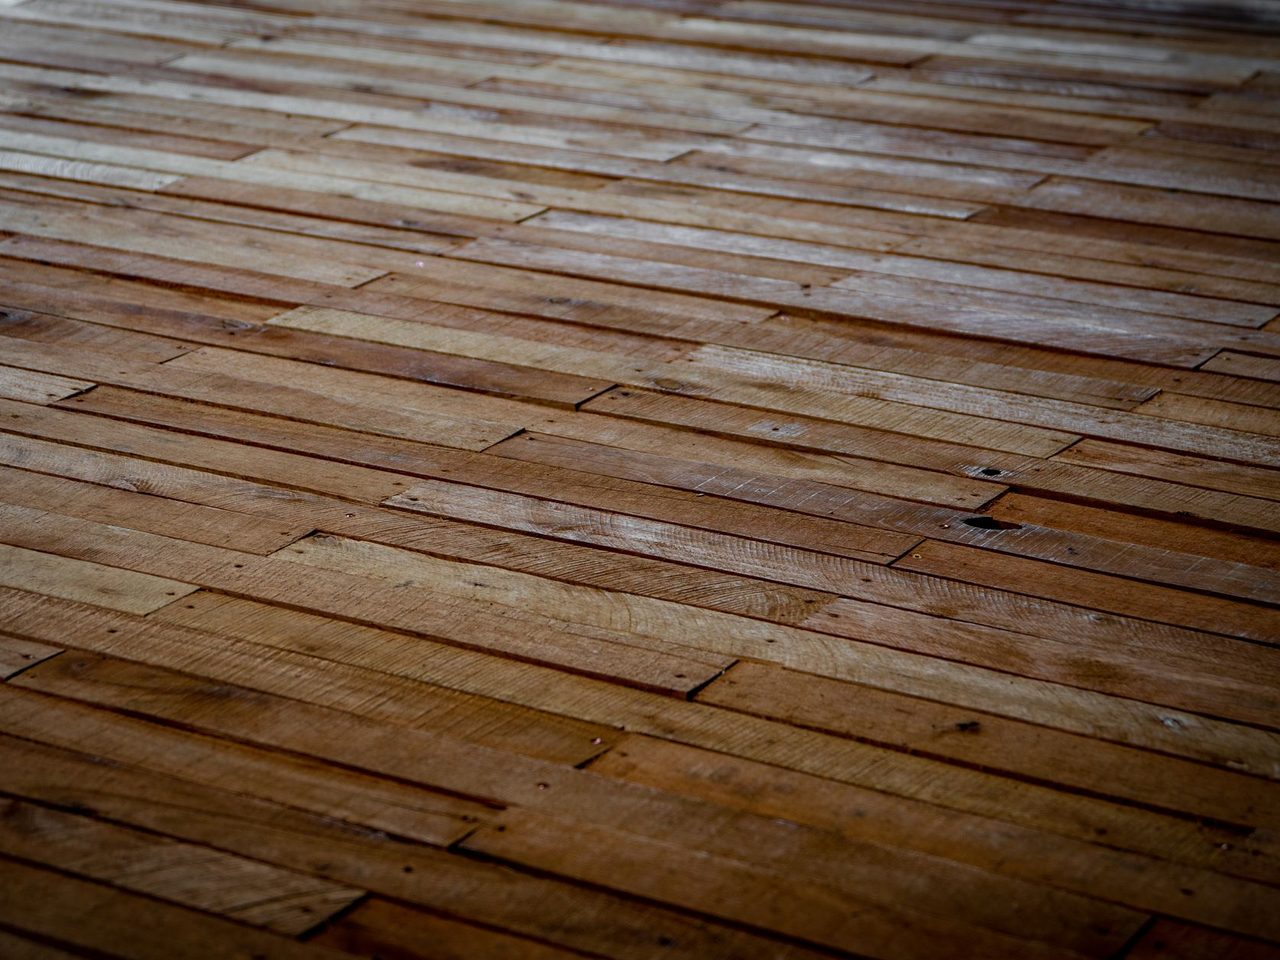
A plank laid over a hump rocks as the next one is clicked in. The end joint becomes a hinge, and pressing it closed snaps the lock. Timeless notes that an unlevel subfloor adds stress on the tongue and groove, which can cause plank separation.1 If end joints break repeatedly in one area, check the substrate there with a straightedge. See hollow spots and voids and the flatness guide.
Plank temperature
Site conditions affect how a joint closes. Shaw's builder division recommends checking the temperature of the subfloor and the product before installing, with 60-80 degrees as the optimal range.7 Its test showed a 48-inch plank changing length by 1/16 of an inch between room temperature and 32 degrees.7 Planks carried straight in from a cold truck or a hot trailer are not the same size as planks that have sat in the room. Mixed together, their ends do not meet cleanly, and the crew presses harder to close them. Timeless asks for its rigid core flooring to acclimate for 48 hours at normal conditions.1 See the acclimation guide.
Removing and relaying
Joints often break when a row is taken up to fix a mistake. Timeless says planks must stay flat and be slid apart, because removing them by lifting will damage the end joint and compromise the lock.1 Planks that have been forced apart should be checked before reuse. A profile with a cracked lip will not hold.
Damaged before installation
Sometimes the profile is damaged in the carton. Marquis says materials with visible defects are not covered under warranties once installed.5 It also notes that its planks are made to industry standards permitting a defect tolerance not to exceed 2%.5 Set aside planks with chipped or crushed ends before cutting. If breakage runs well above that level across several cartons, stop and contact the supplier with photos and the lot numbers.
What to change on the next row
- Close end joints with the method the guide names: hand pressure, roller, or a scrap over the seam.
- Clean the profile before each plank.
- Seat the long side before the short end where the guide says so.
- Keep end pieces and staggers above the minimums.
- Check the substrate wherever joints keep breaking.
Sources
- Timeless Designs, “Click Floating Luxury Vinyl Installation Instructions”. timelessdesignsflooring.com/wp-content/uploads/2023/05/TD-Rigid-Core-Ins
- NFP, “Architect’s Choice LVP Installation Guide”. my-nfp.com/resource/architects-choice-lvp-installation-guide
- Elite Flooring, “Välinge Installation Guide (Woodlands)”. eliteflooringusa.com/links/install-instructions/Elite-Installation-Guide
- EverStep Flooring, “LVP Click Lock Installation Guidelines”. everstepflooring.com/lvp-click-installation-guidelines/
- Marquis Industries, “Rigid Vinyl Plank Installation Instructions (Angle)”. marquisind.com/static/resources/Angle_Angle%20Installation%20Instruction
- Daltile, “ProSeries Luxury Vinyl Flooring Installation & Care Guide (Rigid Core Click, Glue Down)”. s1.img-b.com/build.com/mediabase/specifications/daltile/1996309/daltile-
- Shaw Floors, “LVP Case Study: How Temperature Affects Dimension”. shawfloors-sherwinwilliams.com/SiteFiles/sherwinwilliamsdigital/Images/L
General information for the flooring trade. This article was drafted with AI assistance and checked against the sources listed above; the manufacturer's current instructions and the project specification govern any real job. If something here is wrong or out of date, tell us.