 SW-04 · LVP & Vinyl Installation
Every guide we reviewed caps the floor surface at 85°F under vinyl plank.1 2 3 4 New systems must run first to dry the slab: Timeless asks for at least 3 weeks, Elite four, National Flooring Products 14 days.1 3 5 After installation, raise the heat slowly; Elite allows 5° F per hour.3
Radiant floor heating is common in bathrooms, entries and whole buildings, and owners want vinyl plank over it. The combination works when the floor is kept inside a narrow temperature range. Vinyl grows with heat and shrinks as it cools, so a heated slab that runs too hot, or changes too fast, opens joints and lifts edges. The manufacturers' guides are close to unanimous about the limits.
The 85°F ceiling
Every guide we reviewed sets the same maximum for the floor surface. Timeless says the maximum operating temperature should never exceed 85°F, with radiant components at least 1/2” away from the flooring.1 EverStep says the subfloor temperature should not exceed 85°F (29°C).2 Marquis says the subfloor surface temperature cannot exceed 85°F (29°C) over hydronic radiant floors.4 Elite says never exceed 85 degrees.3 Mohawk's residential warranty says radiant heat must not exceed 85º F and must be approved by the manufacturer for resilient flooring.6
The reason is the material. Shaw's builder division measured a vinyl plank growing by 1/16 of an inch when heated to 135 degrees. It describes temperature as the main cause of peaking, gapping and lifting planks.7 A heated floor that runs hot all winter keeps the planks at the top of their size range.
Is the system approved?
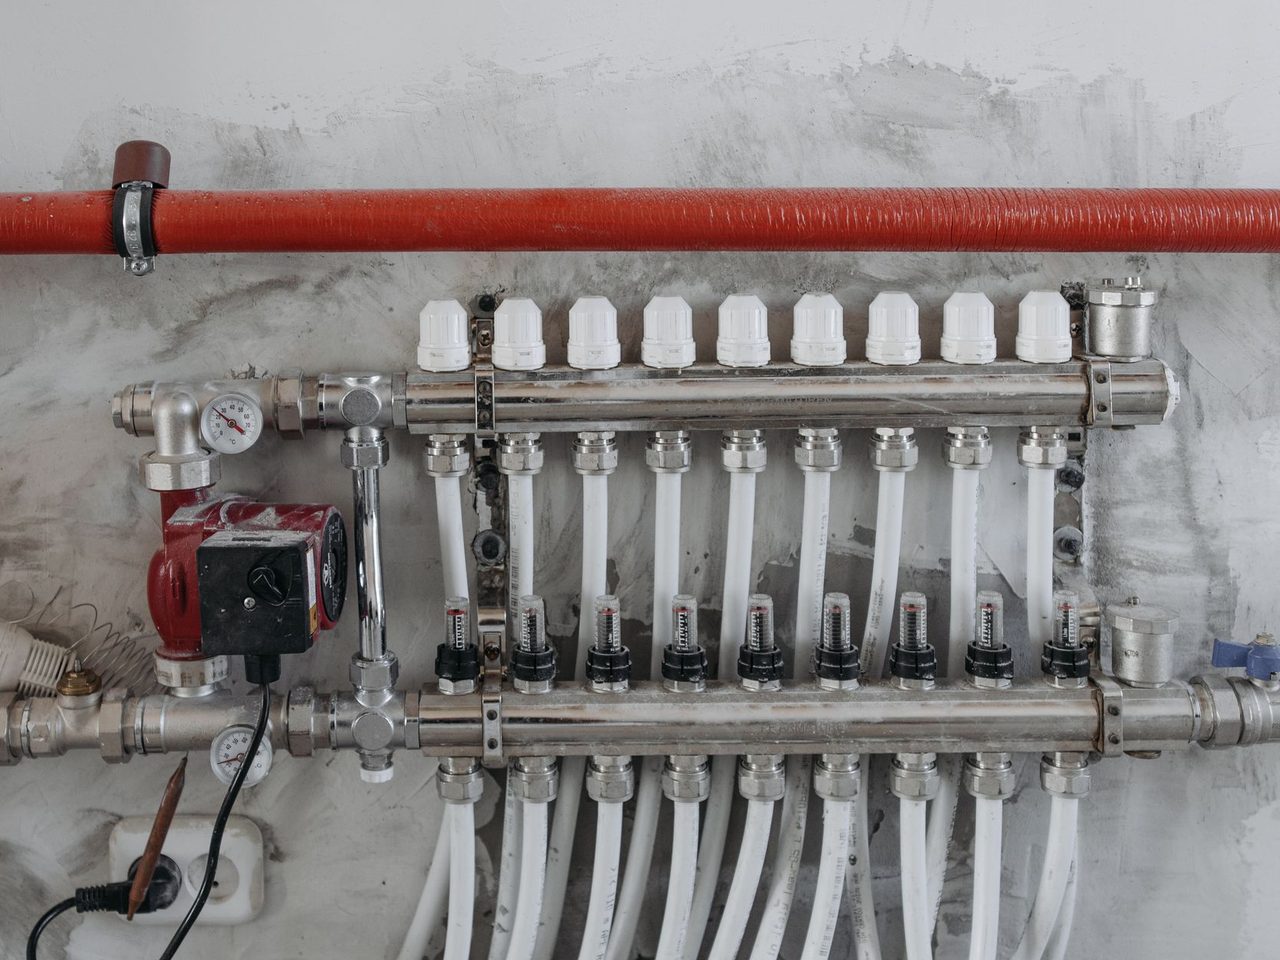
Not every heating system qualifies. EverStep says radiant heated floors must be approved by the manufacturer for use with resilient vinyl flooring.2 Daltile asks for aftermarket radiant systems to be approved for resilient flooring, with the subfloor temperature between 45°F and 85°F.8 National Flooring Products approves only hydronic in-floor systems with failsafe controls that keep the boiler at or below 110°F and the surface at or below 85°F.5 It also says only flooring marked as approved can go over in-floor radiant heat.5 Check both sides before the job: the plank's approval for radiant, and the heating maker's approval for vinyl.
Run the system before installing
A new heated slab still holds construction moisture, and the heat drives it out. The guides ask for the system to run well before the floor goes down.
| Source | Before installation | Surface maximum |
|---|---|---|
| Timeless Designs | Operating at least 3 weeks | 85°F1 |
| Elite (new system) | Operational at least four (4) weeks, set between 55 to 85 degrees F | 85 degrees3 |
| National Flooring Products | Run at least 14 days | 85°F5 |
| EverStep | Turned off 24 hours before and after installation | 85°F2 |
Timeless says the startup period drives out moisture and calibrates temperature settings.1 National Flooring Products says all moisture in the substrate must be evaporated off, and the run also confirms the system works.5 Test the slab after the startup period, not before it. See moisture testing.
During installation
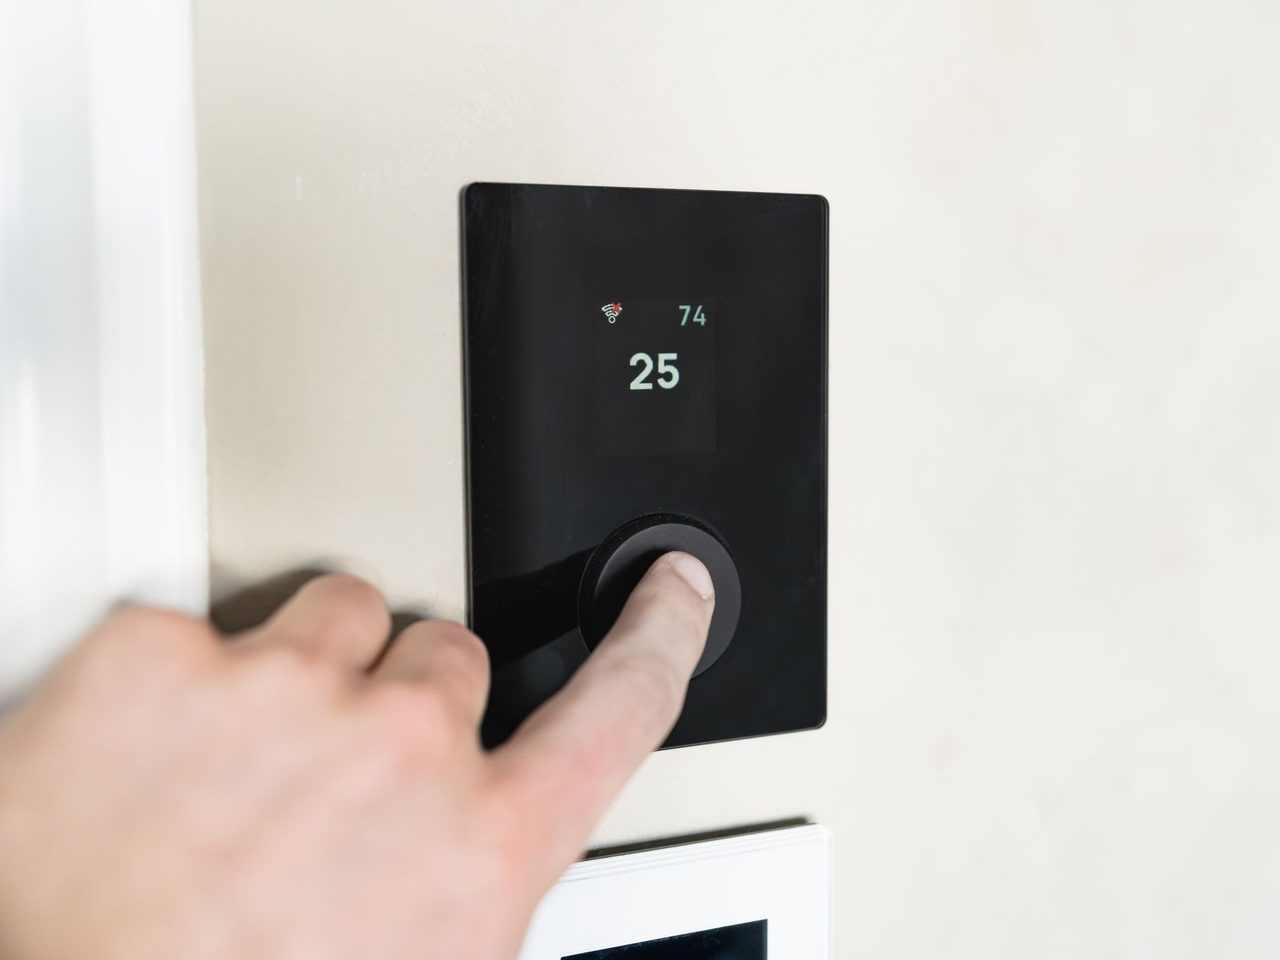
The guides differ on what the heat does on installation day, so follow the product's own instruction. EverStep turns the system off 24 hours before and after installation.2 Elite keeps an existing radiant floor at a minimum of 65ºF for 4 days before, during and 48 hours after installation, so the flooring acclimates properly.3 Either way, the aim is a floor at normal room temperature while the planks are locked together. That keeps the floor from being installed at an extreme of its size range.
Bringing the heat back up
The change back to heating should be slow. Elite says to raise the temperature gradually, in increments of 5° F per hour, until the desired temperature is reached.3 EverStep says there should be no more than a 5 degree rate of rise per hour.2 A system turned straight back to full output after installation makes the floor expand faster than it can move at its edges.
Expansion, breaks and humidity
Heated floors move more than unheated ones, and some guides add requirements to match. National Flooring Products requires transition breaks over in-floor radiant heat where the floor exceeds 40 feet lengthwise and widthwise. It asks for a 1/2” expansion gap at walls, tubs, fixtures and large appliances.5 It also requires a humidity control humidifier, working from one week before installation and for the life of the floor.5 Elite recommends relative humidity of 35%-55% for delivery, acclimation and installation.3 See expansion gaps.
Floating or glued
Many products can be floated or glued over radiant heat. Elite says floating floors can go over certain radiant systems, and that glue-down follows the adhesive maker's instructions.3 For glued installations, the adhesive's own temperature limits apply too. See adhesives over radiant heat.
Other floors on the same system
Commercial buildings often run one heating system under several floor types, and the limits differ. Interface allows its carpet tile on heated floors provided the surface temperature will not exceed 27°C (80°F), and asks for the heating to be off at least 48 hours before installation.9 Milliken says the floor must not exceed 28°C under its modular carpet, with the heating turned off 48 hours before laying.10 The herringbone click vinyl instructions from one maker say the water-based heating element must never exceed 27°C.11 Where carpet and vinyl share a zone, the lowest limit governs. Write it on the controls and in the owner's manual.
Tell the owner
The limit lasts as long as the floor. Marquis asks for temperatures between 55°F and 85°F to be maintained for the life of the product.4 Mohawk excludes fading, discoloration or other damage due to excessive temperatures.6 Facility staff who raise the setpoint on a cold morning can void the warranty without knowing it. Label the thermostat or controller with the maximum surface temperature, and put the warm-up rule in the closeout documents.
A startup plan
- Confirm both approvals: the plank for radiant, the system for vinyl.
- Run a new system for the period the guide sets, then test the slab.
- Set the heat as the guide says for installation day.
- Raise temperature slowly afterward, within the guide's rate.
- Keep the surface under the guide's maximum for the life of the floor, and tell the owner why.
Sources
- Timeless Designs, “Click Floating Luxury Vinyl Installation Instructions”. timelessdesignsflooring.com/wp-content/uploads/2023/05/TD-Rigid-Core-Ins
- EverStep Flooring, “LVP Click Lock Installation Guidelines”. everstepflooring.com/lvp-click-installation-guidelines/
- Elite Flooring, “Välinge Installation Guide (Woodlands)”. eliteflooringusa.com/links/install-instructions/Elite-Installation-Guide
- Marquis Industries, “Rigid Vinyl Plank Installation Instructions (Angle)”. marquisind.com/static/resources/Angle_Angle%20Installation%20Instruction
- NFP, “Architect’s Choice LVP Installation Guide”. my-nfp.com/resource/architects-choice-lvp-installation-guide
- Mohawk (via Lowe's), “LVT/LVP Residential Limited Warranty”. pdf.lowes.com/warrantyguides/842374006031_warranty.pdf
- Shaw Floors, “LVP Case Study: How Temperature Affects Dimension”. shawfloors-sherwinwilliams.com/SiteFiles/sherwinwilliamsdigital/Images/L
- Daltile, “ProSeries Luxury Vinyl Flooring Installation & Care Guide (Rigid Core Click, Glue Down)”. s1.img-b.com/build.com/mediabase/specifications/daltile/1996309/daltile-
- Interface, “Carpet Tile Installation Instructions”. interface.com/content/dam/interfaceinc/interface/technical/emea/installa
- Milliken, “Modular Carpet Installation Guidelines”. contenthub.milliken.com/api/public/content/212b9643130e469aa098eefd05147
- Flooring King (RoyalPro), “RoyalPro Herringbone Installation Instructions”. cdn.flooringking.co.uk/wp-content/uploads/2023/07/FK_RoyalPro_Instructio
General information for the flooring trade. This article was drafted with AI assistance and checked against the sources listed above; the manufacturer's current instructions and the project specification govern any real job. If something here is wrong or out of date, tell us.