 SW-04 · LVP & Vinyl Installation
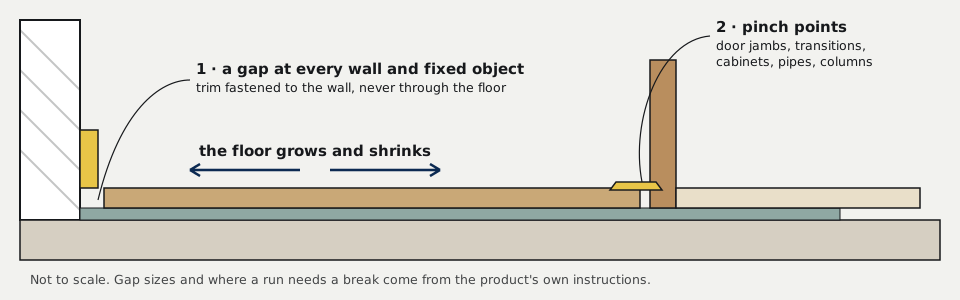
A floating click-lock floor grows when it warms and shrinks when it cools, so it needs space at every wall and fixed object and nothing fastened through it. The size of that space is set by the product, not by habit: published guides range from a quarter inch to half an inch, and several require a transition break once a run passes a set length.1 2 3
Floating click-lock vinyl rarely fails in the middle of a room. It fails at the edges. Think of a door jamb that was never undercut, a transition strip someone screwed through, or a storefront where the sun bakes the planks every afternoon. The expansion gap is the detail that decides those edges, and it is the detail most often treated as a habit rather than a specification.
This article compares what five published installation guides require and explains why. It also lists the places on a commercial job where a correct gap gets taken away after the installer leaves.
Why a floating floor needs room
Luxury vinyl plank barely reacts to humidity, which is why it is chosen for places where wood would struggle. It does react to temperature. Shaw measured one plank at room temperature, then cold, then hot. A 48-inch plank shrank by 1/16 of an inch at 32.2 degrees. Heated to 135 degrees, it grew by 1/16 of an inch. Shaw sums it up as roughly 1/8 of an inch of movement for every 100 degrees of change.4 That sounds small until you multiply it across a room, and Shaw adds that sunny patches of floor can run in excess of 130 degrees.4
The same case study states the failure plainly. If a trim fastener or anything else pins the floor, planks may separate out in the field, far from the thing that pinned it.4 Peaked seams, gapping end joints and a floor that tents in summer usually trace back to the same cause. The floor had nowhere to go.
The gap is set by the product, not by habit
Crews tend to carry one number from job to job. The guides below show why that does not work. Each is a manufacturer's own installation document for a click or rigid-core vinyl product. Each sets its own perimeter space and its own trigger for a break in the floor.
| Installation guide | Perimeter space | When a run needs a break | Conditions it assumes |
|---|---|---|---|
| EverStep, click-lock LVP | 1/4 inch at all walls, cabinets, pipes and flanges | A transition break every 30 feet, using a T-molding | Radiant subfloor no warmer than 85°F1 |
| Marquis, rigid vinyl plank (Angle) | 5/16 inch from all vertical surfaces | Runs over 45 feet long or 25 feet wide need an expansion gap, which a T-mold can cover | 55°F to 85°F for the life of the floor5 |
| Timeless Designs, click floating vinyl | 5/16 inch | Over 900 square feet or 30 linear feet, T-mold control joints with at least a 5/16 inch gap | 65 to 85 degrees, relative humidity no greater than 65%3 |
| Elite Flooring, Välinge lock | At least 3/8 inch, floating or glued | Not set as a run length in this guide | Normal use 65 to 85 degrees F6 |
| National Flooring Products, Architect's Choice | 1/2 inch around walls, tubs, fixtures, exterior doors and large appliances | Breaks over in-floor radiant heat beyond 40 feet in length or width | Radiant surface no warmer than 85°F2 |
Read across the rows and two things stand out. The perimeter space varies by a factor of two between documents. The trigger for a break is defined differently in each: by feet, by area, or only over radiant heat. On a commercial job the product named in the specification decides both. Its installation guide belongs in the submittal package, so the number is settled before anyone cuts a plank.
Large floor plates, glazing and slab joints
Commercial spaces put more stress on a floating floor than a typical home. Open office floors and retail units produce long, uninterrupted runs. Storefront glazing and skylights create sun-loaded bands next to shaded aisles. A flooring contractor's guide to heat damage in commercial settings puts the expansion at up to 1/4 inch per 100 feet of LVT for a 20°F rise. It singles out kitchens and sunny retail floors as the hard cases.7 Marquis's instructions ask for blinds or shades to be closed during peak sun for the same reason.5
The slab adds its own movement. Concrete slabs on ground are built with isolation, contraction and construction joints, and isolation joints exist where the slab needs freedom to move.8 Resilient flooring should not simply be laid across a true expansion joint. FloorFolio's guide warns that doing so will likely cause bond failure, bubbling or buckling, and calls for expansion joint covers made for resilient flooring.9 EverStep's glue-down instructions note that architects usually specify those covers. They add that patch, underlayment and flooring laid across true expansion joints will often buckle or crack when the slabs move.10 On a commercial set of drawings, finding every expansion joint and its cover detail is part of the flooring scope, not an afterthought.
Some guides scale the perimeter space up for large commercial rooms. Elite, for example, recommends a minimum of 3/4 inch of perimeter expansion space for large commercial rooms, against its standard 3/8 inch.6

Where a correct gap gets taken away
Most pinned floors were installed with the right gap. Something closed it later. The guides name the usual culprits.
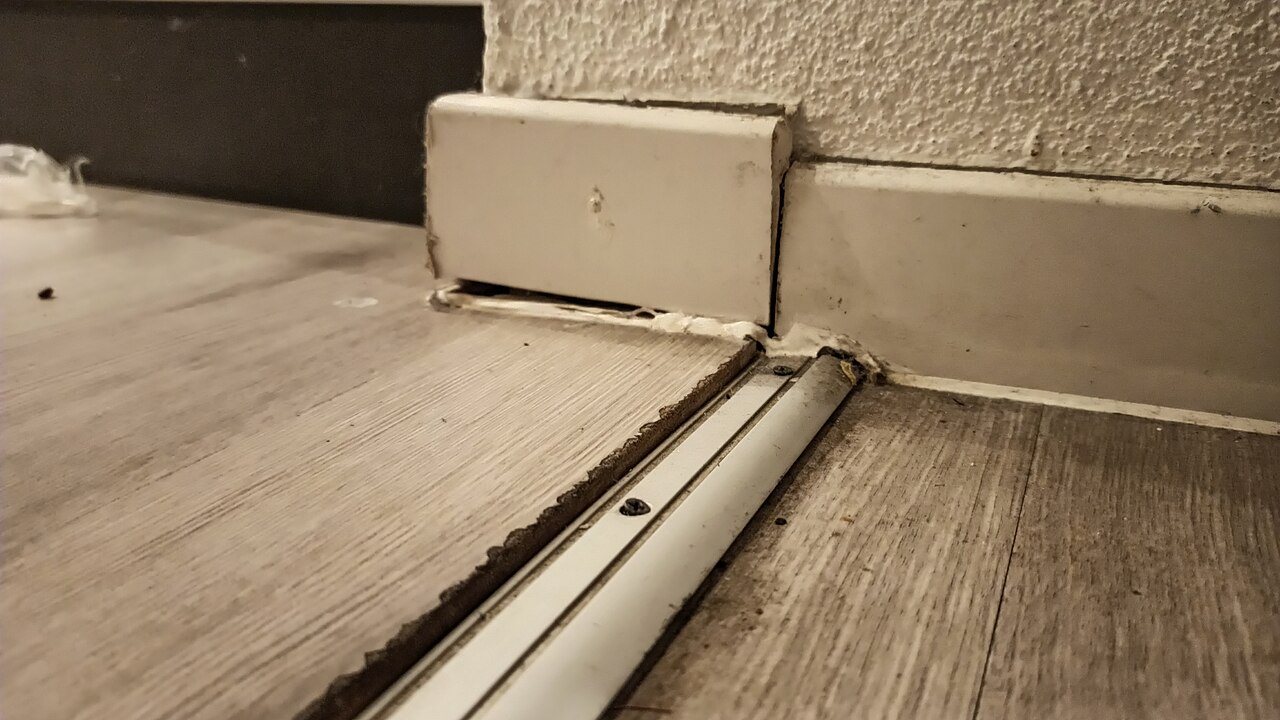
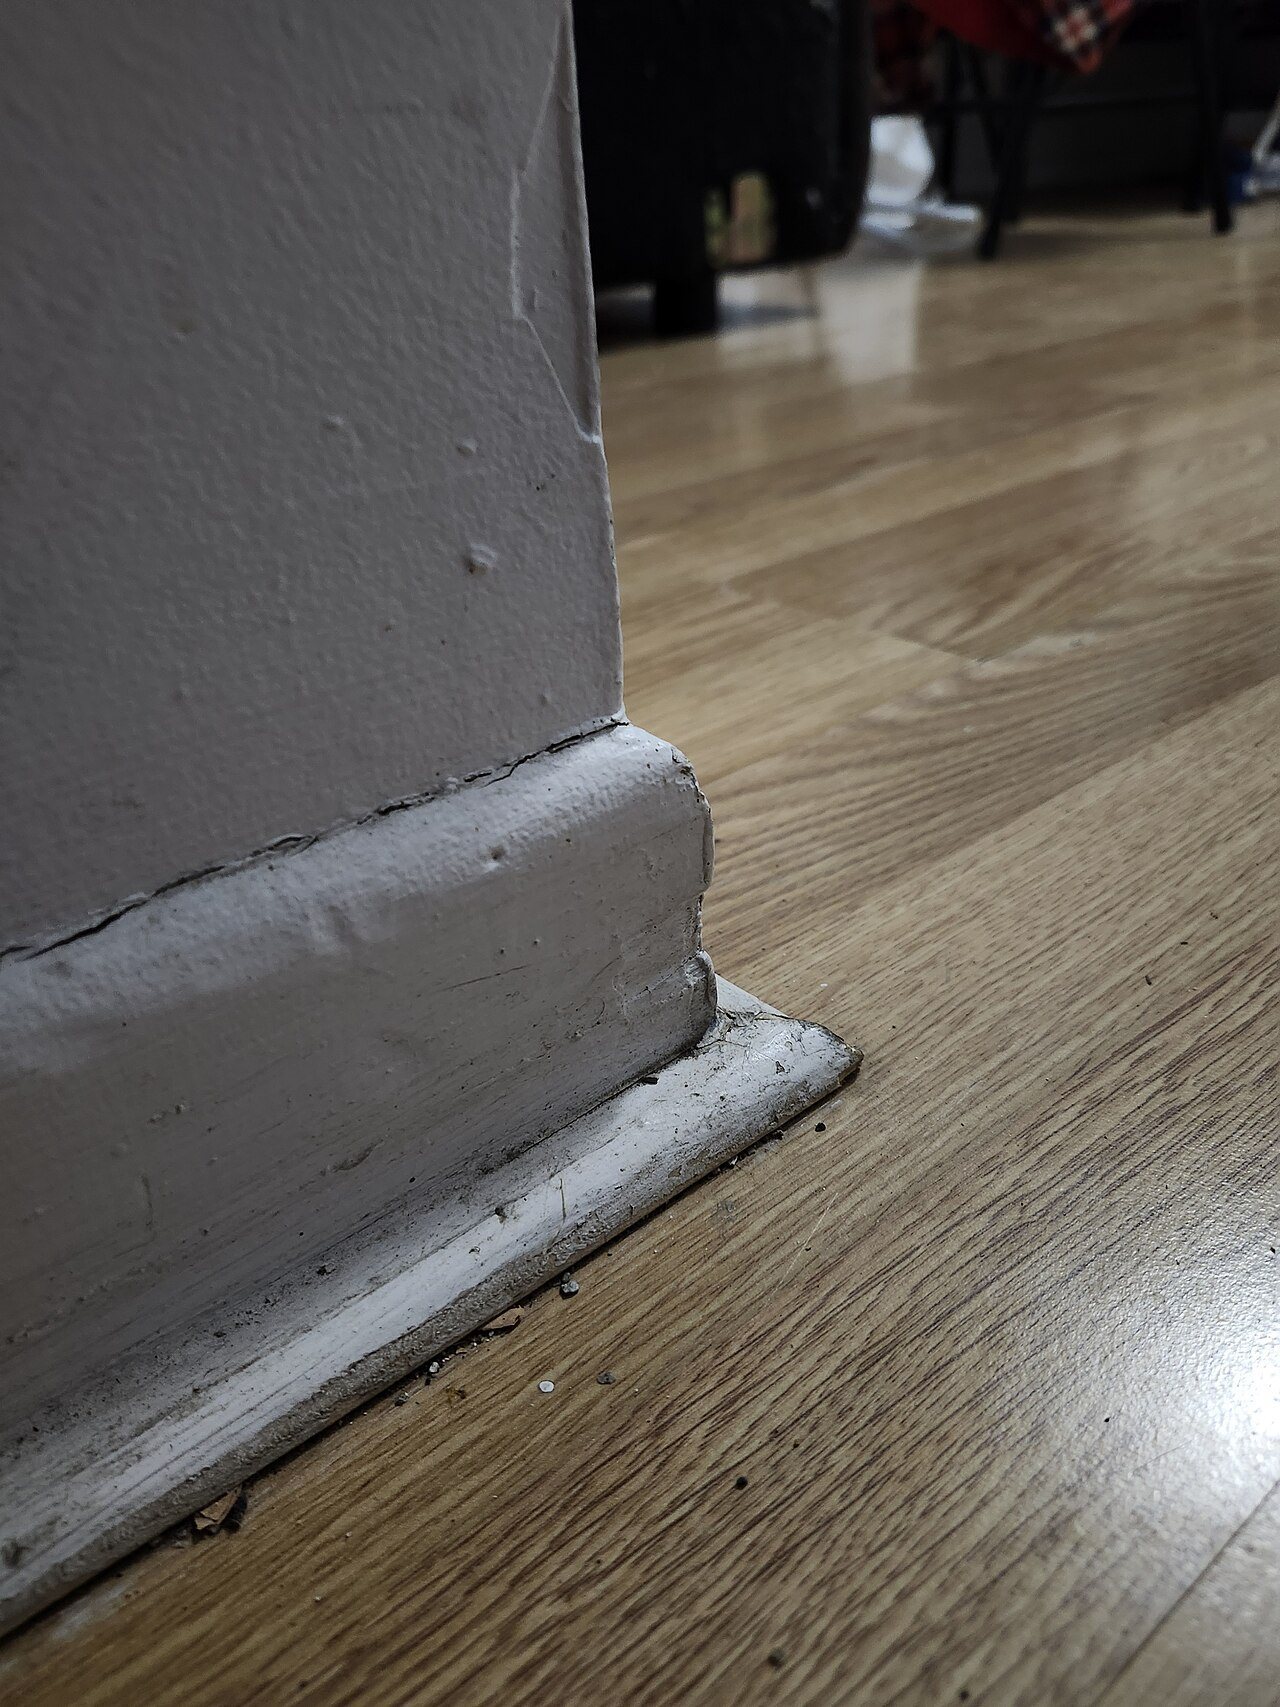
- Trim fastened through the floor. Marquis says not to fasten trim, molding or transition pieces directly to the floor, and Elite says never to fasten moldings or transition strips to the planks.5 6 Base and shoe molding go on the wall.
- Cabinets and built-ins on top. Timeless lists cabinets, heavy furnishings, fireplaces and other built-ins as items that must not sit on the floor, because they restrict expansion.3 In commercial fit-outs, reception desks, millwork and fixed casework are the equivalent; they go in first and the floor runs to them with a gap.
- Door jambs. EverStep calls for undercutting the jamb so the expansion space continues under the casing.1
- Pipes, columns and flanges. The same space is required around cabinets, pipes, toilet flanges and any other obstacle in the floor.1
- Caulk. Where an edge is sealed, Elite recommends a flexible silicone caulk, because acrylic caulk hardens over time and stops the floor from moving.6
Furniture is usually not the problem. Shaw notes that heavy furniture will typically not stop a floating floor from expanding and contracting.4 Fixed objects are what matter: anything screwed, glued or built in.
Glue-down is not a way around the rule
Large commercial areas are often glued down instead of floated, which removes the need for breaks across the field. It does not remove temperature from the picture. EverStep's glue-down instructions set the conditions: 65° to 85° F and 30% to 60% relative humidity, held for 72 hours before, during and after installation.10 Armstrong's adhesive guidance explains why. Open time and working time both change with temperature, humidity and the porosity of the subfloor. The recommended trowel exists to put down the right amount of adhesive.11
Glue-down floors still show thermal movement as gaps. Shaw gives the example of a plank installed at 90 degrees that cools to 65 degrees and shows slight gaps on a glue-down floor.4 Installing in a building whose HVAC is not yet running is how that happens.
Radiant heat narrows the window
Every guide in the table that addresses radiant heat sets the same ceiling: a surface temperature no higher than 85°F.1 5 2 The National Flooring Products guide goes further. The subfloor surface comes down to 64°F for at least 72 hours before and during installation.2 Afterwards it is warmed slowly, never by more than 5°F in a 24-hour period.2 Timeless asks for a radiant system to have been operating for at least 3 weeks before installation, to drive out moisture and set the controls.3 Those steps need a heating contractor and a schedule, which on a commercial job means they belong in the coordination meeting, not in a note on the pallet.
What to settle before the first row
The gap itself takes seconds to leave. The failures come from things nobody settled in advance. Before a commercial installation starts, the flooring contractor should have these answers in writing.
- Which exact product and installation guide governs, and what perimeter space and run limit it sets.
- Where the floor must break: long runs, doorways between rooms, and every slab expansion joint, each with a specified cover or transition.
- Who installs base, shoe and transitions, and that they fasten to walls and subfloor, never through the planks.
- When the HVAC will be running at normal occupied conditions, and that it will stay on.
- Which fixed casework, columns and equipment the floor runs to, and that they go in first.
- For radiant floors, the temperature schedule before, during and after installation, and who controls it.
None of that is exotic. It is the difference between a gap that exists on the day of installation and a gap that is still there after the building's first summer.

Sources
- EverStep Flooring, “LVP Click Lock Installation Guidelines”. everstepflooring.com/lvp-click-installation-guidelines/
- NFP, “Architect’s Choice LVP Installation Guide”. my-nfp.com/resource/architects-choice-lvp-installation-guide
- Timeless Designs, “Click Floating Luxury Vinyl Installation Instructions”. timelessdesignsflooring.com/wp-content/uploads/2023/05/TD-Rigid-Core-Ins
- Shaw Floors, “LVP Case Study: How Temperature Affects Dimension”. shawfloors-sherwinwilliams.com/SiteFiles/sherwinwilliamsdigital/Images/L
- Marquis Industries, “Rigid Vinyl Plank Installation Instructions (Angle)”. marquisind.com/static/resources/Angle_Angle%20Installation%20Instruction
- Elite Flooring, “Välinge Installation Guide (Woodlands)”. eliteflooringusa.com/links/install-instructions/Elite-Installation-Guide
- Continental Flooring, “How Heat Affects Vinyl Flooring in Commercial Settings”. continentalflooring.com/commercial-vinyl-flooring-heat-damage/
- American Concrete Institute, “ACI 302.1R-15 Guide to Concrete Floor and Slab Construction, Chapter 5 (excerpt)”. concrete.org/Portals/0/Files/PDF/302.1R-15_Chapter5.pdf
- FloorFolio, “Installation Guide 2025”. floorfolio.com/wp-content/uploads/2025/FloorFolio-Installation-Guide-202
- EverStep Flooring, “LVP Glue Down Installation Guidelines”. everstepflooring.com/technical/lvp-glue-down-installation-instructions/
- Armstrong Flooring, “Adhesives FAQs”. armstrongflooring.com/commercial/en-us/resources/flooring-faqs/adhesives
General information for the flooring trade. This article was drafted with AI assistance and checked against the sources listed above; the manufacturer's current instructions and the project specification govern any real job. If something here is wrong or out of date, tell us.