 SW-04 · LVP & Vinyl Installation
Floating vinyl needs its expansion space to continue under door casings, so the guides require jambs and casings to be undercut and the planks slid beneath them.1 2 One guide sets the cut at 1/16 inch above the top of the flooring.3 Metal door frames are never undercut; they need a different detail.4
A doorway is a pinch point. The floor runs through it, the jamb and casing stand on it, and the door stop and the frame sit inches from the planks on both sides. Scribe the planks around the casing and the floor is boxed in at exactly the place it most needs room. Undercut the casing and the floor slides beneath it, hidden and free.
What the guides require
Undercutting is one of the few instructions every vinyl guide shares. Marquis says to undercut door jambs where the floor meets a threshold or doorway.5 Timeless says all door jambs should be undercut, and lists them with cabinets and built-ins as things that otherwise restrict the floor.2 Elite says simply to undercut all door jambs.6 Shaw includes undercutting door casings in its room preparation.7
EverStep explains the purpose in one line. The jamb is undercut so the 1/4 inch expansion space is maintained, letting the plank slip under the jamb and casing molding.1 Daltile makes the same point: the expansion space must continue around and under undercut jambs and casings.4
How high to cut
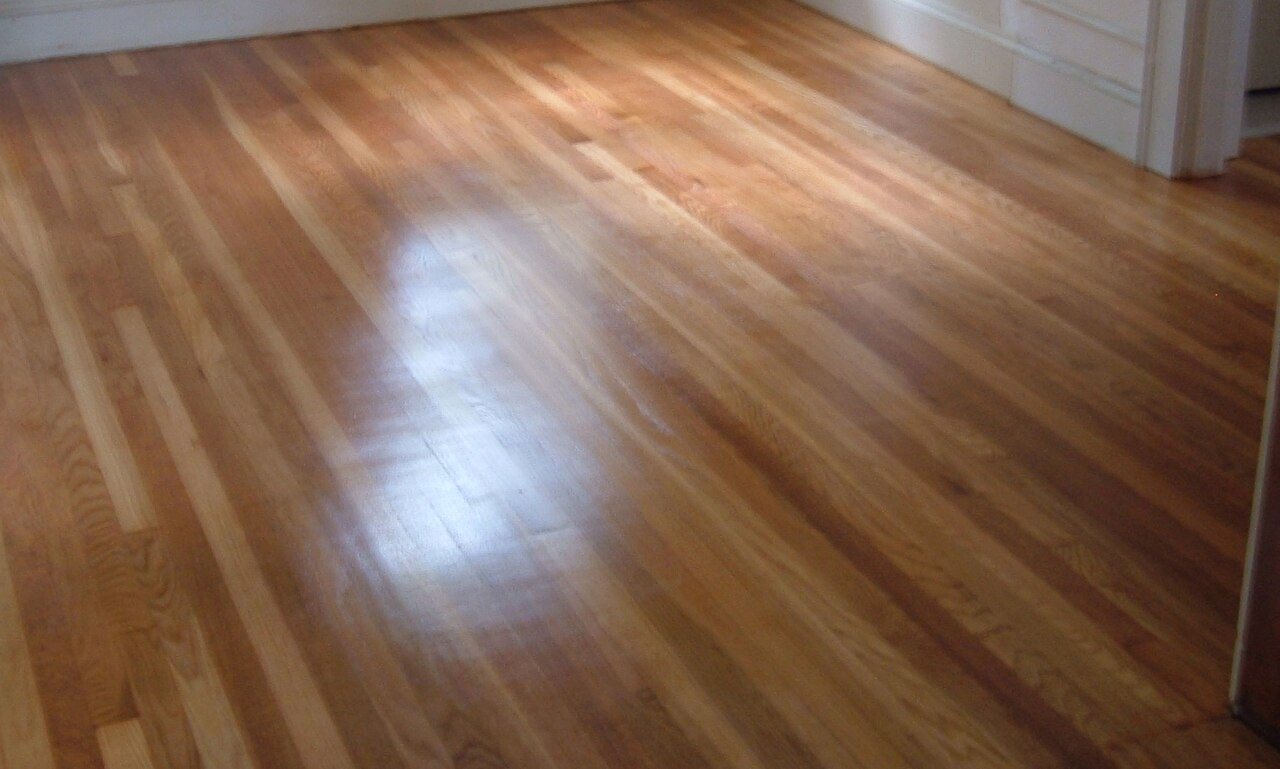
The cut has to clear the flooring and its underlayment, and no more. Cut too low, and the plank jams. Cut too high, and the gap shows. National Flooring Products sets the clearance: undercut casings to leave 1/16 inch between the door casing and the top of the flooring.3 It also describes how to set the saw: lay a piece of the flooring, with its underlayment, on the subfloor as a guide, and cut along its top.3
Use the actual flooring and underlayment, not a scrap of something similar. Attached pads, separate underlayments and skim coats all add height, and on an overlay the old floor adds more.
Tools
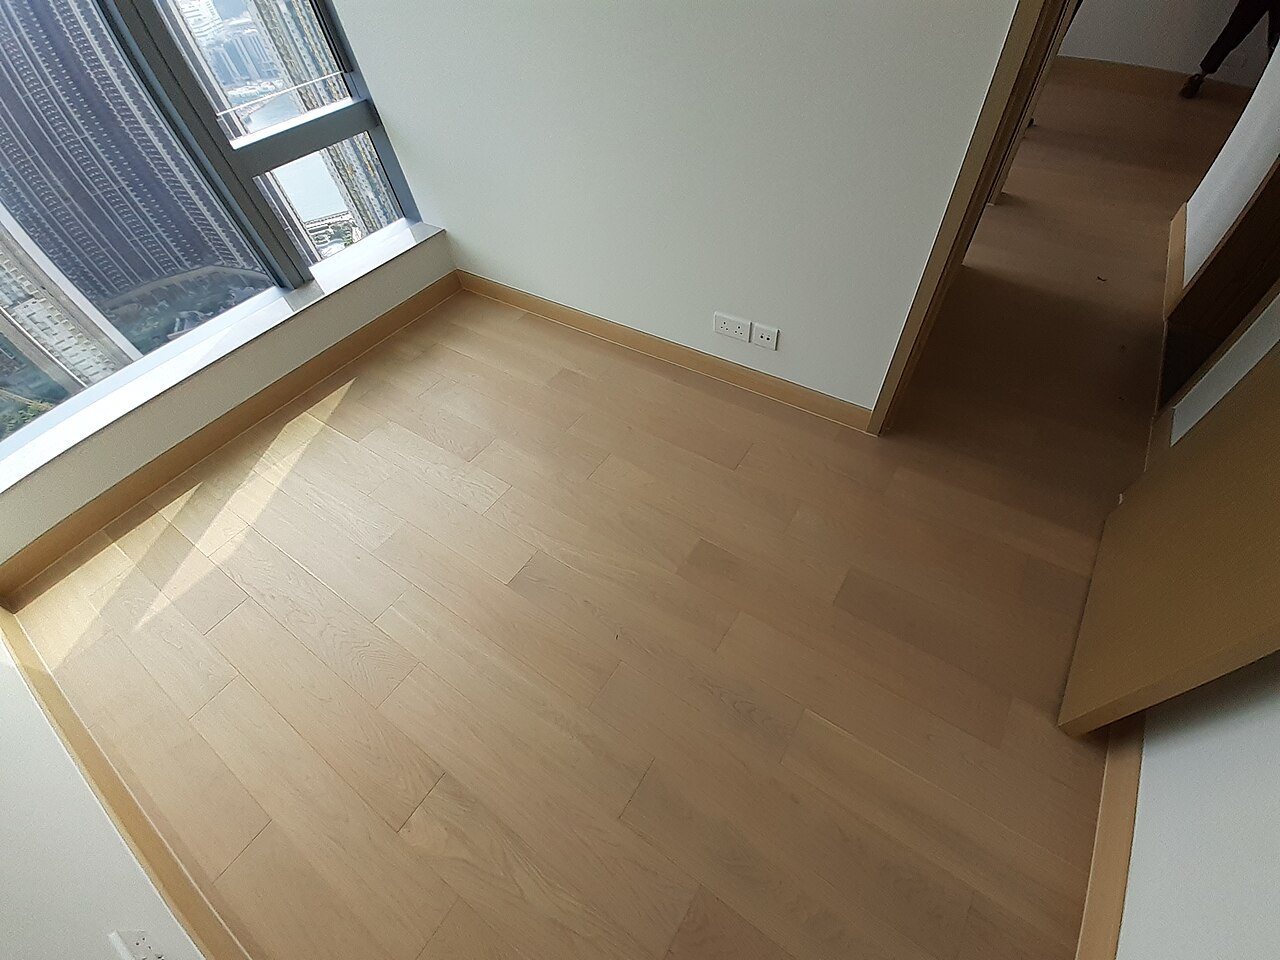
A jamb saw, sometimes called an undercut saw, rides on the guide piece and cuts flat and level. National Flooring Products names a jamb saw for the job.3 Daltile recommends a reciprocating saw to create the undercut.4 An oscillating multi-tool with a flush-cut blade works on tight casings. Whatever the tool, vacuum the cut before sliding the plank in; sawdust left under the casing becomes a hump.
Never cut a metal frame
Commercial doorways often have hollow metal frames. They are structural, often fire-rated, and not designed to be cut. Daltile says never to undercut metal door casings.4 MSI gives the same warning: wooden casings are best cut so the floor slides under, but never cut a metal door casing.8
At a metal frame, the floor has to stop short and keep its expansion space. The space is then covered with a profile or a flexible sealant that lets the floor move. Elite approves only 100% silicone caulk where caulk is needed, because acrylic hardens and pins the floor.6 Many commercial doorways take a T-molding or threshold at that point anyway; see transition strips for floating LVP.
The other fixed objects at a doorway
Door frames are rarely the only fixed objects near a doorway. Pipes, columns and door stops need the same space. Daltile asks for the door frame to be cut so a 3/8 inch gap runs from the edge of the plank, under the casing, to the wall.4 It allows the same 3/8 inch space around pipes and other fixed objects, and drills pipe holes at the diameter of the pipe plus 1/2 inch.4 Elite drills holes about 5/8 inch larger than the pipe, which leaves a 5/16 inch gap all round.6 EverStep keeps its 1/4 inch space around cabinets, pipes, toilet flanges and any obstacle in the floor.1
The numbers differ, so use the guide for the product. The principle does not: every object that passes through or stands on the floor gets a gap, and the gap is covered by trim or a flexible sealant, never filled with something rigid.
Check the door, not just the jamb
Undercutting the casing makes room for the floor. It does nothing for the door itself. A new floor, especially one laid over an old one, raises the finished height, and a door that cleared the old floor may now drag. Check every door's swing after the floor is down, and plan door trimming into the scope where the added height is significant. On commercial doors with closers, latches and gaskets, that may be another trade's work, so raise it before installation rather than after.
Casings set after the floor
On new construction, trim is sometimes installed after the flooring. National Flooring Products addresses this directly: when contractors set door casings after the flooring, they must leave room for the floor to expand and contract without hindrance.3 A casing nailed tight onto the planks pins the floor as surely as a fastener through it. Put that requirement in writing to the trim carpenter, not just to the flooring crew.

Sources
- EverStep Flooring, “LVP Click Lock Installation Guidelines”. everstepflooring.com/lvp-click-installation-guidelines/
- Timeless Designs, “Click Floating Luxury Vinyl Installation Instructions”. timelessdesignsflooring.com/wp-content/uploads/2023/05/TD-Rigid-Core-Ins
- NFP, “Architect’s Choice LVP Installation Guide”. my-nfp.com/resource/architects-choice-lvp-installation-guide
- Daltile, “ProSeries Luxury Vinyl Flooring Installation & Care Guide (Rigid Core Click, Glue Down)”. s1.img-b.com/build.com/mediabase/specifications/daltile/1996309/daltile-
- Marquis Industries, “Rigid Vinyl Plank Installation Instructions (Angle)”. marquisind.com/static/resources/Angle_Angle%20Installation%20Instruction
- Elite Flooring, “Välinge Installation Guide (Woodlands)”. eliteflooringusa.com/links/install-instructions/Elite-Installation-Guide
- Shaw Floors, “Vinyl Flooring Installation | Shaw Floors”. shawfloors.com/en-us/plan-and-install/vinyl
- MSI Surfaces, “Installing Luxury Vinyl Flooring in the Bathroom”. msisurfaces.com/blogs/post/2019/11/26/installing-luxury-vinyl-flooring-i
General information for the flooring trade. This article was drafted with AI assistance and checked against the sources listed above; the manufacturer's current instructions and the project specification govern any real job. If something here is wrong or out of date, tell us.



.jpg)
.jpg)