 SW-04 · LVP & Vinyl Installation
End joints must be offset from row to row, and the minimum depends on the product: 6 inches in several guides, 9 inches in another, and twice the plank width in a third.1 2 3 Joints that line up in neighboring rows, called H-joints, concentrate stress in one line of the floor. Plan the layout before cutting, so the last rows and the doorways meet the rule too.
Stagger looks like a matter of appearance. It is also structural. A click-lock floor holds together through its joints, and the long-side joints carry the short ends across the floor. When end joints in neighboring rows line up, there is a straight line through the floor where nothing bridges the gap. That line is where the floor opens first.
The rule changes by product
Every installation guide sets a minimum end-joint offset. They do not agree on the number.
| Document | Minimum end-joint stagger |
|---|---|
| Marquis, rigid vinyl plank | 6 inches apart1 |
| EverStep, click-lock | 6 inches for planks, 3 inches for tiles4 |
| Daltile ProSeries | 6 inches from one row to the next5 |
| MSI Surfaces | 8 inches from the first row6 |
| Timeless Designs | 9 inches apart, row to row; avoid H-joints and stair-step patterns2 |
| Elite Flooring, Välinge lock | Twice the plank width; a 7-inch plank needs 14 inches3 |
| National Flooring Products | At least 25% of the board length for the next row's starter7 |
The spread matters on long planks and wide ones. Elite's rule scales with the plank, so a wide plank needs a much larger offset than a 6-inch rule would give.1 3 National Flooring Products ties the offset to board length instead. Neither can be met by habit. Read the guide for the product on the job.
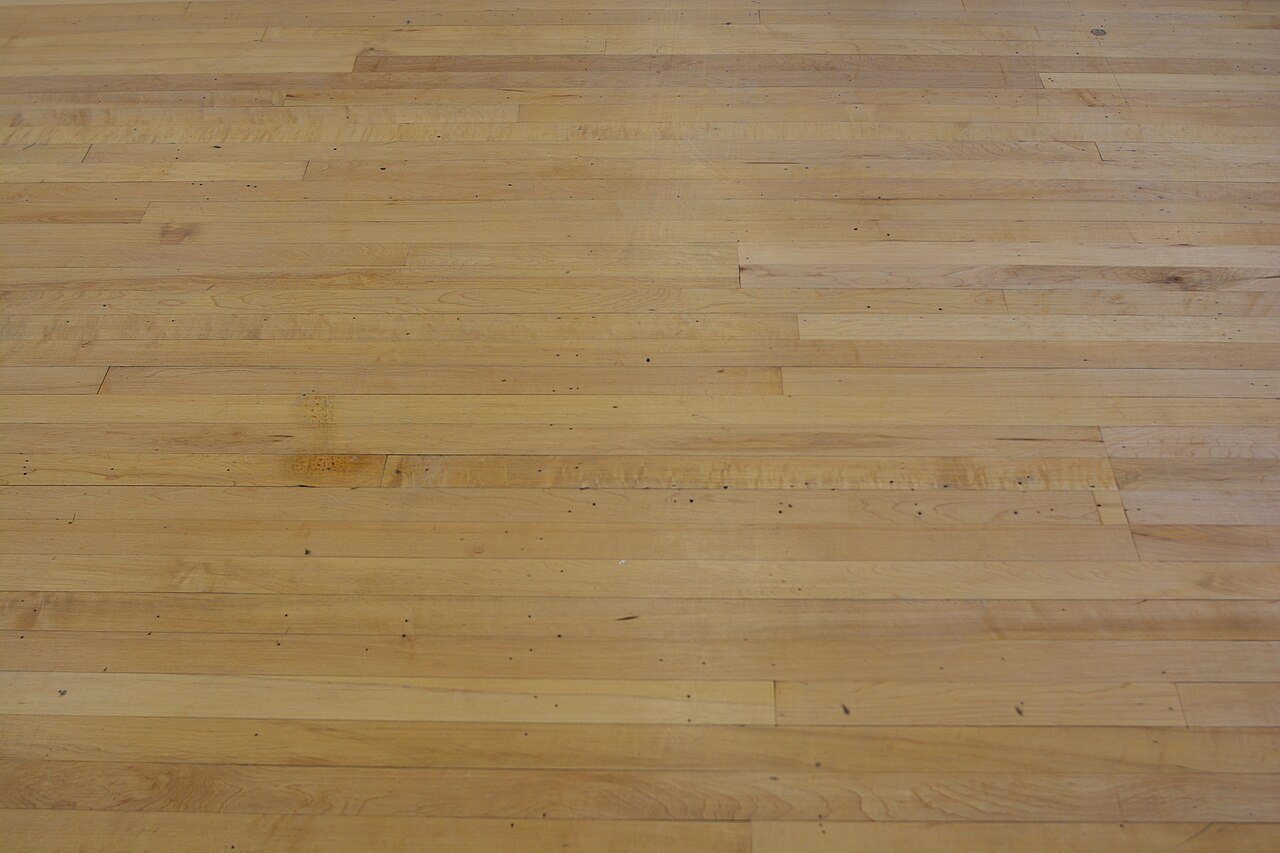
H-joints and stair-steps
Timeless Designs illustrates two patterns to avoid. The first is the H-joint, where end joints in alternate rows line up. The second is a stair-step pattern, where each row's joint moves over by the same amount and the joints form a diagonal line.2 Both create a visible pattern. Both also put the end joints into a line the floor can hinge along.
The fix is a random pattern that still meets the minimum. National Flooring Products asks for a brick-laid stagger of half a plank for the first four rows, then random from row 5 on.7 A random layout also reads better on a commercial floor plate, where long sight lines make any repeat obvious.
Plan before you cut
The stagger rule fails most often at the edges, where cut pieces are short. Plan the layout before the first row.
- Balance the first and last rows. Elite's guide suggests measuring the room width first, to decide whether the first row should be cut lengthwise so the first and last rows come out similar.3
- Use the cut-off. National Flooring Products allows the piece cut from the end of a row to start the next row, as long as the stagger rule is still met.7
- Mix cartons. EverStep recommends drawing planks from two to three cartons of the same production, which also breaks up repeating patterns.4
- Check doorways and openings. A short piece at a doorway is weak and visible. Adjust the layout so full or near-full pieces land there.
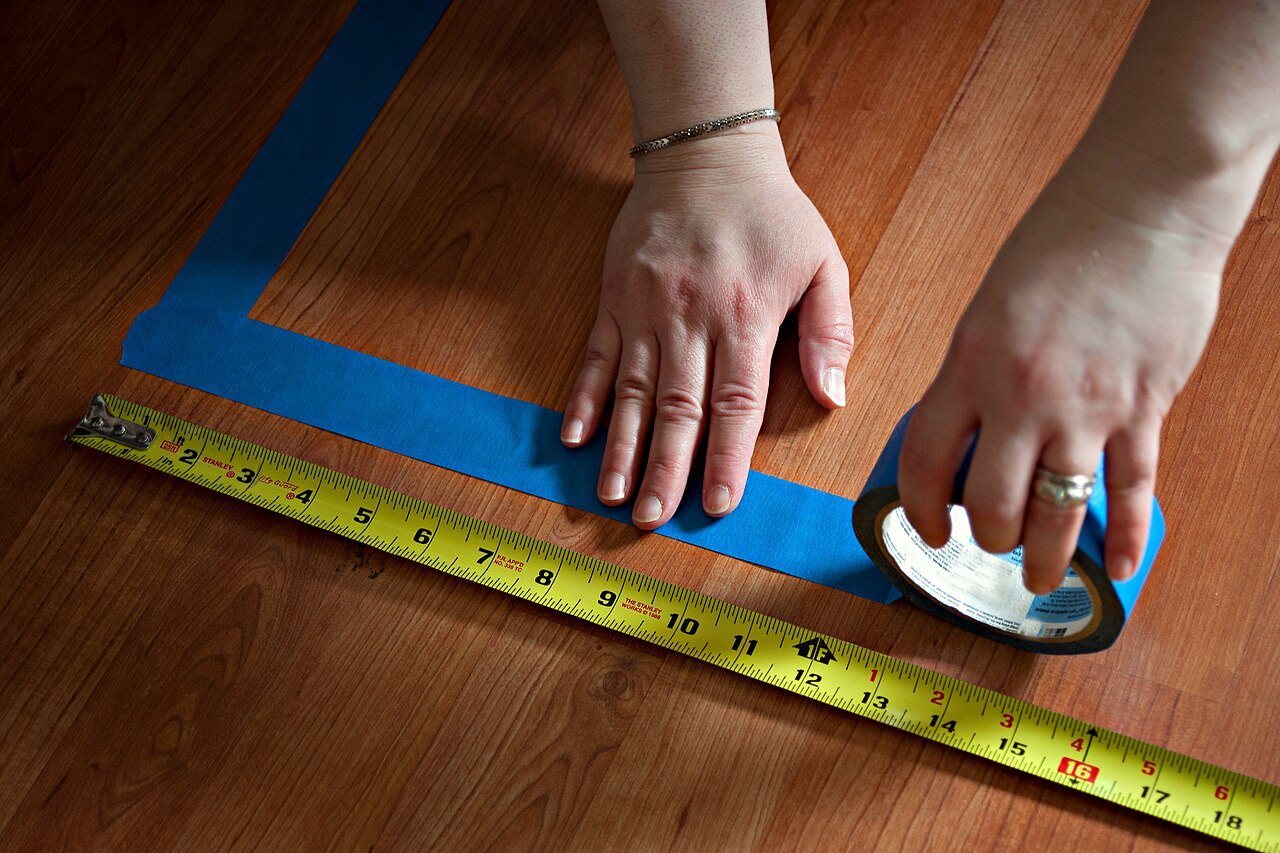
Short pieces are the weak point
Stagger rules usually fail at the ends of rows, where offcuts are short. Several guides set a minimum piece length for that reason. Daltile requires first and last pieces to be at least 8 inches long, and asks for the first plank of the first row to be a full-length plank.5 Elite recommends a final plank at least twice the width of the plank, and keeps the starter of the next row to the same minimum.3 Timeless starts the second row with a plank at least 9 inches shorter than the first plank of row one.2 A short piece has little lock length to hold it, and at a wall or doorway it is the first piece to move.
Inspect while you lay
Layout is also the moment to catch visual problems. Elite asks installers to work from multiple boxes to mix pattern repeat and color.3 It also states that installing a plank the installer believed was wrong in color, grade or gloss means the material was accepted, and the claim will be denied.3 National Flooring Products adds a warning about the joints themselves: visually, a row can appear to be engaged but is not.7 Set aside suspect planks as you go and run a hand along each finished row.
Locking the end joints
Stagger only helps if the joints are fully engaged. The guides describe the end joint differently by lock type. EverStep asks for end joints to be pressed in by hand and rolled with a hand or seam roller for a fully compressed fit.4 Timeless allows a light tap with a rubber mallet over a scrap piece of plank.2 Marquis asks for gentle pressure on each short end joint to confirm the connection.1 A joint that is only partly engaged can pass inspection and open later. See end joints that won't lock for the causes.
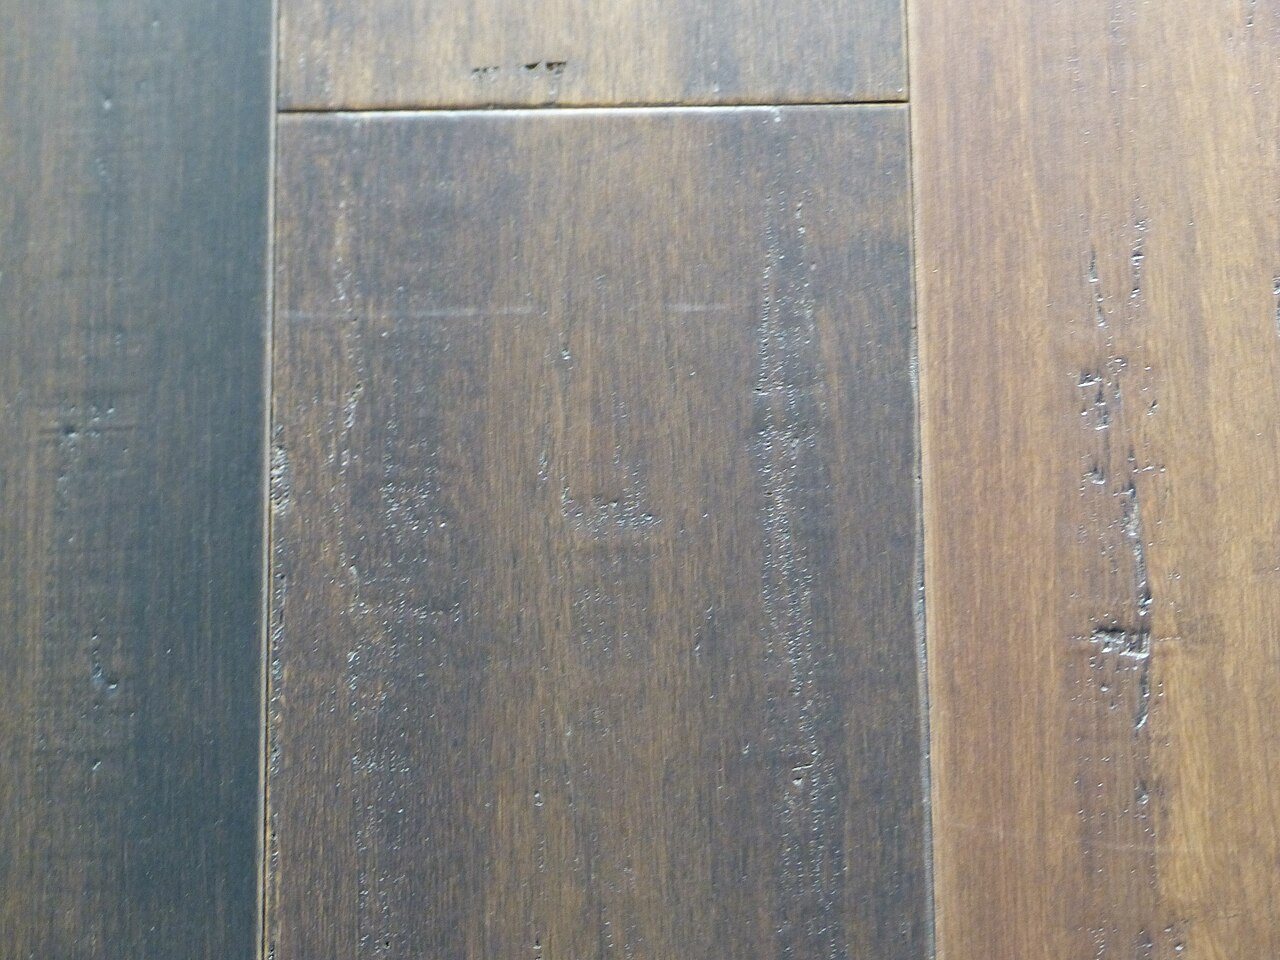
On a commercial job
Large open areas and long corridors expose layout mistakes. Snap a control line and dry-lay a few rows before committing. Agree with the design team on the plank direction, usually along the longest sight line or the main light source. Record the pattern used, so repair planks match it later. For long runs, the stagger rule sits alongside the run-length limits in the expansion gap guide.
Sources
- Marquis Industries, “Rigid Vinyl Plank Installation Instructions (Angle)”. marquisind.com/static/resources/Angle_Angle%20Installation%20Instruction
- Timeless Designs, “Click Floating Luxury Vinyl Installation Instructions”. timelessdesignsflooring.com/wp-content/uploads/2023/05/TD-Rigid-Core-Ins
- Elite Flooring, “Välinge Installation Guide (Woodlands)”. eliteflooringusa.com/links/install-instructions/Elite-Installation-Guide
- EverStep Flooring, “LVP Click Lock Installation Guidelines”. everstepflooring.com/lvp-click-installation-guidelines/
- Daltile, “ProSeries Luxury Vinyl Flooring Installation & Care Guide (Rigid Core Click, Glue Down)”. s1.img-b.com/build.com/mediabase/specifications/daltile/1996309/daltile-
- MSI Surfaces, “Installing Luxury Vinyl Flooring in the Bathroom”. msisurfaces.com/blogs/post/2019/11/26/installing-luxury-vinyl-flooring-i
- NFP, “Architect’s Choice LVP Installation Guide”. my-nfp.com/resource/architects-choice-lvp-installation-guide
General information for the flooring trade. This article was drafted with AI assistance and checked against the sources listed above; the manufacturer's current instructions and the project specification govern any real job. If something here is wrong or out of date, tell us.

.jpg)

