 SW-04 · LVP & Vinyl Installation
Herringbone click vinyl comes as two mirror-image planks, usually labeled A and B, packed in equal numbers.1 2 The pattern lives or dies on its reference line and its first few rows. Expansion still applies: one guide sets 6 mm at the perimeter and a transition over 100 square meters or 10 meters in one direction; another scales the gap with room length.1 3
Herringbone vinyl has moved from residential feature floors into hotels, restaurants, retail and offices. It is still a click-lock floor underneath, with the same needs for a flat, dry substrate and room to move. What it adds is geometry. A straight-plank floor tolerates a small error in the first row. A herringbone floor carries that error across the whole room as a drifting point or a closing angle.
A and B planks
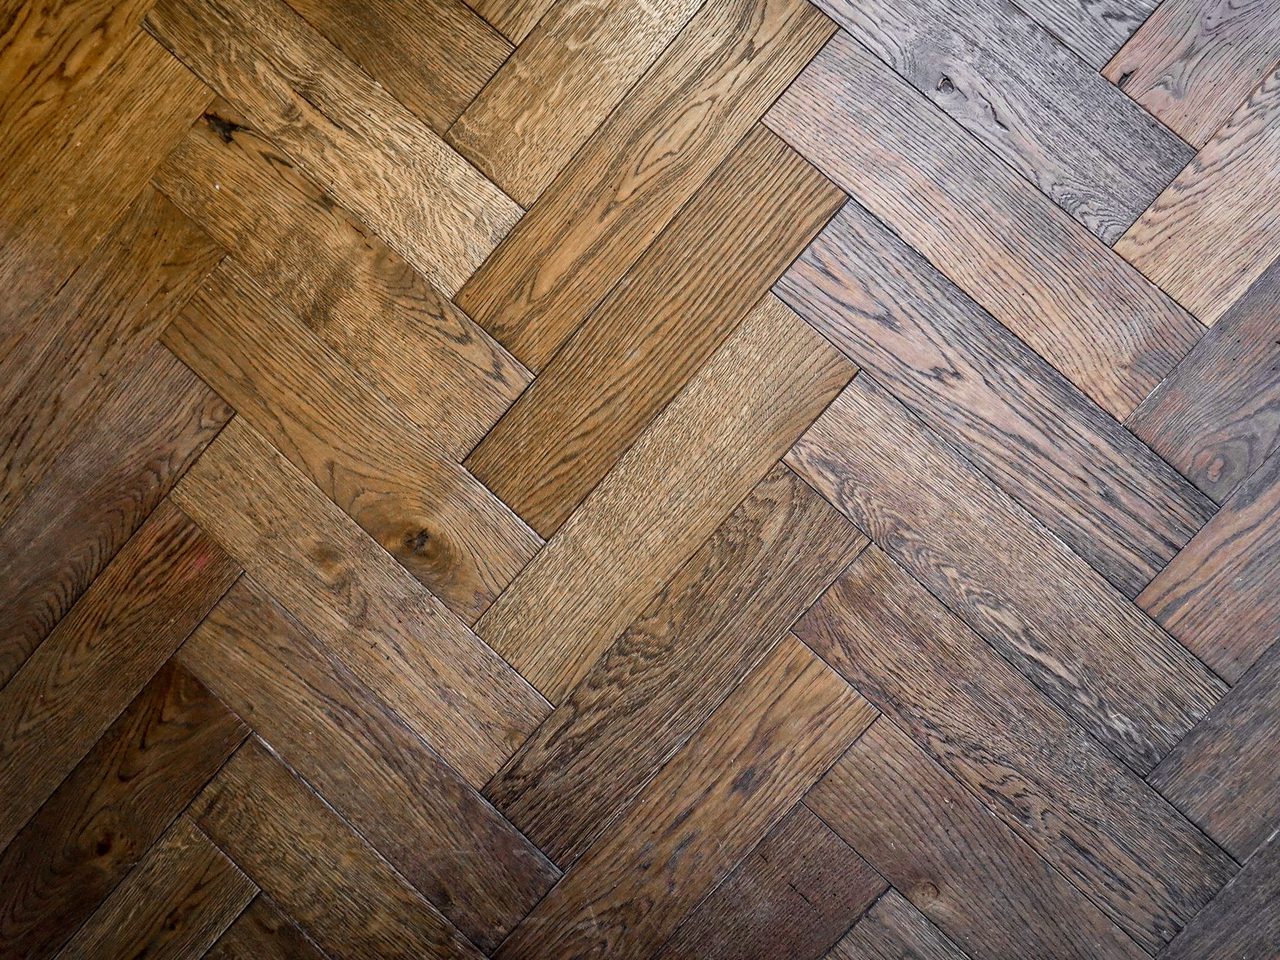
Herringbone click systems use two mirror-image planks. The RoyalPro instructions say every box contains 50% A planks and 50% B planks.1 Daltile's herringbone guide says the same in its own terms: every box contains the same number of left- and right-handed machined pieces.2 The two types lock together at right angles to form the pattern.
Mixing them up is the most common early mistake. The RoyalPro guide recommends separating A and B planks into individual stacks to reduce errors.1 Keep the stacks labeled and draw from several boxes at once, as with any vinyl floor, so color and pattern variation spread across the room.
The reference line comes first
A herringbone floor is laid off a line, not off a wall. Walls are rarely straight or square, and a pattern started against one inherits its errors. The usual method is to snap a reference line down the center of the room, or along the main sight line, and build the first rows along it. The RoyalPro instructions stress that the first few rows have to be installed correctly, and recommend a set square to keep the first planks at an exact 90 degree angle.1
On commercial floors the line deserves design attention. Decide with the design team which direction the pattern points, where it centers, and how it meets doorways, columns and changes of material. A pattern that lands awkwardly at a hotel entrance is visible to every guest.
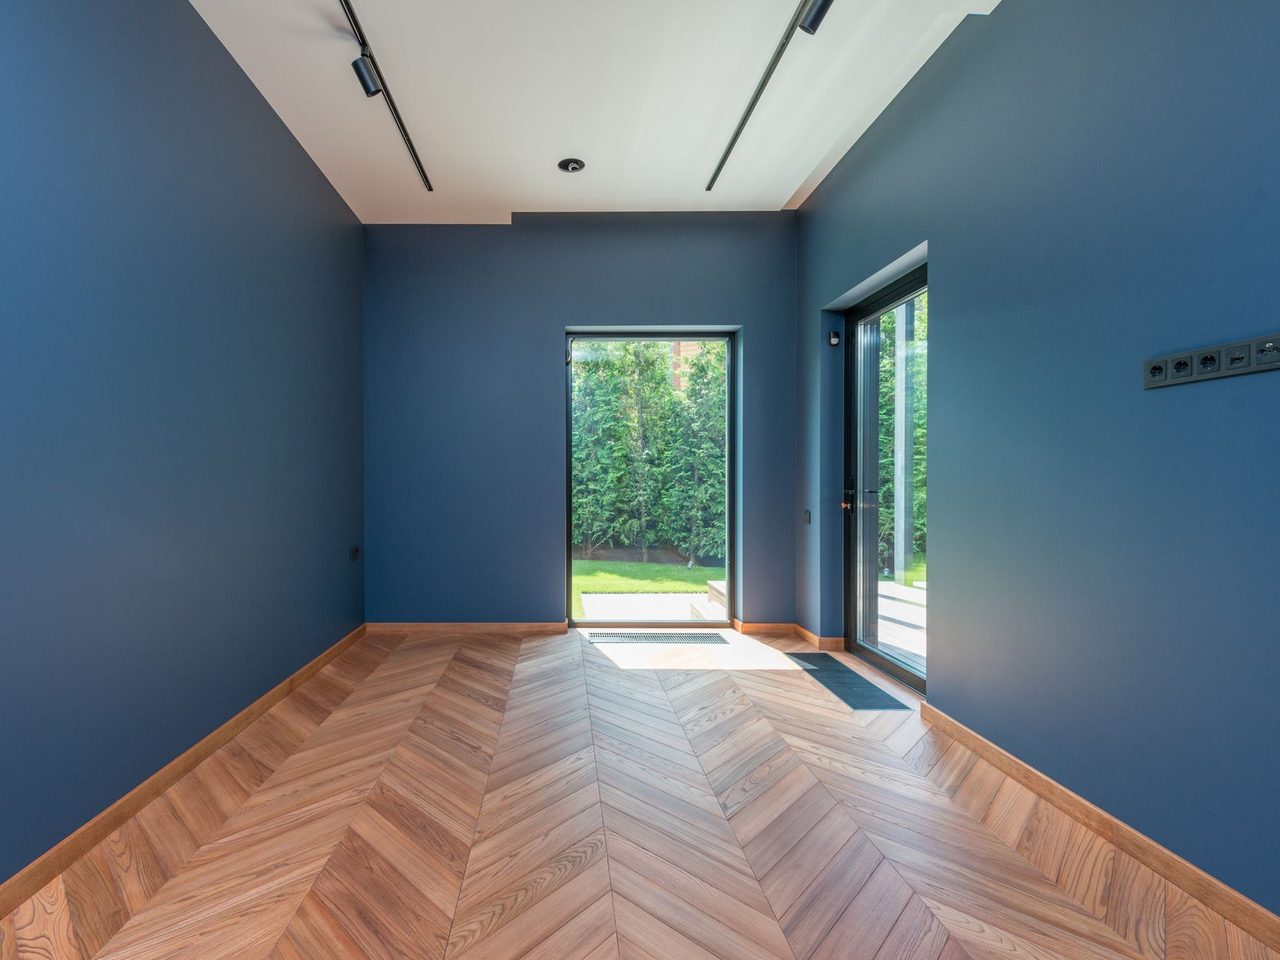
Expansion on a pattern floor
Herringbone does not change the physics. The floor still grows and shrinks, and a pattern floor has many short planks and many joints. The European guides set their perimeter space in millimeters.
- RoyalPro asks for a 6mm expansion gap around the perimeter and any solid objects, and around and under doorways.1 For floors over 100m², or longer than 10m in one direction, it requires a transition profile so the floor becomes two smaller areas.1
- objectflor's herringbone instructions set a minimum perimeter gap of 5 mm. For installations larger than 5 m x 5 m, they scale the gap at 1 mm per linear meter of room; a room 8 m x 4 m would need 8 mm.3
The scaling rule is worth noticing. It makes the gap grow with the floor, which no North American plank guide in our expansion gap comparison does. Use the rule in the guide for the product on the job. objectflor also asks for door frames and architraves to be undercut to allow for expansion.3
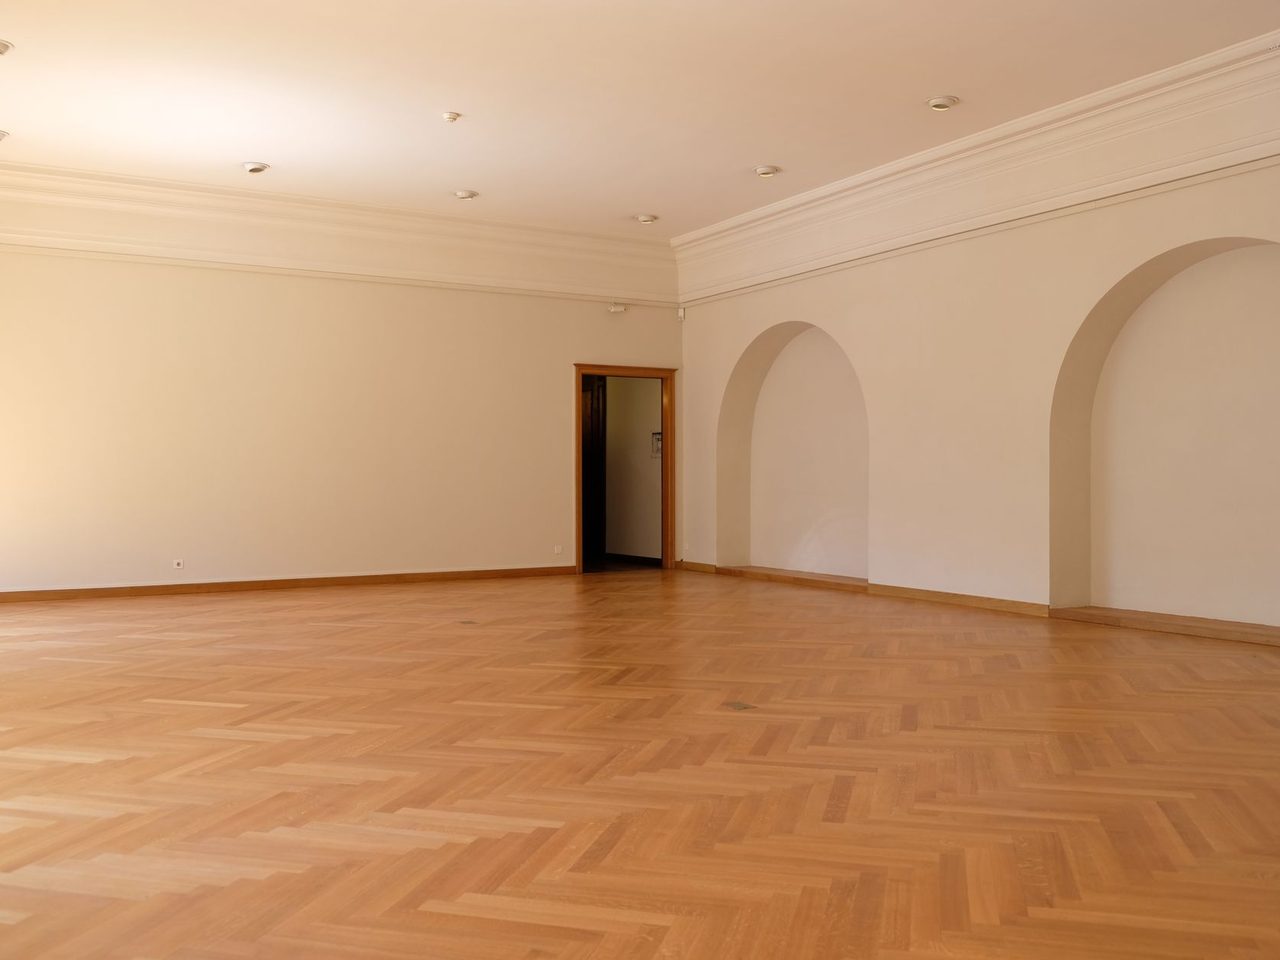
Laying and locking
Herringbone planks are locked in a set order, usually shown in the manufacturer's diagrams with numbers on the planks. RoyalPro asks installers to tap the long edges closed with a tapping block or soft rubber mallet, to close small gaps between rows.1 Daltile's herringbone instructions run the installation from left to right across the short pieces at the row ends.2 The order matters because each plank locks into two neighbors at once. A plank forced into the wrong position damages its lock, and the damage often shows only once the floor is loaded.
Acclimation applies as usual. objectflor asks for the material to be in the installation room for at least 48 hours before work begins.3
The substrate matters more
Short planks in a pattern have less lock length than long straight planks, and they follow the substrate closely. The RoyalPro instructions ask for a subfloor that is smooth and level, with no more than 3mm of variation.1 Check the floor with a straightedge in several directions before snapping the line. Low spots that a long plank would bridge can rock a herringbone joint.
Borders, edges and transitions
Pattern floors end in cut triangles along every wall. Many commercial designs finish them with a border of straight planks, which makes the edge read clean and gives the expansion space a straight line to sit behind. At doorways and material changes, a transition profile both finishes the pattern and provides the break the guides require on larger floors. Plan borders and transitions with the layout, not after the field is down.
A herringbone checklist
- Separate A and B planks into labeled stacks.
- Snap a reference line; never start the pattern off a wall.
- Check the first rows with a square before going further.
- Apply the guide's perimeter gap, and its break rule for large floors.
- Plan borders, doorways and transitions as part of the layout.
Sources
- Flooring King (RoyalPro), “RoyalPro Herringbone Installation Instructions”. cdn.flooringking.co.uk/wp-content/uploads/2023/07/FK_RoyalPro_Instructio
- Daltile, “ProSeries Luxury Vinyl Flooring Installation & Care Guide (Rigid Core Click, Glue Down)”. s1.img-b.com/build.com/mediabase/specifications/daltile/1996309/daltile-
- objectflor, “LVT Herringbone Click Installation Instructions”. objectflor.de/fileadmin/esign/V_LIV_H_CLIC_E_220106_181301.pdf
General information for the flooring trade. This article was drafted with AI assistance and checked against the sources listed above; the manufacturer's current instructions and the project specification govern any real job. If something here is wrong or out of date, tell us.