 SW-04 · LVP & Vinyl Installation
Transition strips finish exposed plank edges and provide the breaks that long or large floors need. The rule every guide repeats is the same: fasten the strip or its track to the subfloor, never through the planks.1 2 Where breaks are required differs: EverStep sets one every 30 feet, and Elite and Daltile limit sections to 100 by 100 feet.3 2 4
A transition strip has two jobs. It finishes the edge of the floor where it meets another surface, and on a floating floor it covers the expansion space at that edge. Shaw notes that transition strips also protect the edges of the planks.5 The strip that does those jobs well is invisible. The one fastened through the planks pins the floor, and the gap it was meant to cover stops working.
The types, briefly
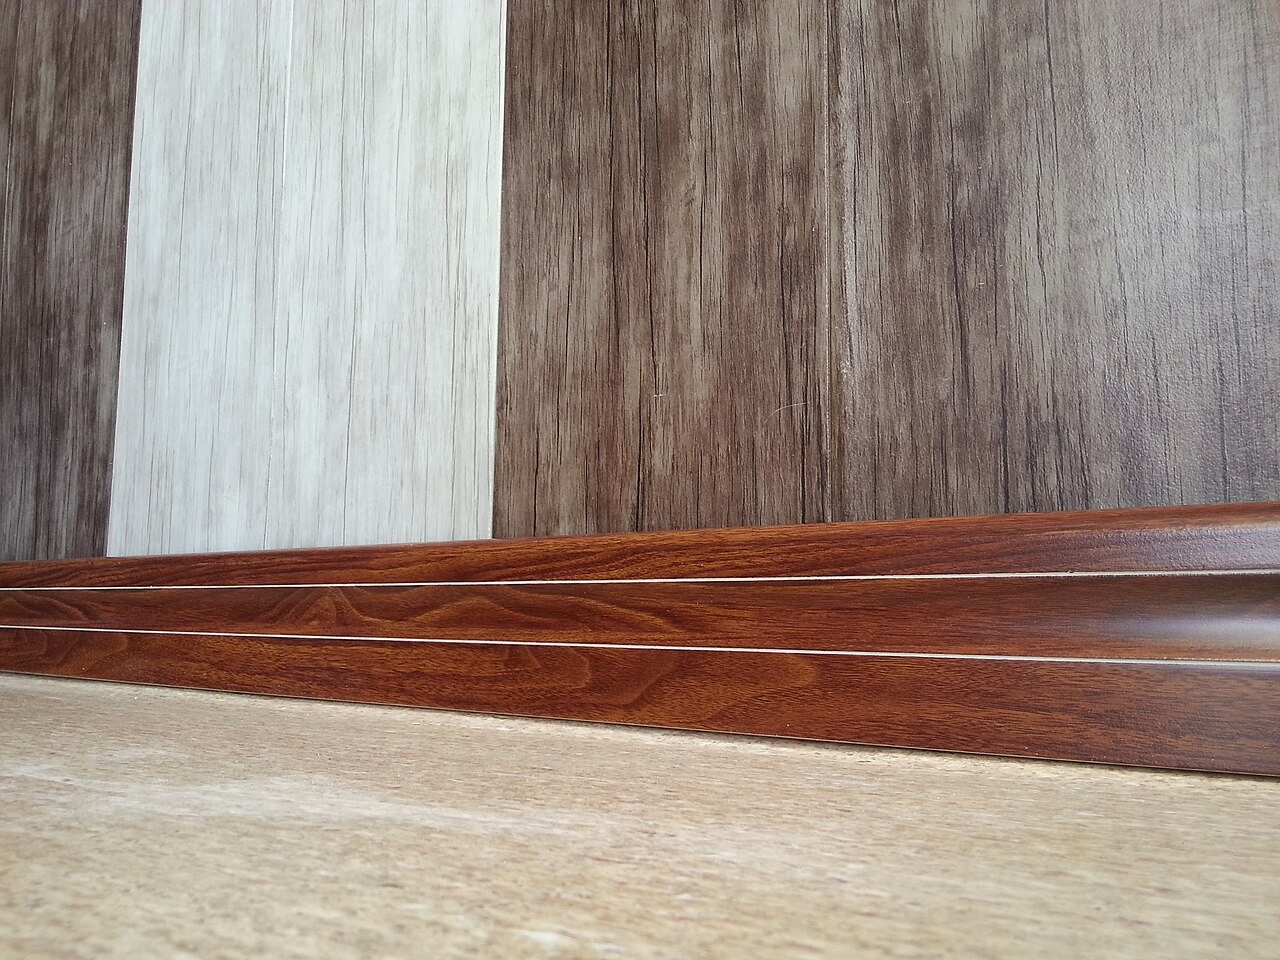
Elite's installation guide describes the common profiles. A T-molding finishes the floor where two level surfaces meet in a doorway, and adds expansion at that point. A reducer finishes the floor where the adjoining surface is lower, or where the flooring meets carpet.2 End caps and thresholds finish edges against vertical surfaces such as sliding doors. Elite also notes that stair nose molding finishes the floor at landings and stair edges.2
Where breaks are required
Most guides require transition breaks once a floor passes a set size. The thresholds differ, and commercial floors often hit them.
| Document | Where a transition break is required |
|---|---|
| EverStep, click-lock | A transition break every 30 feet, using a T-molding3 |
| Timeless Designs | Over 900 square feet or 30 linear feet, T-mold control joints with at least a 5/16 inch gap6 |
| National Flooring Products | Rooms over 50 lineal feet in length and width; 40 lineal feet over in-floor radiant heat7 |
| Marquis, rigid vinyl plank | Runs over 45 feet long or 25 feet wide; a T-mold can cover the gap1 |
| Elite Flooring, Välinge lock | Commercial: a T-molding in every doorway, and when a room run reaches 100 ft by 100 ft2 |
| Daltile ProSeries | Sections no larger than 100 by 100 feet, with transitions that keep a 3/8 inch expansion space4 |
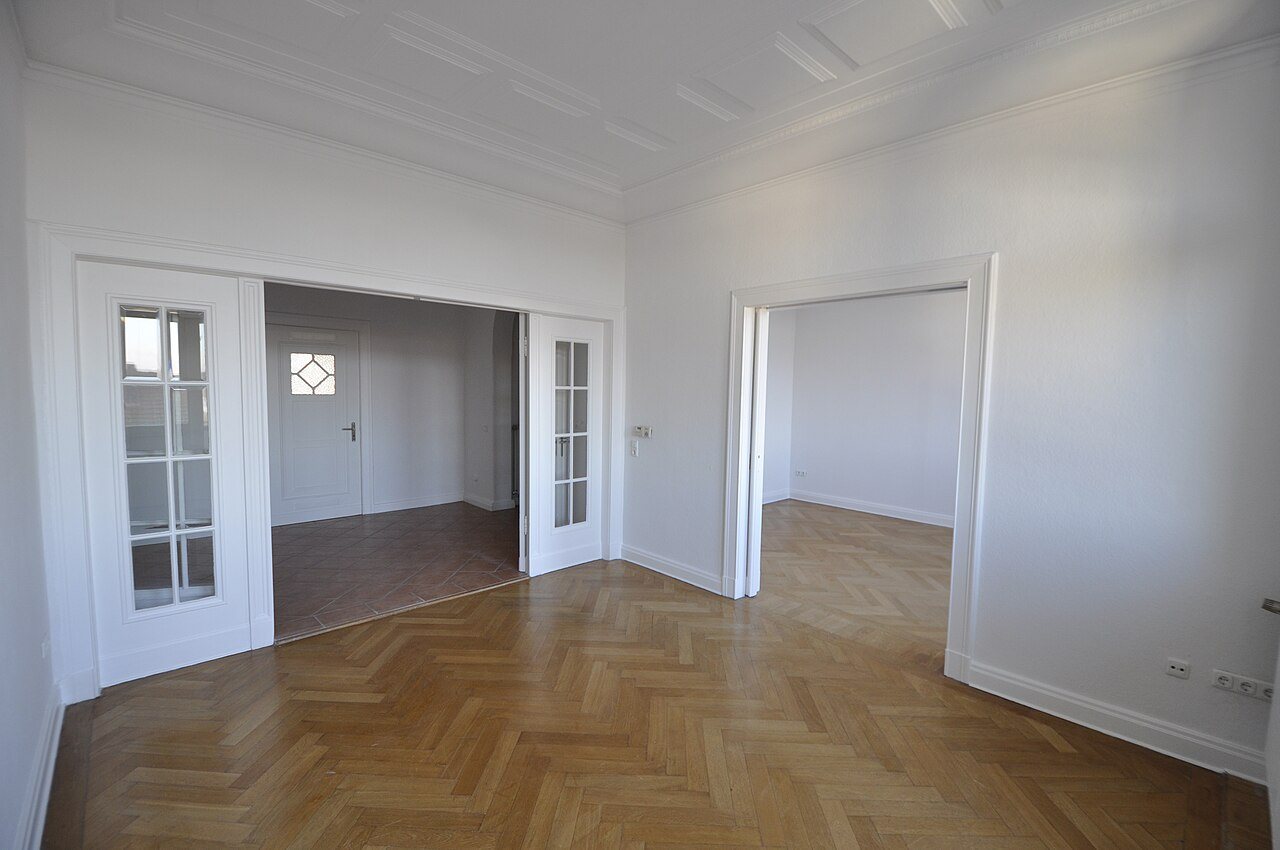
The doorway rule deserves attention on commercial work. Elite recommends a T-molding in every doorway for commercial installations.2 Doorways are where rooms with different conditions meet, and where a continuous floor is most likely to be pinched by a jamb or a door stop. A break there costs little and isolates each room's movement.
Fasten the strip, not the floor
Every guide repeats the core rule. Marquis says not to fasten trim, molding or transition pieces directly to the floor.1 Timeless says transition strips should be installed at exposed plank edges but not fastened through the planks.6 Elite says never to fasten moldings or transition strips to the planks.2
Most profiles solve this with a track. Elite's instructions call for the track to be screwed, nailed or glued to the subfloor. It is positioned to leave an expansion gap of at least 3/8 inch from each floor edge, and the reducer is then inserted into it.2 Daltile asks for transition strips to keep a 3/8 inch expansion space as well.4 The floor slides under the profile's lip. Nothing passes through it.
Common mistakes
- Construction adhesive on the plank. Gluing a profile to the floor pins it as surely as a screw.
- A gap that is too tight. The planks butt against the track, so the floor has no room to grow under the profile.
- Caulk that hardens. Elite approves only 100% silicone caulk where caulk is needed, because acrylic caulk hardens and stops the floor from floating.2
- No break at all. A continuous floor through a series of rooms and doorways, past the product's run limit.
Breaks over radiant heat and in the sun
Heat makes the breaks more important, and some guides tighten the rule for it. National Flooring Products requires transition breaks over in-floor radiant heat once a floor exceeds 40 feet in length or width, compared with 50 lineal feet otherwise.7 Sun has the same effect from above. Marquis asks for blinds, curtains or shades to keep the product from overheating in direct sunlight.1 On a storefront or an atrium floor, a break at the edge of the sun-loaded zone can do as much as one at a doorway. Coordinate it with the design team, because a transition in the middle of a floor is a visible line.
Install the profile last
Lay the floor, check that every row is engaged, then fit the profile. National Flooring Products warns that a row can look engaged when it is not.7 A profile installed over a partly locked joint hides it until it opens. Before fitting the track, confirm the expansion space is clear of debris, spacers and adhesive, along its full length. A single forgotten spacer under a T-molding can pin a floor as surely as a screw.
Height and accessibility
Transitions also handle height. A reducer that ramps down to a thinner floor or to a concrete walk-off area is a tripping edge if it is too steep. On commercial projects, threshold and transition heights may need to meet the accessibility requirements that apply to the building. Check those before selecting profiles. The threshold profiles guide covers metal and vinyl options for retail and office spaces.
Sources
- Marquis Industries, “Rigid Vinyl Plank Installation Instructions (Angle)”. marquisind.com/static/resources/Angle_Angle%20Installation%20Instruction
- Elite Flooring, “Välinge Installation Guide (Woodlands)”. eliteflooringusa.com/links/install-instructions/Elite-Installation-Guide
- EverStep Flooring, “LVP Click Lock Installation Guidelines”. everstepflooring.com/lvp-click-installation-guidelines/
- Daltile, “ProSeries Luxury Vinyl Flooring Installation & Care Guide (Rigid Core Click, Glue Down)”. s1.img-b.com/build.com/mediabase/specifications/daltile/1996309/daltile-
- Shaw Floors, “Vinyl Flooring Installation | Shaw Floors”. shawfloors.com/en-us/plan-and-install/vinyl
- Timeless Designs, “Click Floating Luxury Vinyl Installation Instructions”. timelessdesignsflooring.com/wp-content/uploads/2023/05/TD-Rigid-Core-Ins
- NFP, “Architect’s Choice LVP Installation Guide”. my-nfp.com/resource/architects-choice-lvp-installation-guide
General information for the flooring trade. This article was drafted with AI assistance and checked against the sources listed above; the manufacturer's current instructions and the project specification govern any real job. If something here is wrong or out of date, tell us.