 SW-04 · Subfloors & Moisture
Most published vinyl installation guides set the same flatness tolerance: no more than 3/16 inch in 10 feet, often with 1/8 inch in 6 feet as a second check.1 2 Flat is not the same as level, and a slab that meets a concrete F-number specification can still fail a flooring straightedge. Grind the highs, fill the lows, and follow a recognized practice when a self-leveling underlayment is needed.3
Rigid-core vinyl hides a lot, but not a hump or a dip. A plank bridging a low spot flexes under every step. The locking joints take the strain. A glued floor over a high spot wears through at the peak and shows every ridge in raking light. Flatness is the substrate check most likely to be skipped when a schedule slips, and one of the easiest to measure.
One tolerance, stated almost everywhere
Manufacturers disagree about many installation details. On flatness, the published guides converge. These are the tolerances stated in seven installation documents for vinyl and rigid-core flooring.
| Document | Flatness tolerance | Also stated |
|---|---|---|
| Marquis, rigid vinyl plank | 3/16 inch in 10 feet or 1/8 inch in 6 feet | Stated as "level to within"1 |
| Timeless Designs, click floating vinyl | 3/16 inch in a 10 ft radius and/or 1/8 inch in a 6 ft radius | Clean, smooth and dry as well2 |
| FloorFolio | 1/8 inch in 6 feet or 3/16 inch in 10 feet, for concrete | Smooth as well as flat4 |
| National Flooring Products, Architect's Choice | 3/16 inch dip or rise in 10 feet, or 1/8 inch in a 6-foot radius | Deflection no more than 1/4 inch in a 6-foot radius, or 1/16 inch between joists5 |
| Elite Flooring, Välinge lock | 3/16 inch in a 10-foot radius | Slope no more than 1 inch per 6 feet6 |
| EverStep, glue-down LVP | 3/16 inch in a 10 foot span, concrete or wood | Applies to wood underlayment too7 |
| EverStep, click-lock LVP | Fill low spots greater than 3/16 inch in a 10 foot span | With a Portland cement leveling compound8 |
The agreement is useful. It means a flatness survey done for one resilient product is usually valid for another. The differences sit in the second line of each row: some guides add a deflection limit for wood floors, one adds a slope limit, and the click and glue-down versions of the same product are worded differently.
Flat is not level
The two words get used interchangeably on site. They mean different things. Schonox, a Sika brand of floor preparation products, puts it plainly: flat means the floor has no undulations and is consistent across the plane, while level means it is horizontal.9 It quotes the trade saying that level is desired and flat is required.9
A floor can slope gently from one wall to the other and still be perfectly flat; most resilient flooring will not care. A floor can be level overall and still be full of humps and dips; every rigid plank will. Elite's guide is one of the few that limits slope as well as flatness.6 Where a space needs true level, for machinery, medical equipment or long casework runs, that is a separate requirement for the design team to specify.
F-numbers and the straightedge
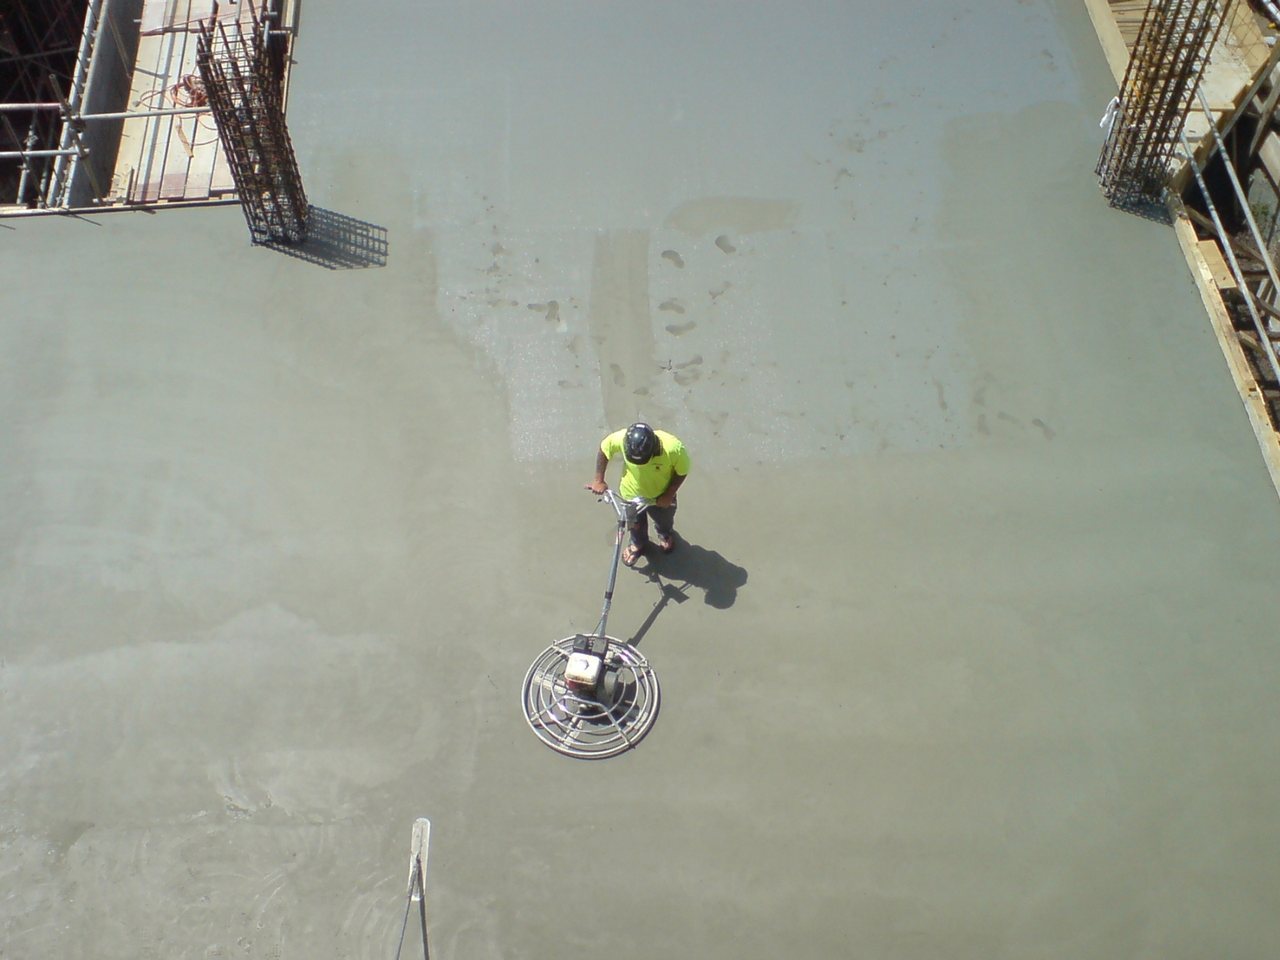
Commercial concrete is often specified by F-numbers. ASTM E1155 is the test method that produces them; it gives statistical information about floor surface profiles and is used to show that a floor meets specified flatness and levelness tolerances.10 The same standard is also used to investigate the curling and deflection of floor surfaces.10
The catch for flooring contractors is that an F-number describes the slab as a whole. A floor can meet its overall number and still have a local dip that fails a flooring manufacturer's 10-foot check.1 A slab edge can also curl after the survey was taken. The concrete and flooring specifications measure flatness differently. So the flooring contractor should check the area against the flooring tolerance before accepting the substrate, and put any deficiency in writing.
How to check a floor
The guides express tolerance over a distance, so measure over that distance. Lay a straightedge on the floor in several directions, especially across slab joints, along walls, and at doorways where two pours or two subfloors meet. Look for the largest gap under it. Note any point where it rocks on a high spot. Mark highs and lows on the floor as you go, and record them on a plan; the marks guide the correction and the plan becomes part of the job record.
On wood floors, walk it as well as measure it. National Flooring Products sets a deflection limit for that reason: no more than 1/4 inch in a 6-foot radius when the floor is walked on, or 1/16 inch between joists.5 Flatness at rest does not help if the floor moves under load.
Grind the highs, fill the lows
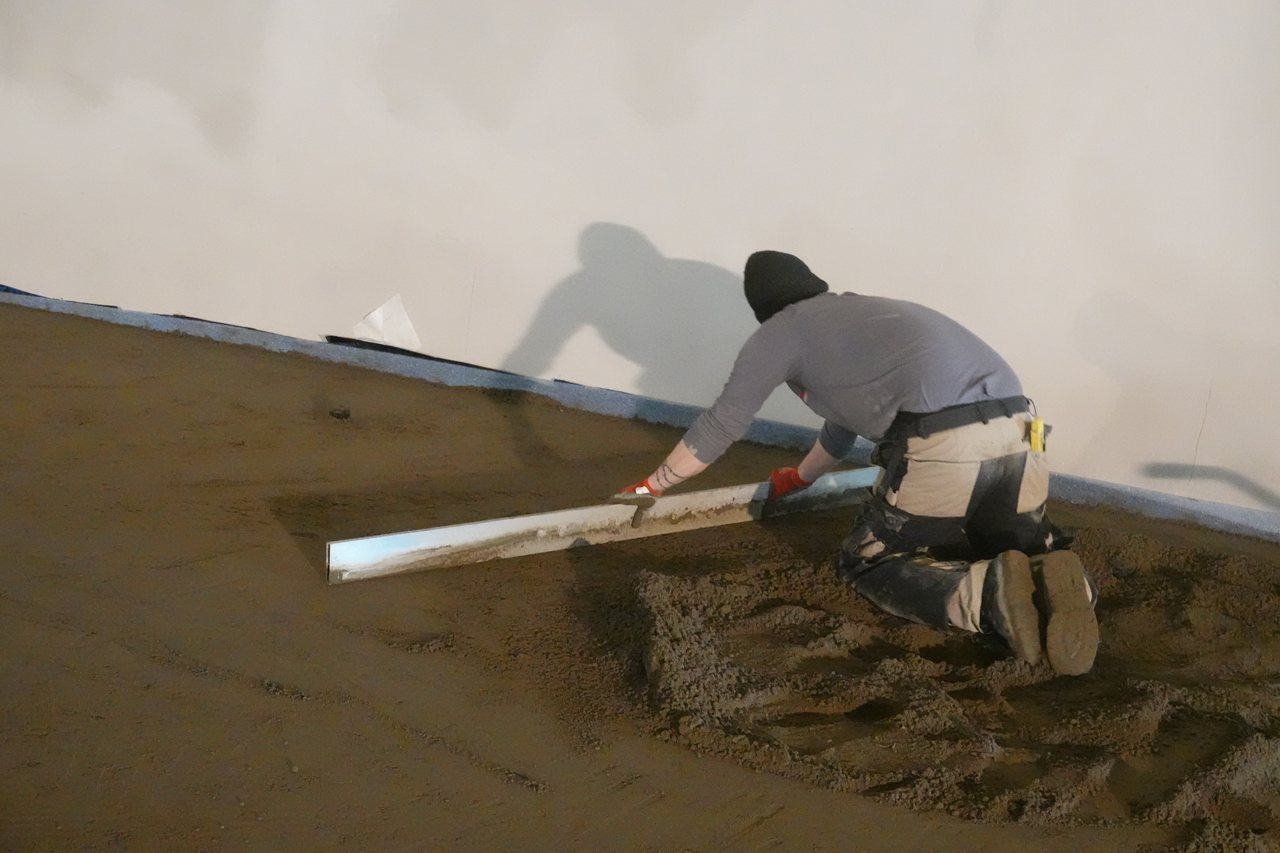
High spots come out mechanically: diamond grinding on concrete, sanding or planing on wood. Low spots are filled. EverStep's click instructions call for a Portland cement leveling compound for low spots beyond its tolerance.8 Most corrections stop there.
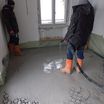
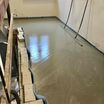
When the whole area is out, a self-leveling underlayment is the usual fix. ASTM F2873 is the standard practice for installing self-leveling underlayment and preparing its surface to receive resilient flooring; it covers preparation of the subfloor, installation methods and quality control.3 Manufacturers add their own requirements. Dayton Superior's data sheet calls for mechanically profiling the concrete by grinding, shot blasting, sand blasting or scarifying to a concrete surface profile of CSP3 before priming.11 Proma's guide asks for radiant heat to be off and the area protected from wind, draft, sun and heat during installation and for at least 72 hours afterward.12 The self-leveler guide covers priming, mixing and cure in detail.
Who owns flatness on a commercial job
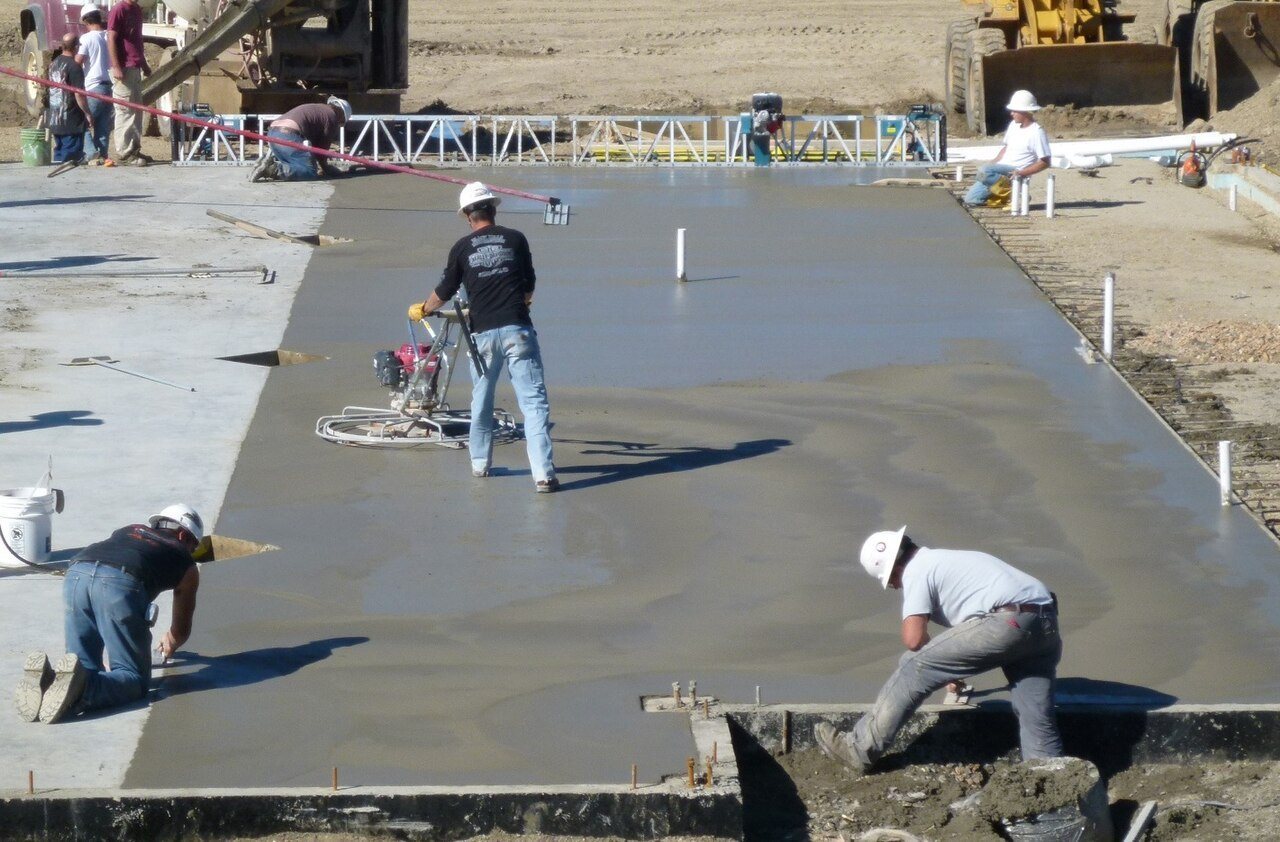
On new construction, the concrete contractor delivers a slab to a specification, and the flooring contractor installs to a manufacturer's tolerance. The gap between those two documents is where disputes start. Settle it in advance. Identify which tolerance governs the flooring areas. Include floor preparation as a defined line item or an allowance. Survey the floor before mobilizing. A flatness problem found at the pre-installation walk is a change order. The same problem found after the floor fails is a warranty claim, and the flooring contractor usually loses it.
Sources
- Marquis Industries, “Rigid Vinyl Plank Installation Instructions (Angle)”. marquisind.com/static/resources/Angle_Angle%20Installation%20Instruction
- Timeless Designs, “Click Floating Luxury Vinyl Installation Instructions”. timelessdesignsflooring.com/wp-content/uploads/2023/05/TD-Rigid-Core-Ins
- ASTM International, “F2873 Standard Practice for the Installation of Self-Leveling Underlayment and the Preparation of Surface to Receive Resilient Flooring”. store.astm.org/f2873-20.html
- FloorFolio, “Installation Guide 2025”. floorfolio.com/wp-content/uploads/2025/FloorFolio-Installation-Guide-202
- NFP, “Architect’s Choice LVP Installation Guide”. my-nfp.com/resource/architects-choice-lvp-installation-guide
- Elite Flooring, “Välinge Installation Guide (Woodlands)”. eliteflooringusa.com/links/install-instructions/Elite-Installation-Guide
- EverStep Flooring, “LVP Glue Down Installation Guidelines”. everstepflooring.com/technical/lvp-glue-down-installation-instructions/
- EverStep Flooring, “LVP Click Lock Installation Guidelines”. everstepflooring.com/lvp-click-installation-guidelines/
- HP Subfloors, ““Flat is a Must – Level is a Plus”: A Guide to Perfect (Or Near-Perfect) Floors - Schonox | A Sika Brand”. hpsubfloors.com/flat-is-a-must-level-is-a-plus-a-guide-to-perfect-or-nea
- ASTM International, “E1155 Standard Test Method for Determining FF Floor Flatness and FL Floor Levelness Numbers”. store.astm.org/e1155-20.html
- Dayton Superior, “dayton-slu”. tccmaterials.com/wp-content/uploads/2020/07/data_Self-Leveling-Floor-Und
- Proma, “proma-slu”. proma.us/wp-content/pdf/SPG/proma_SPG_self_leveling_0620E.pdf
General information for the flooring trade. This article was drafted with AI assistance and checked against the sources listed above; the manufacturer's current instructions and the project specification govern any real job. If something here is wrong or out of date, tell us.


.jpg)
