 SW-04 · Subfloors & Moisture
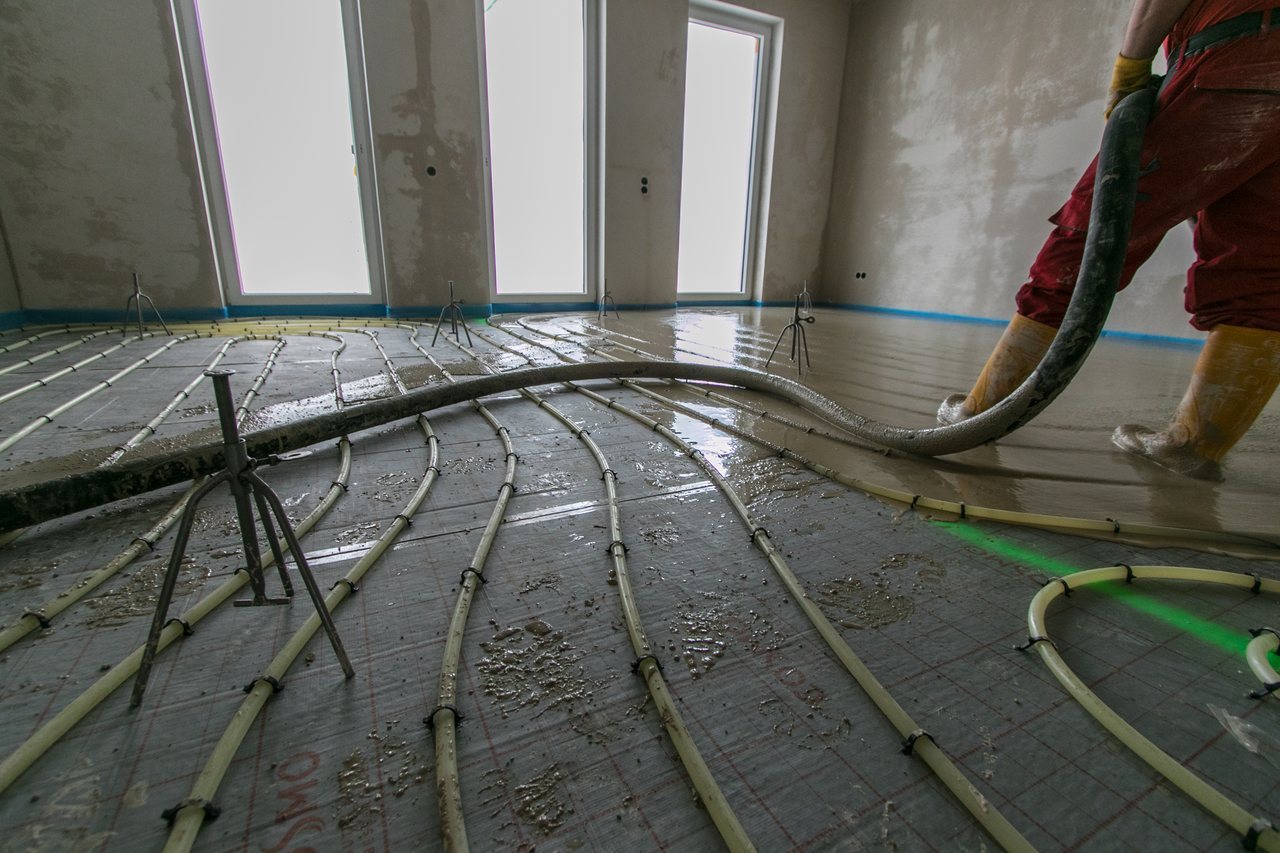
Self-leveling underlayment fails soft or loose for predictable reasons: a contaminated or unprofiled substrate, missing or wrong primer, too much water, or poor curing conditions. ASTM F2873 sets out the recognized practice, and each product's data sheet sets the limits.1 Extra water is the most common shortcut, and Quikrete warns it causes separation, lower strength and shrinkage.2
A self-leveling underlayment should cure into a hard, flat surface that resilient flooring and its adhesive can bond to. When it goes wrong, it goes wrong in the same few ways: a surface that powders under a fingernail, patches that sound hollow, a skin that peels away with the adhesive. None of those are mysteries. They are the result of decisions made on the day of the pour, and the product data sheets name every one.
The practice, then the product
ASTM F2873 is the standard practice for installing self-leveling underlayment and preparing its surface to receive resilient flooring. It gives minimum recommendations covering subfloor preparation, installation methods and quality control.1 It is the document to cite in a commercial specification, because it ties the underlayment to the flooring that goes over it.
Each underlayment then adds its own requirements, and they are not interchangeable. A primer from one system is not a substitute for another's. A thickness range or a cure time from one data sheet does not carry over. Treat the data sheet for the exact product as part of the installation instructions.
Step 1: a sound, clean, open surface
Most debonding starts below the underlayment. Proma's installation guide tests readiness with water: once clean, concrete should absorb water freely and darken slightly, with no beading.3 Water that beads is sitting on a sealer, a curing compound or a contaminant, and the underlayment will bond to that instead of the slab. The same guide warns that weak or poorly bonded layers must be removed mechanically, and that loose or hollow-sounding existing floor coverings will not be corrected by an underlayment poured over them.3
Profile matters as much as cleanliness. Dayton Superior's data sheet calls for mechanical profiling by grinding, shot blasting, sand blasting or scarifying to a concrete surface profile of CSP3 for maximum bond.4 Old adhesive needs testing too. Dayton requires water-soluble adhesive to be removed mechanically, and allows its primer only over residues that do not dissolve in water.4
Step 2: the primer the system calls for
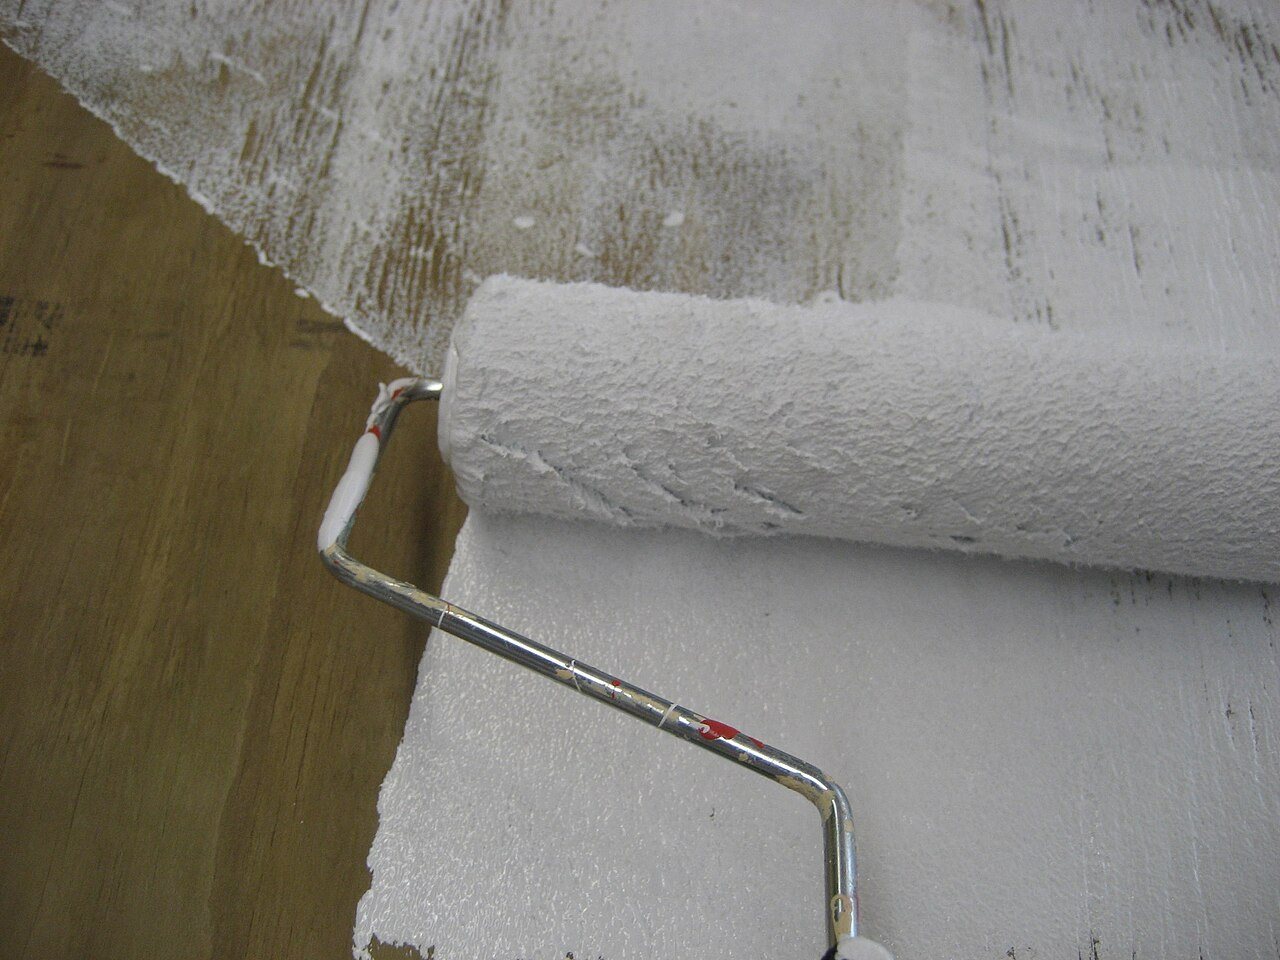
Primer does two jobs. It promotes bond, and it controls how fast a porous substrate pulls water out of the fresh underlayment. Pour onto thirsty concrete without it, and the bottom of the layer can be starved of the water it needs to cure. Sika describes its SikaLevel Primer as an acrylic primer and sealer for absorbent substrates such as concrete and cement screeds, used to enhance the bond of the underlayment.5 Some systems mix their primer from a bonding product. Quikrete's resurfacer calls for 1 part of its concrete bonding adhesive blended with 2 parts water, allowed to dry to the touch, which takes about 1 to 2 hours depending on conditions.2
Primer has limits. The TEC underlayment primer is not to be applied over wet areas, meaning standing water or damp substrates.6 Proma states that priming is required for its self-leveling underlayments once the surface is properly prepared.3 Skipping it saves an hour and risks the whole pour.
Step 3: the water on the bag, and no more
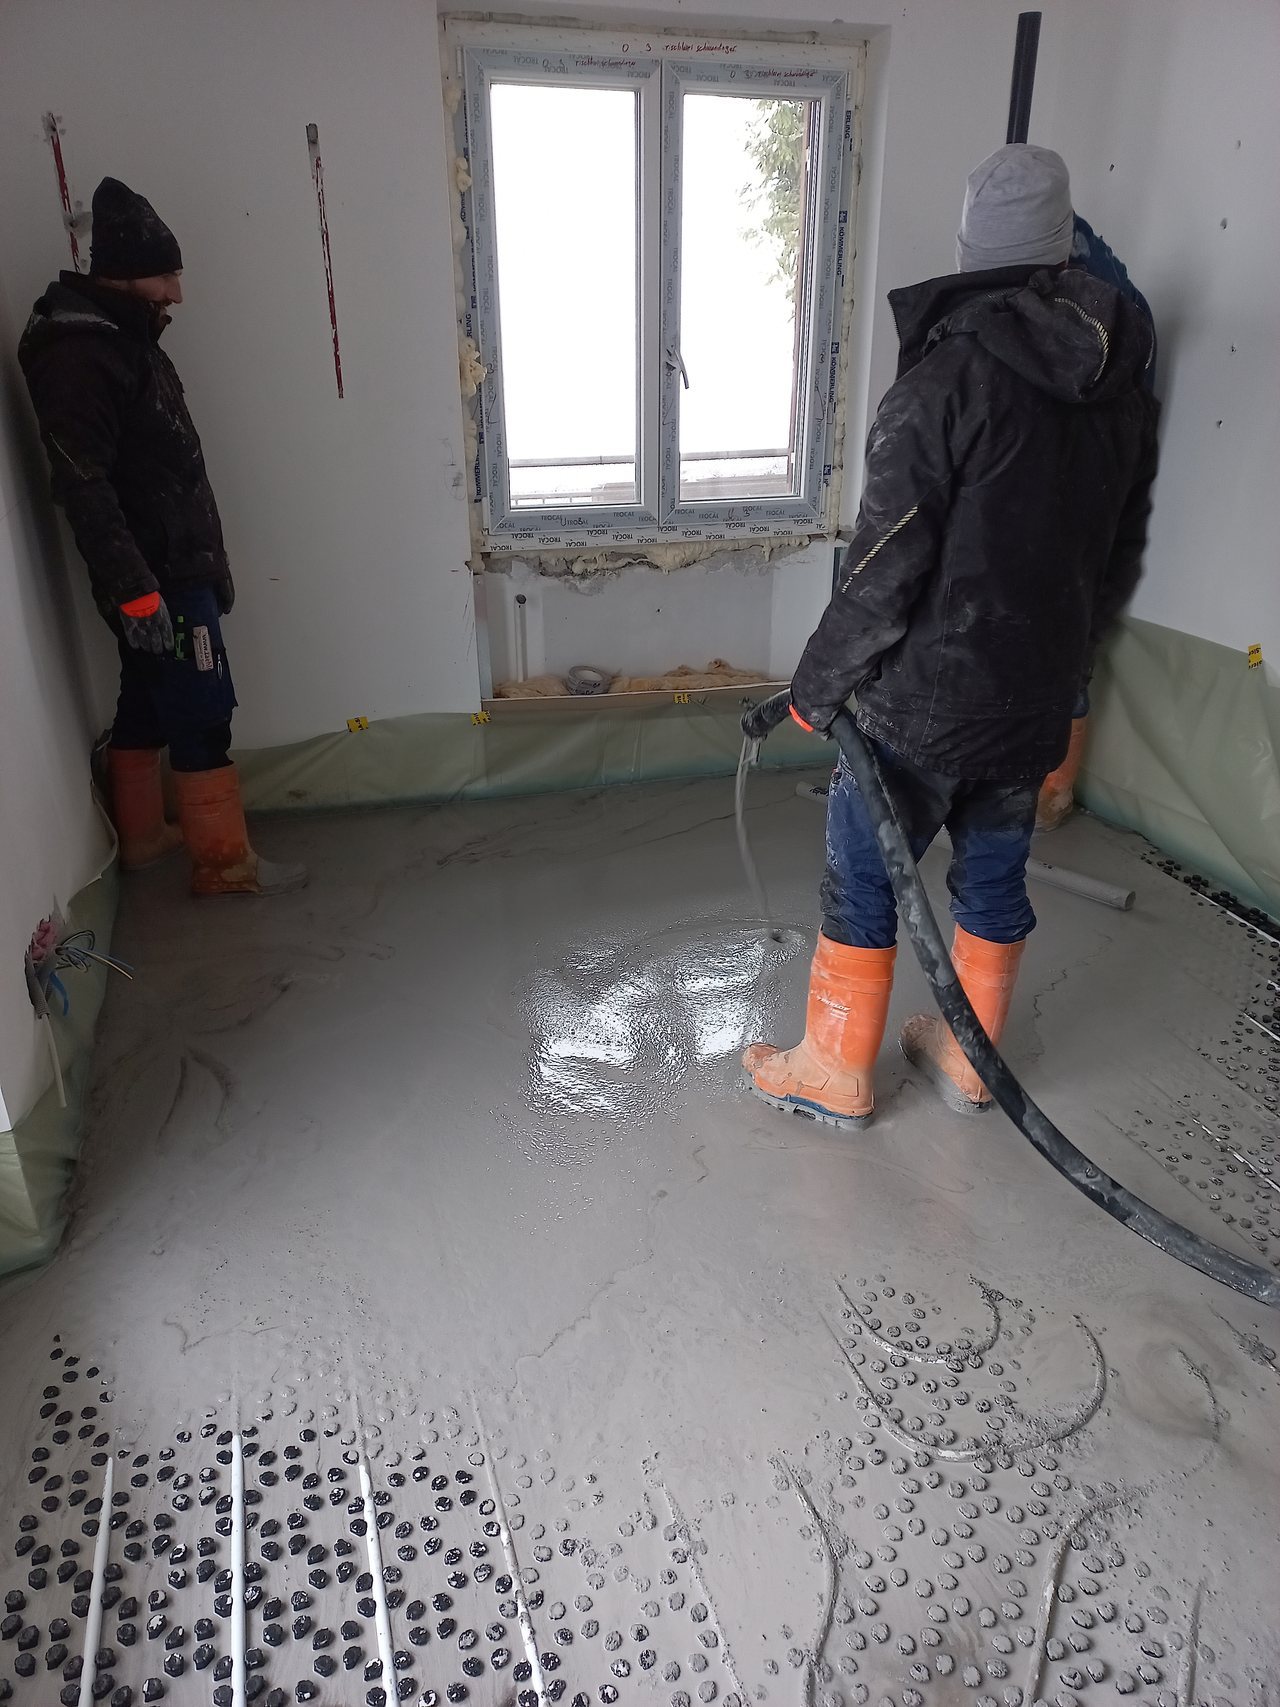
Extra water is the most common shortcut on site, because it makes the material flow further and easier. It is also the most common cause of a weak surface. Quikrete's data sheet says it directly: higher water contents can cause separation, reduction of strength and shrinkage of the cured underlayment.2 Separation leaves a weak, cement-poor layer at the top, exactly where the flooring adhesive has to bond.
Mixing is specified too. Quikrete calls for mechanical mixing for a minimum of 4 minutes, in a mortar mixer or in a 5 gallon bucket with a heavy-duty drill and paddle capable of 650 RPM or more, always adding the dry material to the water.2 Dayton asks for water and powder to be acclimated to between 65°F and 75°F for a minimum of 24 hours before mixing.4 A cold bag and cold water change how the material flows and sets.
Step 4: thickness and cure conditions
Every product has a working thickness range. Dayton's Akona underlayment, for example, lists applications from 1/8 to 2 inches.4 Feathering below a product's minimum, or building up beyond its maximum in one lift, takes the material outside what it was tested for.
Cure conditions matter as much as the mix. Proma asks for radiant floor heating to be turned off and the area protected from direct wind, draft, sun and heat during installation and for at least 72 hours after the work is done.3 A fan pointed at a fresh pour, or afternoon sun through a storefront, dries the surface before the material underneath has cured. Strength builds over days, not hours. Dayton lists compressive strength above 1,500 psi at 4 hours, above 2,500 psi at 24 hours and above 4,500 psi at 7 days.4 Walkable is not the same as ready for flooring, and the flooring manufacturer's moisture limits still apply to the cured underlayment.
Checking the result before the flooring goes down
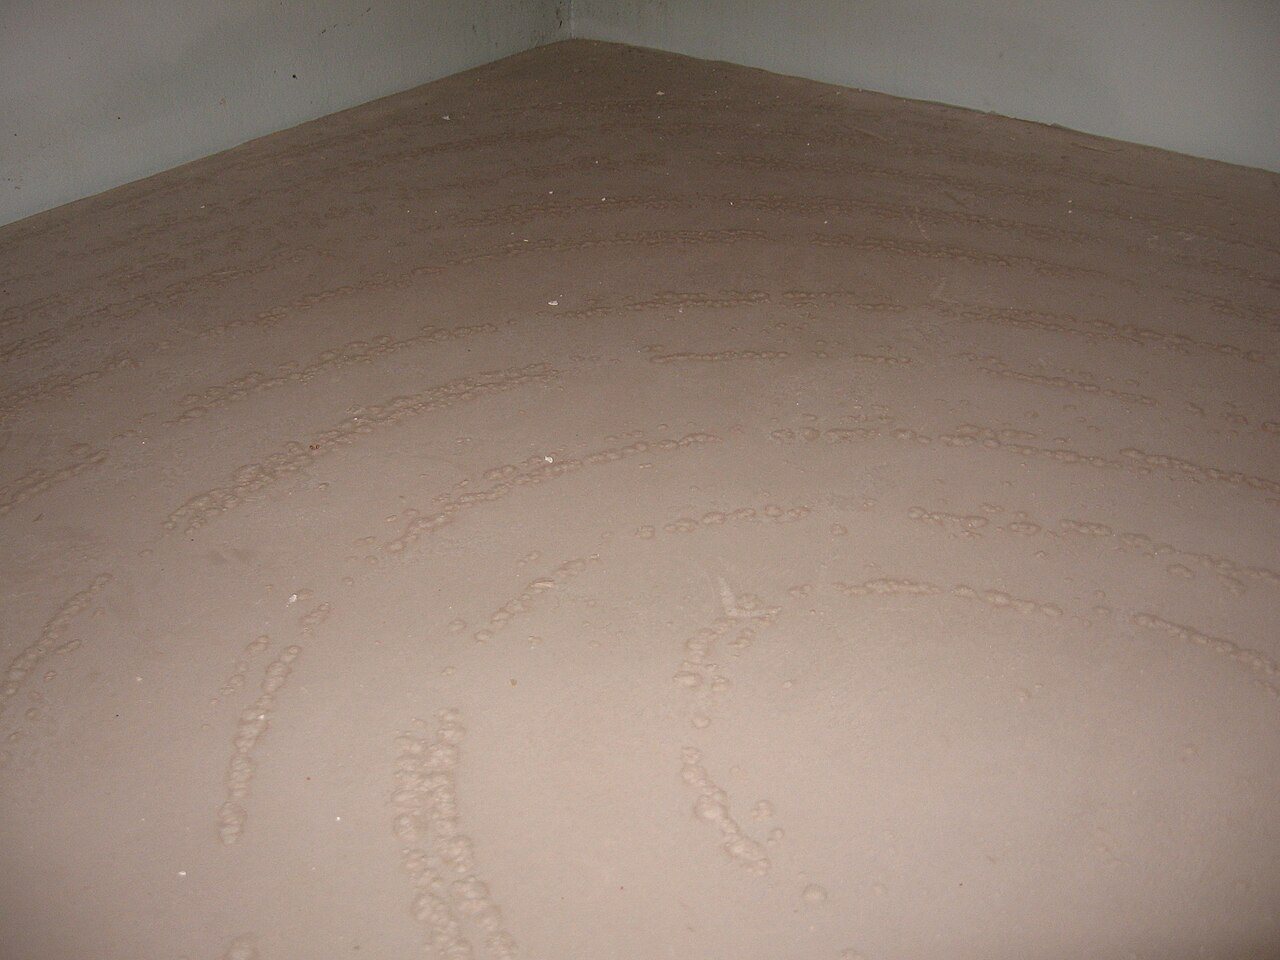
Before accepting a self-leveled area, check it the way the flooring will. Scratch the surface with a key or a nail: it should resist, not powder. Sound it with a hammer or a chain for hollow areas. Check flatness again with a straightedge, because a pour can level in one direction and leave ridges at the joints between batches. Then test moisture to the flooring manufacturer's requirements. Any failure found at this stage is a repair. The same failure found under a finished floor is a replacement.
On commercial work, record the product, batch numbers, water added per bag, primer used, thickness, temperatures and the date of each pour. If the flooring later fails, that record is what shows whether the underlayment was installed to its data sheet.
Sources
- ASTM International, “F2873 Standard Practice for the Installation of Self-Leveling Underlayment and the Preparation of Surface to Receive Resilient Flooring”. store.astm.org/f2873-20.html
- Quikrete, “quikrete-slu”. quikrete.com/pdfs/data_sheet-self-leveling%20floor%20resurfacer%201249-5
- Proma, “proma-slu”. proma.us/wp-content/pdf/SPG/proma_SPG_self_leveling_0620E.pdf
- Dayton Superior, “dayton-slu”. tccmaterials.com/wp-content/uploads/2020/07/data_Self-Leveling-Floor-Und
- Sika, “SikaLevel® Primer | Primers”. usa.sika.com/retail/en/products-catalog/subfloor-prep/primers/sikalevel-
- Custom Building Products (via Lowe's), “lowes-slu-howto”. pdf.lowes.com/howtoguides/720468369159_how.pdf
General information for the flooring trade. This article was drafted with AI assistance and checked against the sources listed above; the manufacturer's current instructions and the project specification govern any real job. If something here is wrong or out of date, tell us.
.jpg)


