 SW-04 · Troubleshooting & Repairs
Flash coving runs the sheet floor up the wall as its own base, over a cove stick at the corner and into a cap strip at the top.1 Without the cove stick behind it, the material can be punctured; AHF notes most cove sticks have about a 7/8″ radius.1 Codes usually treat flash cove like baseboard trim for fire rating, and AHF cites a maximum of 8″.1 Corners and seams decide the result.2
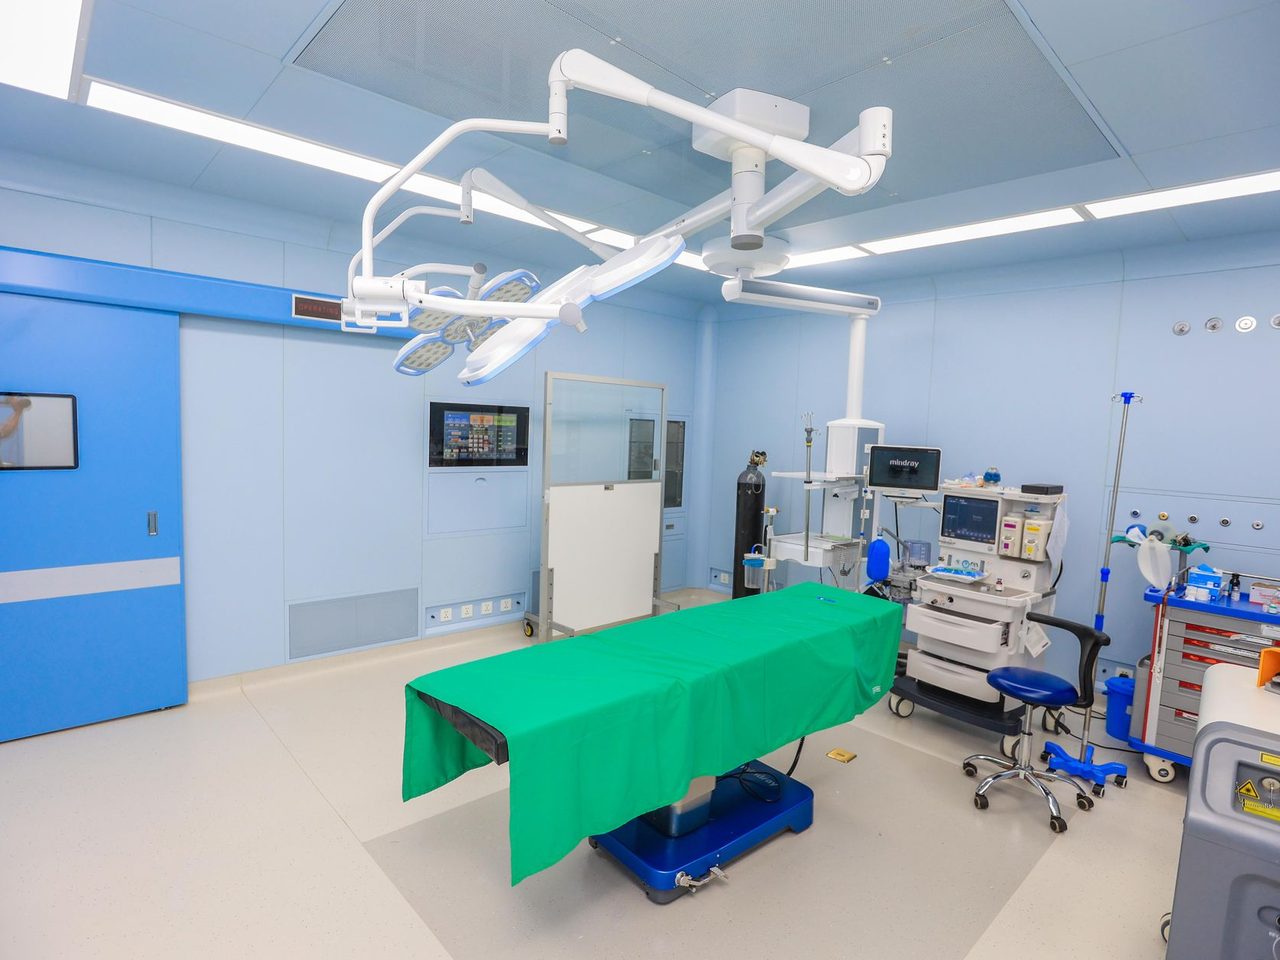
In an operating room or a lab, the line where floor meets wall is where dirt and fluids collect. A separate wall base leaves a joint there. Flash coving removes it. The sheet floor is turned up the wall to form its own base, with a curved transition at the corner and a cap at the top. The result is one continuous surface that can be cleaned in a single pass. It is also one of the hardest details in flooring to install well.
What flash cove is
AHF's flash cove instructions define it as an extension of the sheet flooring up the wall to form a wall base.1 It can be done as one-piece flash coving, border flash coving, or two-piece flash coving.1 David Gross of INSTALL, writing in The Construction Specifier, describes it as continuing the heat-welded seam principles up the wall for 102 mm (4 in.) or more.2 He notes it is very common in operating rooms, ICUs and laboratories, where cleanability, durability and long-term performance are critical.2
The parts behind the vinyl
Two pieces of trim hold the shape. A cap or binder strip goes on the wall at the finished height, and a cove stick fills the corner where the wall meets the floor.1 AHF explains why the cove stick matters: if there is no support behind the material, it can be punctured.1 It notes cove sticks usually have approximately a 7/8″ radius, though other sizes exist.1 Cove sticks come in wood, plastic or wax, and on concrete floors they are cemented to the wall and floor.1
VPI's instructions for flash coving its vinyl tile install the cove cap and cove stick with contact adhesive and 1 1/2 " masking tape, or staples or brads, and let them dry over night.3 The trim is set before the flooring goes in, so its line is the line the finished cove will follow. Set the cap strip to a chalk line. A wavy cap is visible across the whole room.
The wall has to be ready
The vinyl copies whatever is behind it. AHF says concrete walls should run all the way down to the floor line and be smooth, even, free from imperfections and thoroughly dry.1 Plaster or wallboard should also extend to the floor line. If it does not, it is extended with patching plaster, wallboard or a wood strip flush with the face of the wall.1 Drywall stopped short of the floor, as it often is for a conventional base, leaves the cove unsupported at its most stressed point. Coordinate this with the drywall trade before the walls close.
Height and fire rating
The cove height is not open-ended. AHF notes that most building codes treat flash coving in the same category as baseboard trim for fire rating, and refers installers to the applicable codes for the allowable height. It gives a maximum of 8″.1 It also warns that vinyl sheet flooring should not be used as wall covering or wall surfacing.1 Confirm the height on the drawings against the code and the product before ordering cap strip.
Adhesive in the cove
The cove area gets its own adhesive. AHF says vinyl-backed commercial flooring must be adhered with its cove stick flash cove adhesive in flash cove areas. Fiberglass-backed flooring can use either the field adhesive or the flash cove adhesive.1 Two coats go on with a brush or roller, 4″ out on the floor and up the entire cove area, drying to a pressure-sensitive state between coats.1 That takes approximately 20-30 minutes depending on site conditions.1 VPI notes that ESD and standard tile need different adhesives, so the type should be confirmed for the product.3
Forming the material
Vinyl cracks if it is bent cold. AHF lists a heat gun among the tools, to warm the vinyl so it is more pliable and less likely to break.1 It says to start tucking the material under the cap strip in the center of a wall and work to each end, using the heat gun to prevent breakage.1 The cove is rolled with a hand roller, and the entire floor with a 100-lb roller.1 VPI's method tapes each warmed piece in place as it cools, so the seams stay tight while the shape sets.3

Corners
Corners are where flash cove succeeds or fails. AHF describes templates for inside corners and two methods for outside corners. A mitered corner has advantages with commercial vinyl-backed products, and a V-plug corner has advantages with lighter materials such as rotovinyls.1 Both involve fill pieces cut to match and fitted into the corner. VPI says several dry fits are usually needed for an outside corner, and that adjustments are not uncommon.3 Gross lists the inside and outside corners, a straight wall line at the top, and firm adhesion at the radius among the extra demands of flash coving.2 He calls it highly visible, unforgiving of shortcuts, and notoriously difficult to repair.2
Seams up the wall
A seam that turns up the cove still has to be welded. AHF says all seams in the flash cove area should be treated the same as seams throughout the rest of the installation.1 VPI asks installers to inspect seams for high spots and excess adhesive, and to hand-roll and check for seam movement.3 See heat-welded seams.
What to check at turnover
- The cap strip is straight and at the specified height.
- The cove is tight to the stick along its length, with no hollow at the radius.
- Inside and outside corners are closed, with no tears or burrs.
- Seams in the cove are welded flush, like those on the floor.
- No adhesive residue is left on the face.
For rooms where a separate base is acceptable, see choosing cove base.
Sources
- AHF (Armstrong Flooring), “Commercial Sheet Flooring Flash Cove Installation”. armstrongflooring.com/assets/installation/afi/WF-1428-125_8.5x11_CommShe
- The Construction Specifier, “Inside a perfect seam: the art and science of heat welding vinyl floors”. constructionspecifier.com/inside-a-perfect-seam-the-art-and-science-of-h
- VPI Corporation, “Flash Cove and Inside/Outside Corner Instructions”. vpicorp.com/downloads/1H%20-%20Instructions-Flash%20Cove%20&%20In-Out%20
General information for the flooring trade. This article was drafted with AI assistance and checked against the sources listed above; the manufacturer's current instructions and the project specification govern any real job. If something here is wrong or out of date, tell us.