 SW-04 · Troubleshooting & Repairs
Most wall base failures come from a few steps. Stretching the base makes it shrink back and gap; Roppe says to roll toward the last piece installed.1 Adhesive needs about 90% coverage, kept back 1/4 inch from the top.1 Corners go in first, non-porous walls need contact adhesive, and the base needs 72 hours undisturbed to cure.1 2
Rubber and vinyl wall base is the cheapest line item on most commercial flooring jobs and one of the most visible. In a school, a hospital or an office corridor, it takes kicks, mop buckets, carts and floor machines every day. When it fails, it fails in a few familiar ways: open seams between lengths, a top edge that peels off the wall, and corners that come loose. Each of those has a cause in the installation, and the manufacturers' instructions address all of them.
Gaps at the seams: stretching
Wall base comes in coils and lengths, and it is easy to pull it tight as it goes on. That is the mistake. Roppe warns that stretching can cause the wall base to return to its original length and cause gapping.1 The gap does not show on the day. It opens over the following days as the rubber relaxes.
The fix is in the direction of work. Roppe says to always roll the wall base in the direction of the last piece installed, to ensure a tight fit at the seams.1 Burke says the same in different words: work the base back toward your starting point, which slightly compresses the pieces together and prevents gapping at the seams.2 Coiled base needs to relax before it goes up. Burke asks for coiled or rolled base to lie flat for 24 hours before installation to regain its normal shape.2
Peeling tops: adhesive coverage
A top edge that pulls away from the wall usually lacks adhesive behind it, or has adhesive that never bonded. Roppe calls for adhesive applied with a 1/8” saw-tooth trowel, or from a cartridge and then spread with the trowel, to ensure 90% coverage.1 It also says not to spread within 1/4" from the top of the base, so adhesive does not squeeze out above it.1 Burke recommends a 3/32” V-notched trowel, with adhesive spread to within a ¼” from the top.2
Beads from a cartridge alone are the common shortcut. Burke allows cartridges with a multi-hole nozzle matched to the base height, such as a 3-hole nozzle for 4” base.2 Roppe's instructions spread the cartridge adhesive with a trowel to reach coverage.1 Either way, check the back. Roppe says to periodically check the back of the base to make sure good adhesive transfer occurs.1
Open time matters too. Roppe asks for the base to be bonded to the wall within 15 minutes of applying adhesive.1 Burke allows 20 minutes.2 Adhesive that has skinned over does not grab.
The wrong wall
Wall base adhesive is made for porous walls. Burke says not to install over non-porous surfaces such as vinyl wall coverings, plastic laminates and some painted surfaces, or to use a contact cement there.2 Roppe lists vinyl wall coverings, metal, FRP panels, laminates, ceramic tile and non-porous paints as needing a premium contact adhesive.1 It asks for a bond test at least 72 hours before the scheduled installation.1 In healthcare and food service, FRP and high-performance coatings are common, so check the wall finish schedule before ordering adhesive.
The bottom of the wall matters as well. Burke says the drywall or other wall substrate must extend to within ¾” of the floor.2 The flooring must also be installed close to the wall to support the base.2 Base that spans a big gap at the bottom has nothing to bond to and dents when it is kicked. Roppe adds that rough or uneven wall surfaces may telegraph through the base.1
Loose corners
Corners take the most impact. Roppe's sequence is to install corners before the base, then cut the base to fit tightly against them.1 For corner blocks, it suggests stapling or brad-nailing the wings for extra stability, with fasteners placed vertically in an inconspicuous area.1 For outside corners formed on site, Roppe uses a gouge to remove approximately 30% of the base's thickness along the fold line.1 Roppe's vinyl wall base instructions use the same 30% gouge, so the rule holds across both materials.3 Removing too much weakens the corner; too little and it will not fold tight. Inside corners are scribed so one piece follows the profile of the other.
Temperature and cure
Adhesive needs warmth to bond. Roppe asks for the installation area and adhesive to be kept between 65º F and 85º F for at least 48 hours before, during and after installation.1 Burke asks for 70° F minimum for 24 hours before, during, and 48 hours after.2 Wall base often goes in at the end of a job, when doors are propped open and the heating is not yet balanced. That is a cause of failures that look like bad adhesive.
Then leave it alone. Roppe says the wall base should remain undisturbed for 72 hours after installation so the adhesive can cure.1 Moving furniture against it, or running a floor machine along it, inside that window is a common way to knock fresh base loose.
Choosing the adhesive for the building
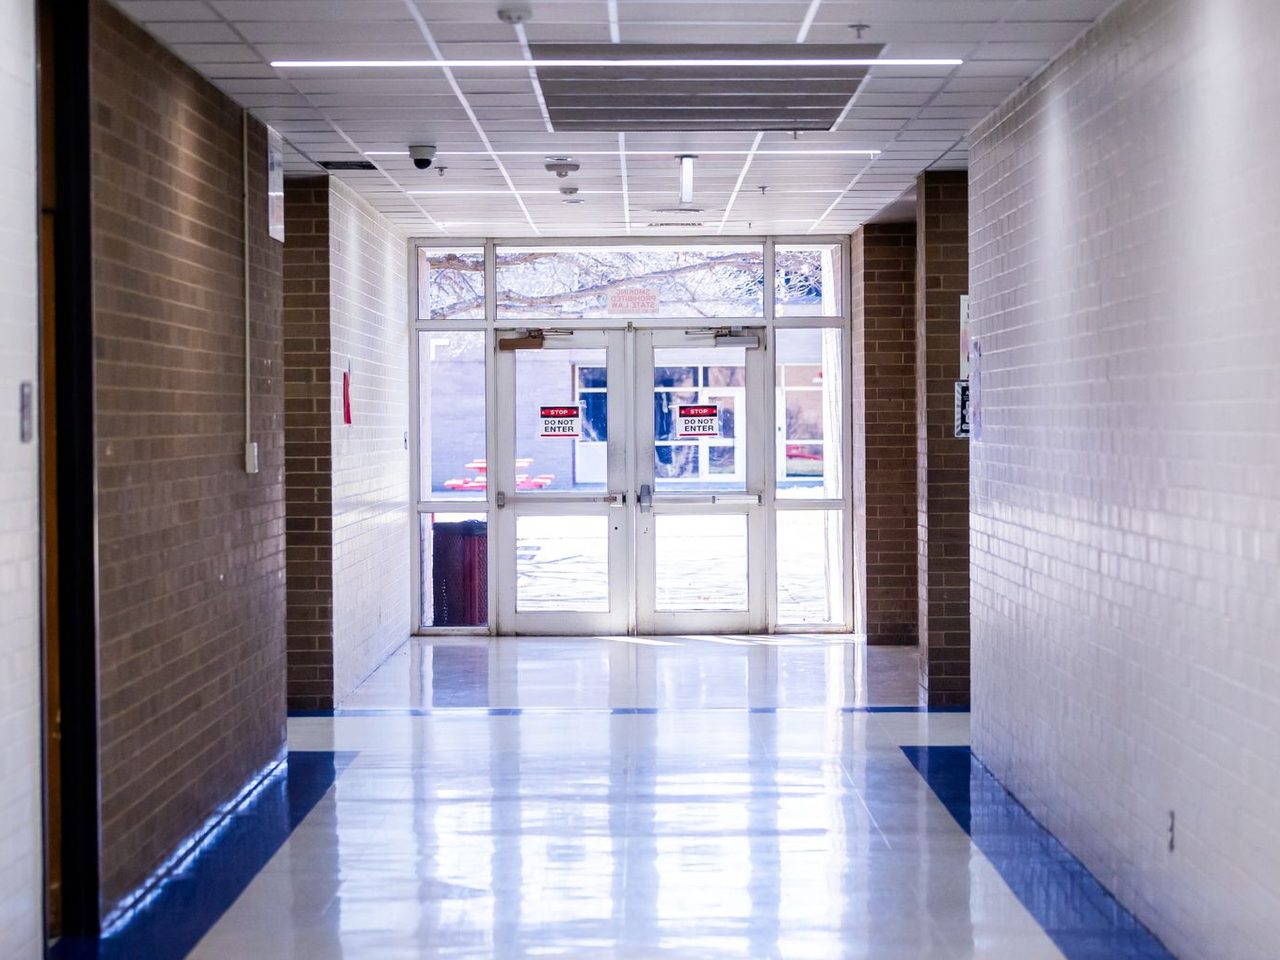
Some buildings need base that cannot be pulled off. Roppe recommends its rubber tile and tread adhesive for installations needing extra protection against removal, giving elementary education as the example.1 It notes that 60% - 75% coverage is required with that adhesive, compared with 90% for its standard wall base adhesive.1 Burke warns that using any adhesive other than the one it names voids its warranty.2 Specify by product, not by type.
Rubber and vinyl base install much the same way. Roppe's vinyl base instructions repeat the rubber ones on walls, contact adhesive for non-porous surfaces and the 72-hour bond test.3 The difference is in the material, so compare the product data for the corridor it will face.
A wall base checklist
- Confirm the wall finish is porous, or plan contact adhesive and a bond test.
- Keep the room and adhesive in range before, during and after.
- Relax coiled base; install corners first; never stretch the base.
- Trowel to coverage, keep adhesive back from the top, and check transfer.
- Roll toward the last piece, and protect the base while it cures.
Sources
- Roppe, “Pinnacle Rubber Wall Base Installation”. images.homedepot-static.com/catalog/pdfImages/57/57be32d0-7008-4e29-a273
- Burke Flooring, “Wall Base Installation Instructions (RubberMyte and Mercer)”. manualsdir.com/manuals/324191/burke-flooring-wall-base-installation.html
- Roppe, “Vinyl Wall Base Installation”. images.homedepot-static.com/catalog/pdfImages/4b/4b0ae143-348e-4771-ad55
General information for the flooring trade. This article was drafted with AI assistance and checked against the sources listed above; the manufacturer's current instructions and the project specification govern any real job. If something here is wrong or out of date, tell us.