 SW-04 · LVP & Vinyl Installation
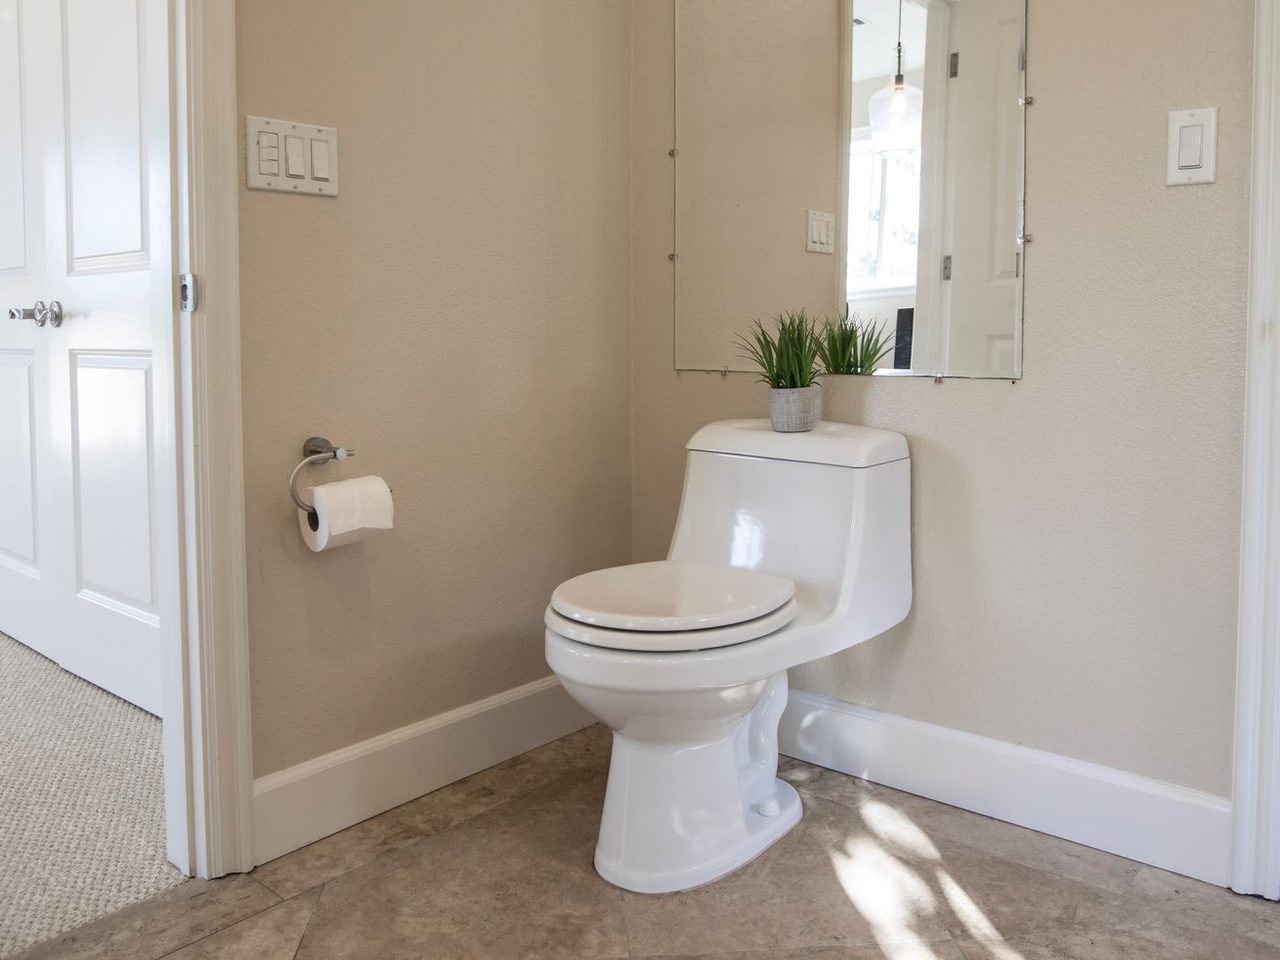
A toilet is a fixed object over a penetration in a wet area. The guides keep the same expansion space around the flange as at walls, from 1/4 to 3/8 inch.1 2 At least one guide does not recommend trimming around the toilet at all, preferring the floor to run under it. Seal the exposed edges with 100% silicone, never acrylic.3
Toilets are where three problems meet. The flange is a fixed penetration through the floor. The toilet itself is a heavy fixture bolted down. And the area around it gets wet, from cleaning, condensation and the occasional overflow. A floating floor has to stay free to move around all of that and still keep water out of the joints. The installation guides are specific about each part.
Pull the toilet or cut around it
There are two ways to install around a toilet. The first is to remove the toilet, run the floor up to the flange, and reset the toilet on top. The second is to leave the toilet in place and scribe the planks around its base.
Daltile states its preference plainly. Its rigid click flooring can be installed under vanities with legs and under toilets. Trimming around a toilet is not recommended, but the expansion space around the toilet flange must still be left.2 MSI describes the scribing method for those who leave the toilet in place: score the plank around the curved base, snap off the excess with pliers, and seal the edges.4 On commercial restrooms, where fixtures are often wall-hung or floor-mounted with carriers, removal may not be practical. Plan the detail with the plumbing contractor.
The gap at the flange
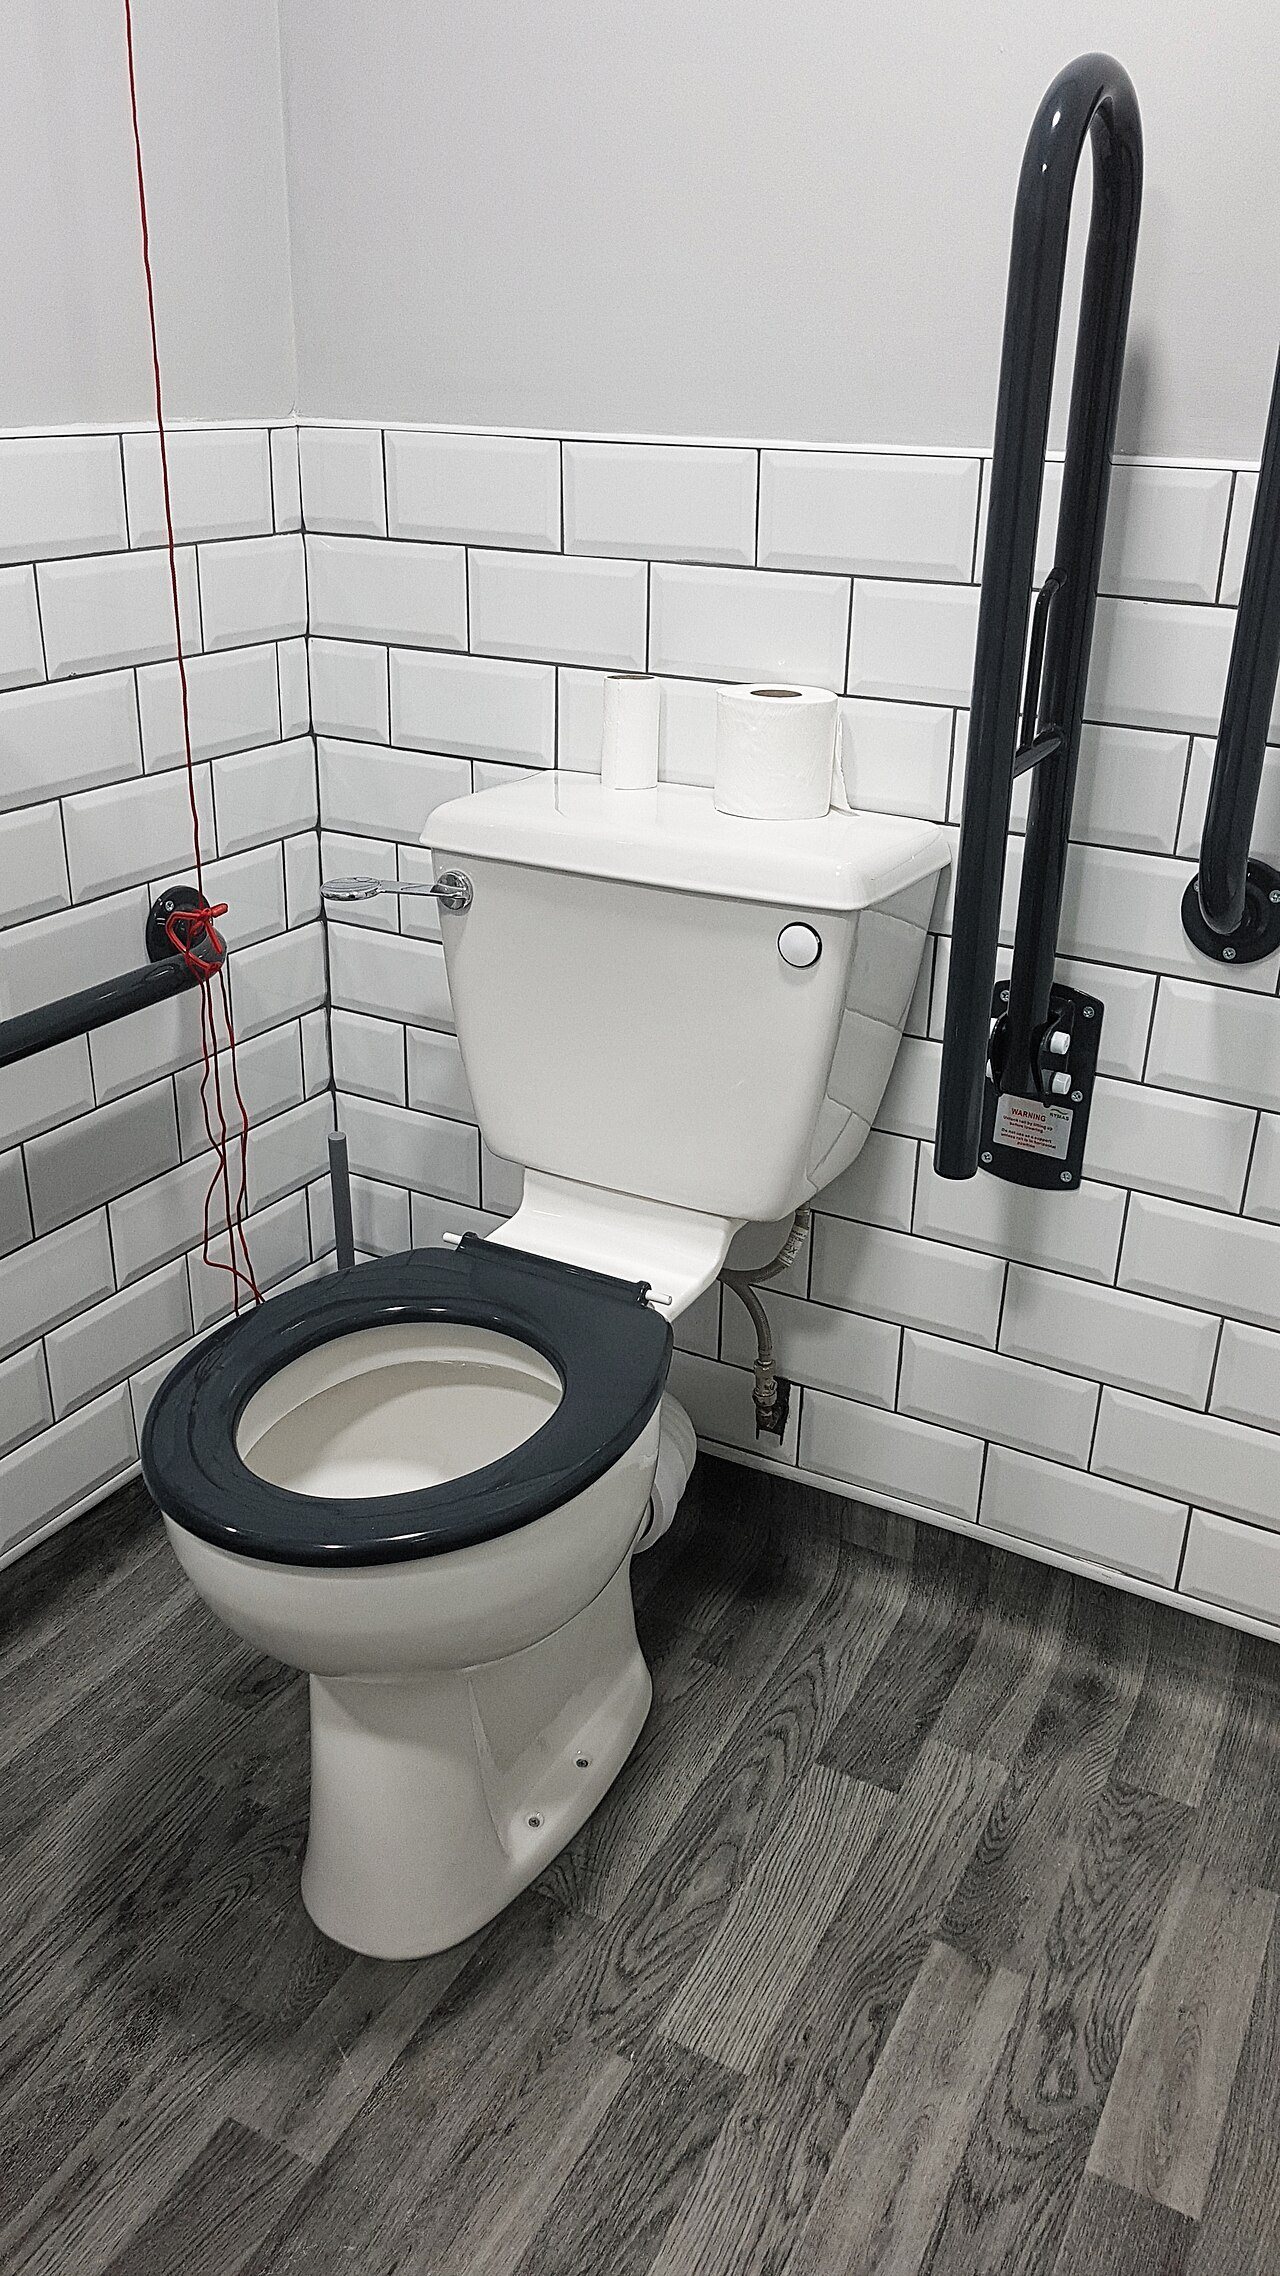
Whichever method is used, the flange gets an expansion space like any other fixed object. EverStep keeps 1/4 inch around cabinets, pipes, toilet flanges and any obstacle in the floor.1 Daltile keeps 3/8 inch around cabinets, pipes and toilet flanges.2 National Flooring Products asks for 1/2 inch around walls, tubs, showers and plumbing fixtures.5 Three guides, three numbers. Use the one for the product being installed.
When the toilet is reset over a floating floor, the bolts go into the flange and subfloor, not through the planks in a way that pins them. The toilet base sits on the floor; the floor must still be free to move beneath and around the flange. A wax ring or seal set at the new floor height keeps the connection watertight. Check the flange height before resetting, because the new floor raises the finished surface.
Sealing the edges
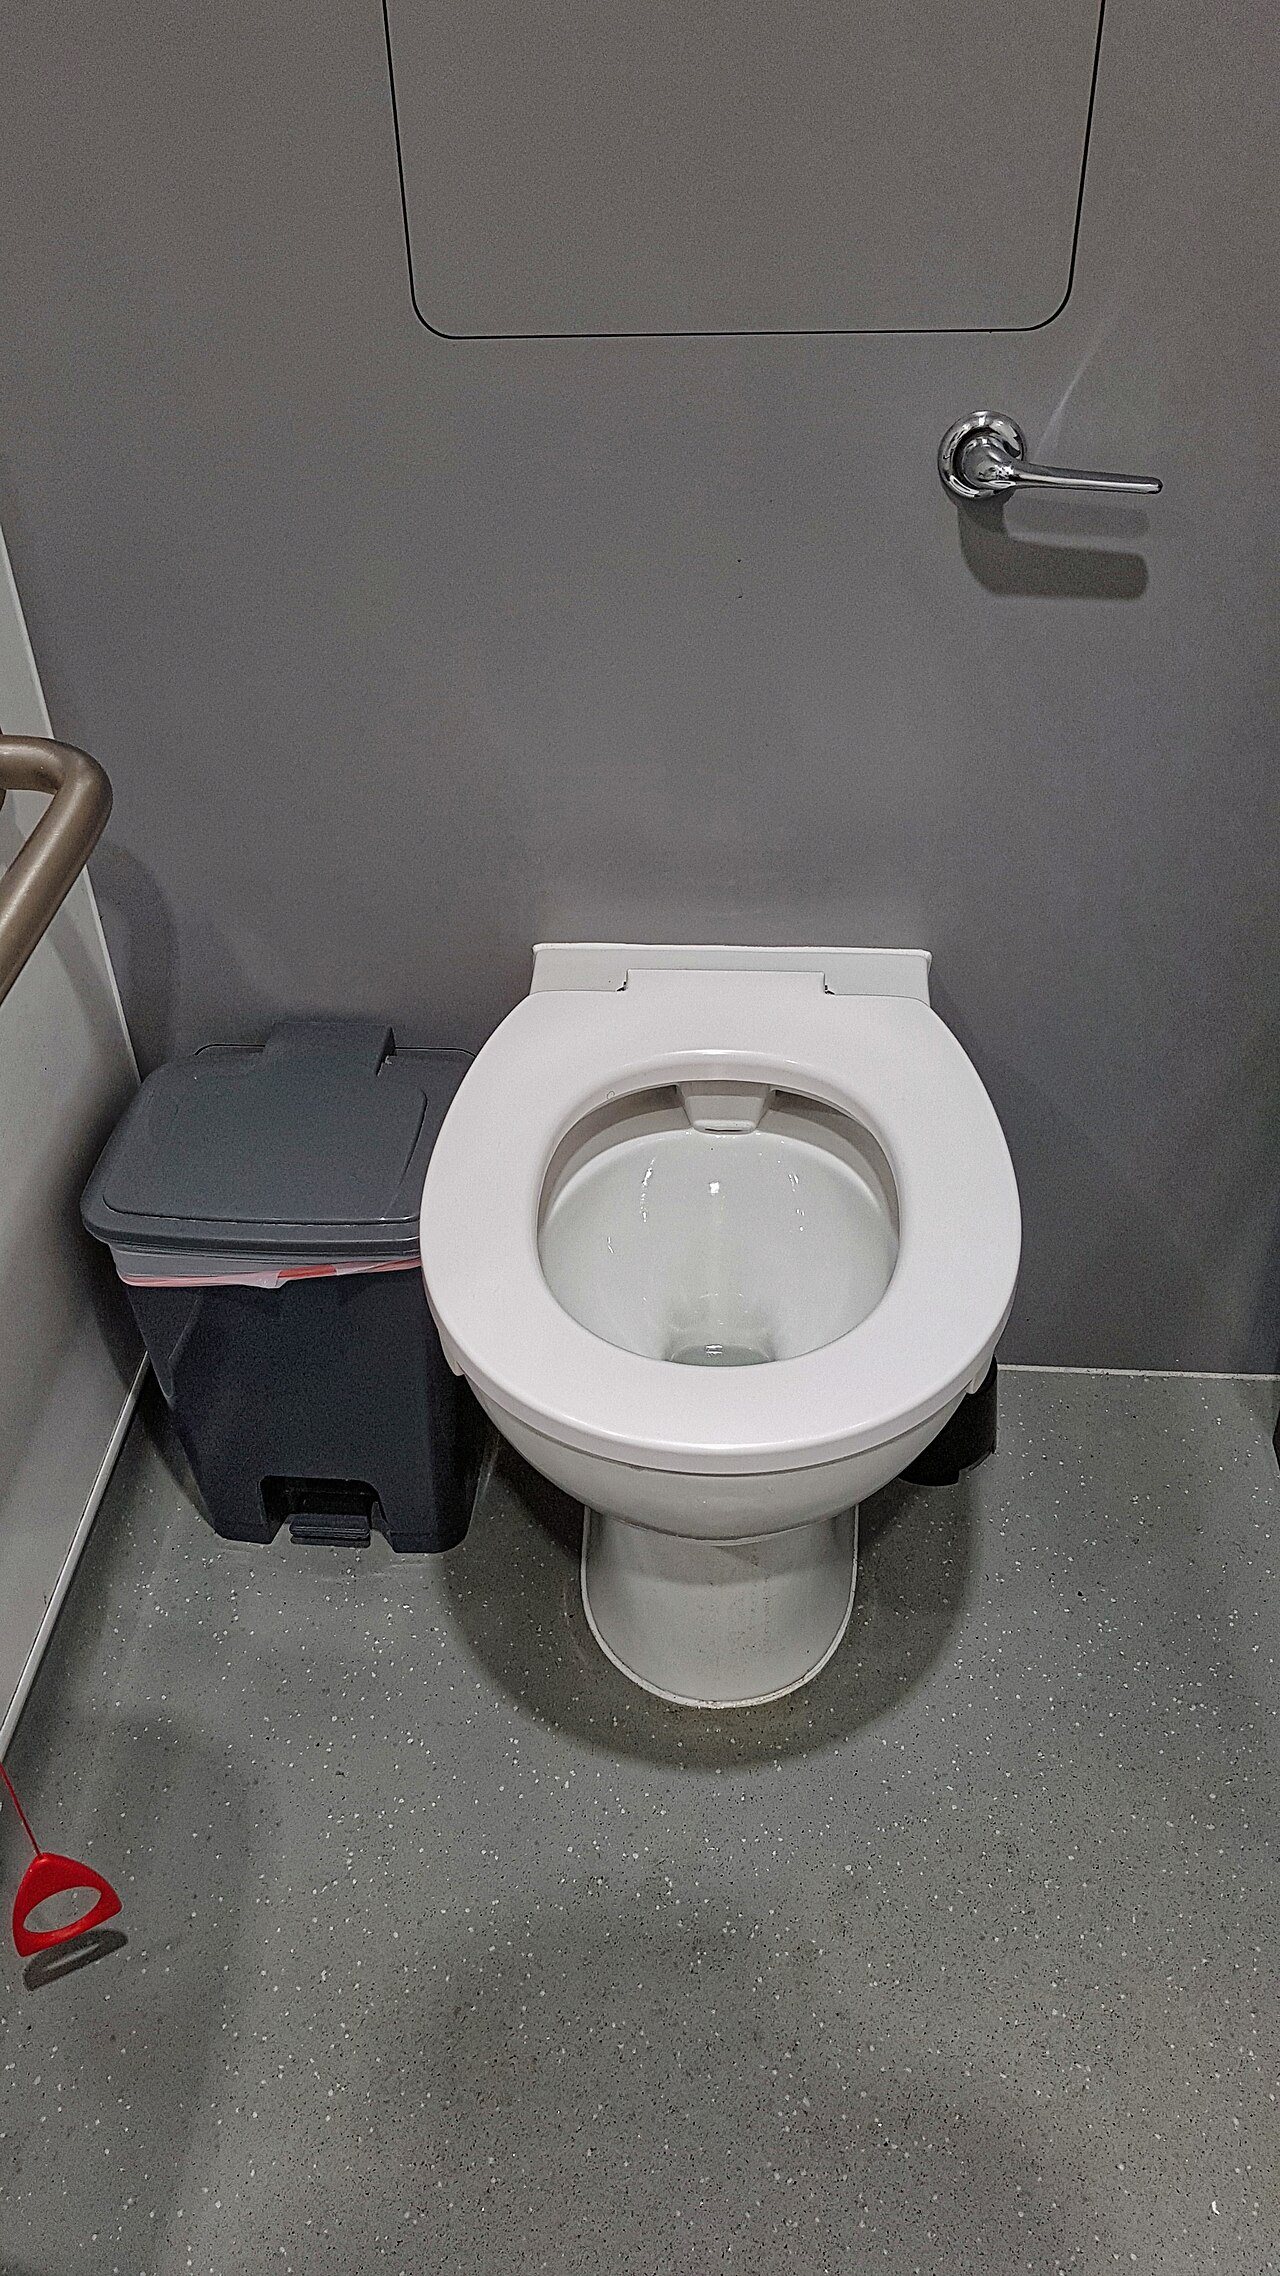
Every guide that addresses toilets calls for a flexible seal at the exposed edges. MSI says vinyl edges exposed at the toilet flange or shower edge must be properly sealed with silicone caulk.4 Daltile calls for a premium waterproof 100% silicone caulk around the flange, and asks for expansion spaces in potentially wet areas to be filled with it.2 Elite recommends 100% silicone and does not approve acrylic caulks.3
The reason is movement. Elite explains that silicone stays flexible and lets the floor keep floating with temperature changes, while acrylic hardens over time and stops it.3 National Flooring Products adds that silicone caulking has more elasticity than other caulking materials.5 A hard bead of the wrong caulk around a toilet base pins the floor at a point it has to move from, and eventually cracks and lets water in.
Commercial restrooms
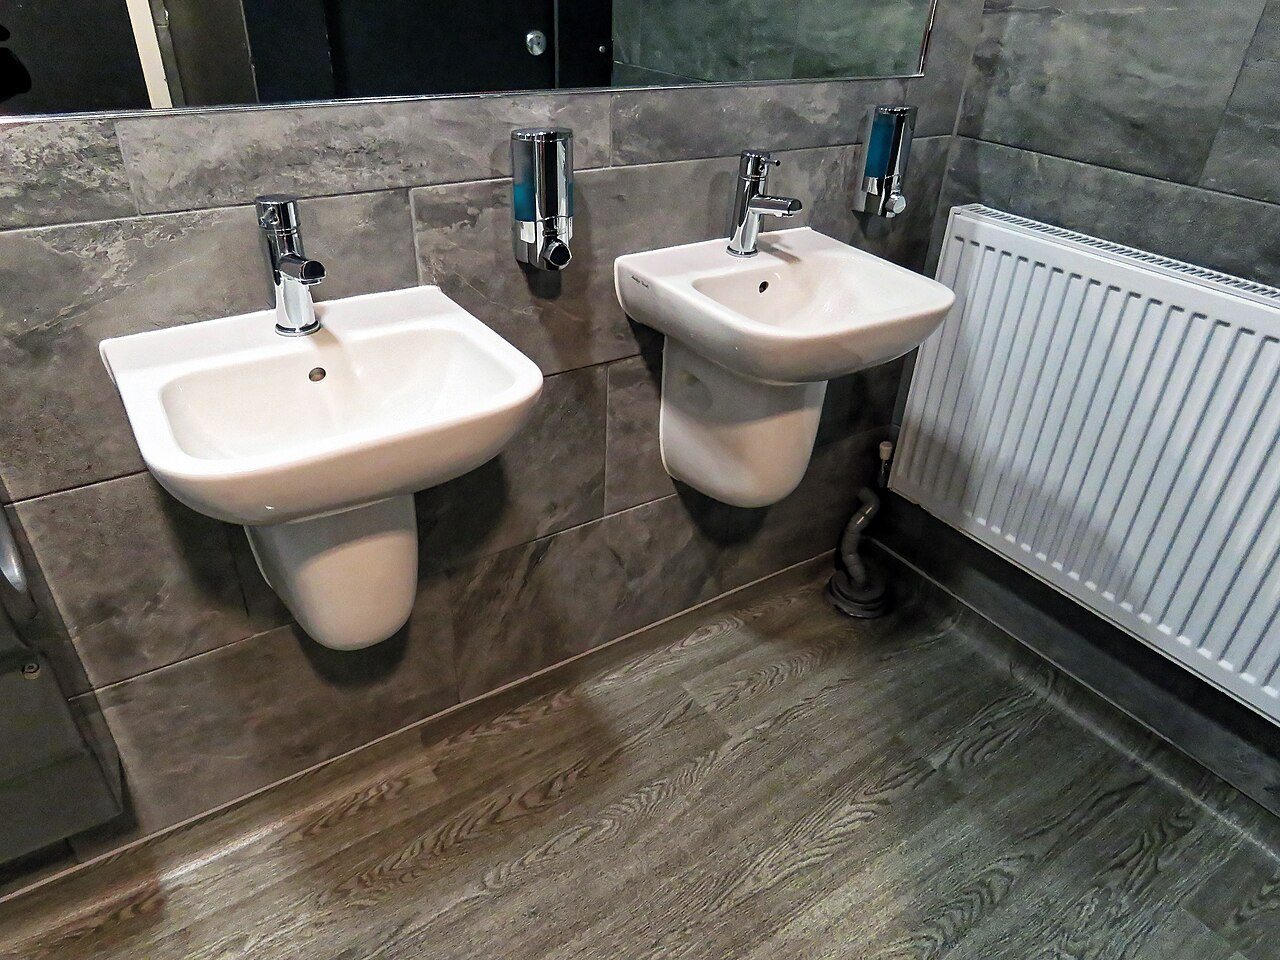
Commercial restrooms add volume, wet cleaning and accessibility requirements. Floors are mopped daily, often with more water than a residential bathroom sees in a month. That changes the choice of flooring as much as the installation detail. Many commercial restrooms use fully adhered resilient flooring, or sheet goods with welded seams and an integral cove base, because they present no open joints to cleaning water. Where floating planks are specified in a restroom, the sealing details above matter even more, and the cleaning method should be checked against the flooring manufacturer's maintenance instructions. The bathroom guide and the flash cove guide cover the alternatives.
Accessible stalls need clear floor space and level transitions. Check the finished height at the doorway and around the fixtures against the accessibility requirements that apply to the project before choosing an overlay or a new floor.
When the floor runs under a vanity
Vanities raise the same question as toilets. A vanity with legs can stand on a floating floor, and Daltile allows its floor under vanities with legs.2 A built-in vanity with a solid base is a cabinet, and the cabinet rule applies: it goes in first and the floor runs to it with a gap. On commercial lavatory counters, which usually hang from the wall, the floor runs beneath and the only fixed objects are the supply and waste pipes. Each pipe gets its own expansion space and a flexible seal, the same as the toilet flange.
A toilet detail checklist
- Decide whether the toilet comes out, and who removes and resets it.
- Keep the product's expansion space around the flange.
- Check flange height against the new finished floor before resetting.
- Seal exposed edges with 100% silicone, as the guide requires, never acrylic.3
- Confirm the cleaning method suits the flooring in commercial restrooms.
Sources
- EverStep Flooring, “LVP Click Lock Installation Guidelines”. everstepflooring.com/lvp-click-installation-guidelines/
- Daltile, “ProSeries Luxury Vinyl Flooring Installation & Care Guide (Rigid Core Click, Glue Down)”. s1.img-b.com/build.com/mediabase/specifications/daltile/1996309/daltile-
- Elite Flooring, “Välinge Installation Guide (Woodlands)”. eliteflooringusa.com/links/install-instructions/Elite-Installation-Guide
- MSI Surfaces, “Installing Luxury Vinyl Flooring in the Bathroom”. msisurfaces.com/blogs/post/2019/11/26/installing-luxury-vinyl-flooring-i
- NFP, “Architect’s Choice LVP Installation Guide”. my-nfp.com/resource/architects-choice-lvp-installation-guide
General information for the flooring trade. This article was drafted with AI assistance and checked against the sources listed above; the manufacturer's current instructions and the project specification govern any real job. If something here is wrong or out of date, tell us.