 SW-04 · LVP & Vinyl Installation
Several vinyl installation guides allow installing over existing ceramic tile or terrazzo, but only if the tile is fully bonded, sound, smooth and dry.1 Grout lines are the usual problem: guides call for filling wide joints or skim coating the whole surface so the pattern does not telegraph through.2 3 Tile that sounds hollow or moves has to come out.
Tearing out tile is slow, loud and dusty, and on occupied commercial renovations it can be the single most disruptive task in the schedule. Installing vinyl over the existing tile avoids it. The installation guides permit that on most products, with conditions. Those conditions decide whether the floor looks right in a year or shows a ghost of every grout line.
Start with the bond
A floor laid over tile is only as good as the tile's bond to the slab. Daltile's guide for its ProSeries luxury vinyl says ceramic tile and terrazzo usually do not need to be removed. The vinyl may go directly over them, provided they are fully adhered, smooth, sound and dry.1 Every word in that list matters. Loose tile rocks under a floating floor and clicks under a glued one. A cracked tile is often the visible sign of a slab problem below it.
Check before committing. Sound the floor with a hammer handle or a chain, listening for hollow tiles, and mark every one. Look for cracks that run across several tiles in a line, which usually follow a joint or crack in the slab underneath. A few hollow tiles can be removed and the holes filled. A floor full of them should come out.
Grout lines: fill them or skim the whole floor
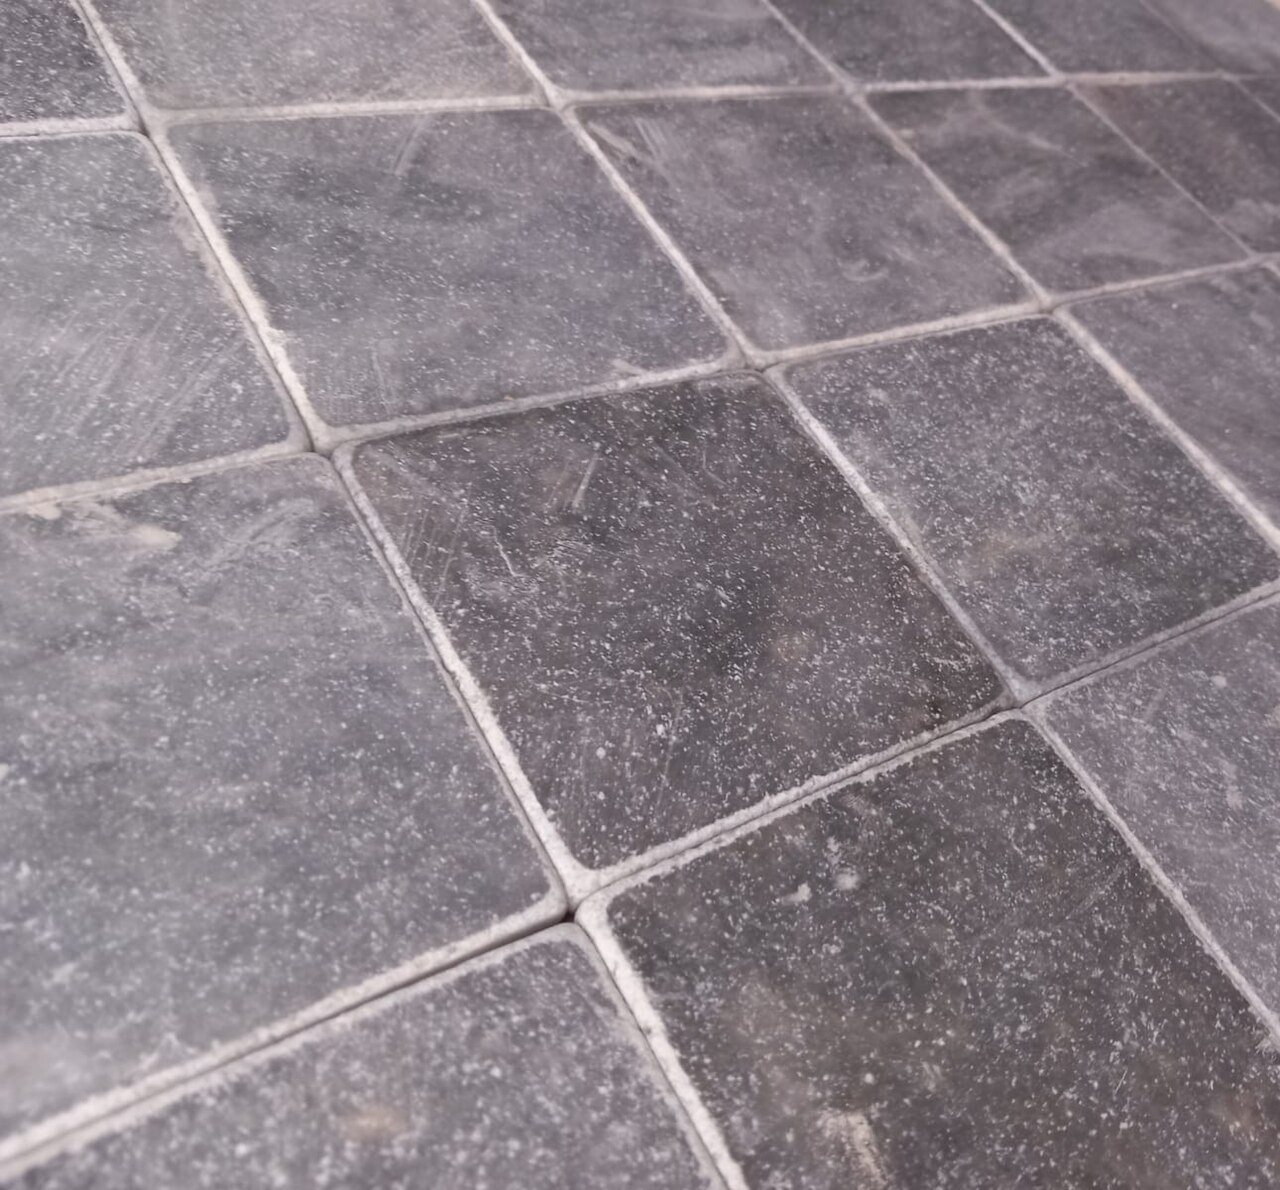
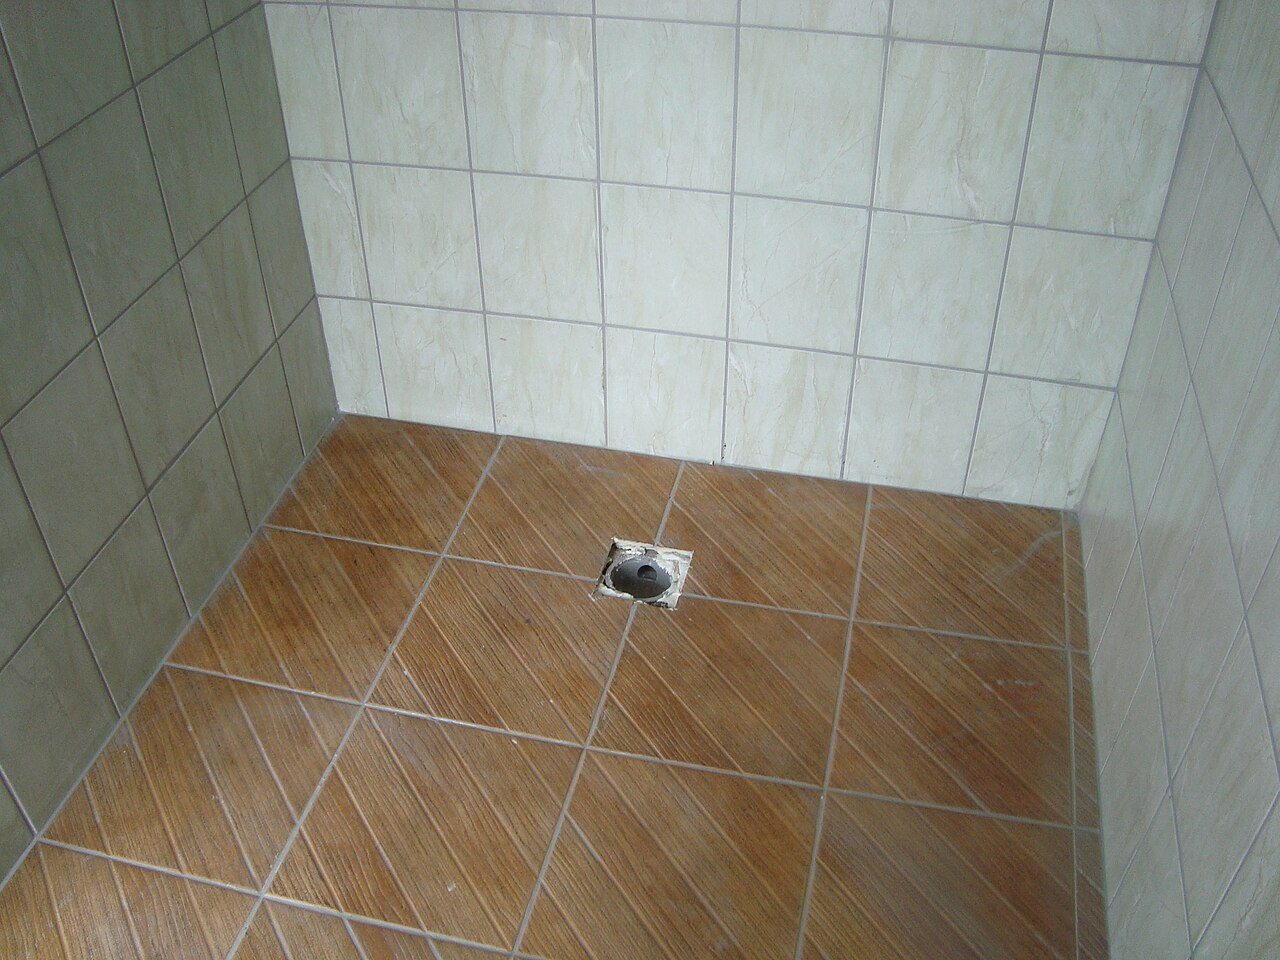
Grout joints are recessed, and a thin floor laid over a recess eventually takes its shape. The guides handle this in two ways.
Some ask only for wide joints to be filled. Daltile states that grout joints wider than 1/4 inch must be filled.1 Others go further. EverStep's click instructions say ceramic tile and embossed flooring will require skim coating with a Portland-based patch to avoid bottom-up pattern telegraphing.2 Timeless Designs requires grout lines on existing ceramic tile to be skim coated with a floor leveler.3 National Flooring Products asks for embossing to be feather-filled with a suitable patching compound.4
The difference reflects the flooring. A thick rigid-core plank bridges small recesses better than a thin glue-down tile, which follows the substrate closely. Read the guide for the product being installed, and when in doubt, skim. A skim coat costs a day; a telegraphed grid across a lobby costs the floor.
Flatness still applies
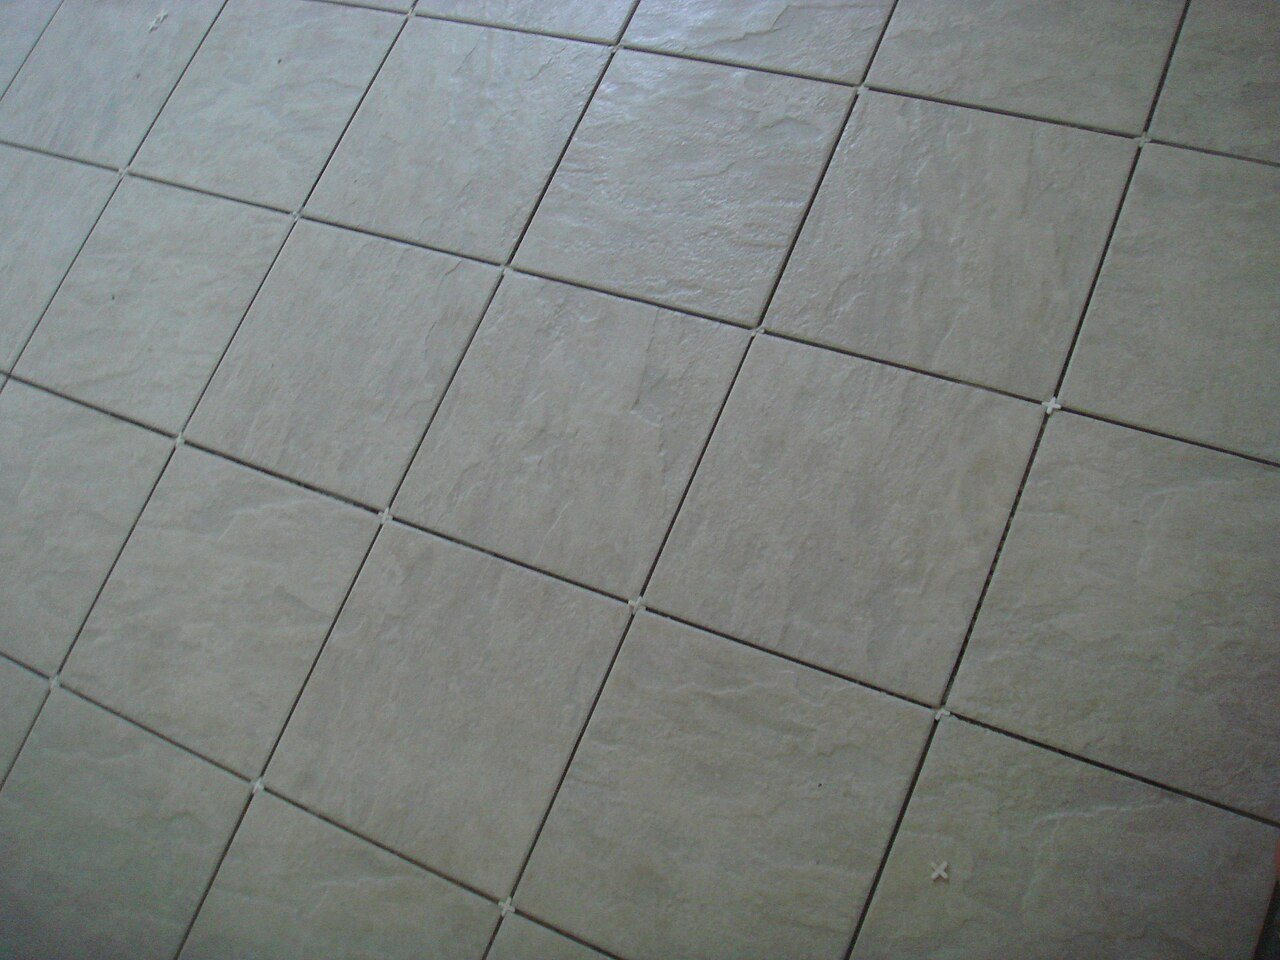
Tile floors are often flat within a tile and uneven from tile to tile, especially where large-format tile was set with lippage. The vinyl does not care what the substrate is made of. It needs the same flatness any other substrate must meet, usually 3/16 inch in 10 feet in the guides for rigid vinyl.3 5 Check with a straightedge across tile edges and grout lines, grind any proud tile edges, and fill low areas with a patch or leveler the flooring manufacturer accepts. The flatness guide covers measurement in detail.
Surface preparation for glue-down
Glazed tile is a poor bonding surface for adhesive. A glue-down installation over tile usually needs the glaze abraded or the floor skim coated with a patch the adhesive manufacturer approves, so the adhesive bonds to a cementitious surface. Daltile's glue-down instructions list ceramic and terrazzo as acceptable substrates when well bonded and properly prepared, and warn that curing compounds can interfere with the bond of the adhesive to the concrete.1 Old waxes and sealers on tile do the same thing. Strip and clean before skimming.
When the existing floor is resilient, not tile
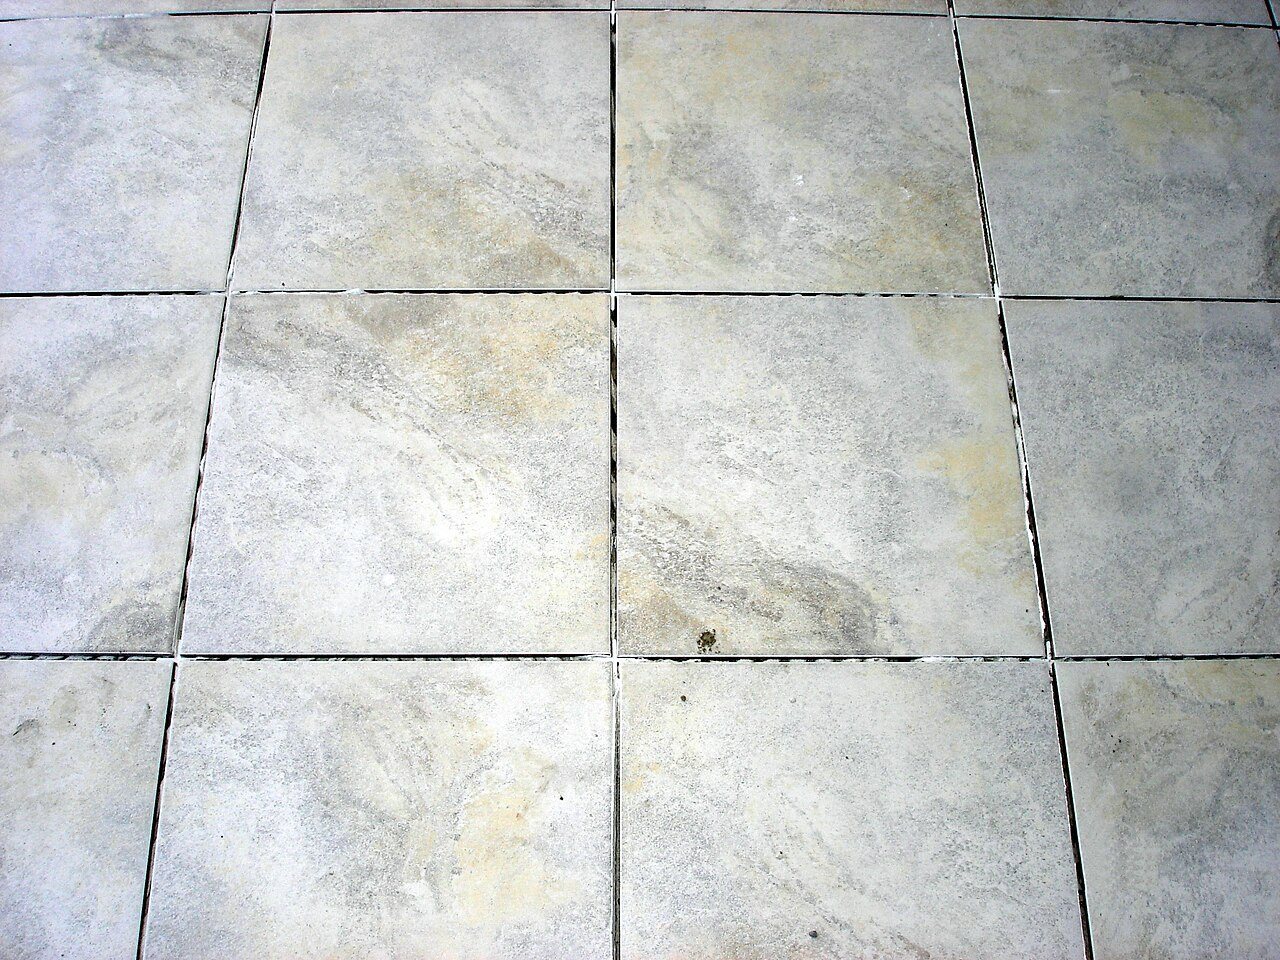
The same logic applies to old vinyl or VCT, with extra cautions. FloorFolio's guide says the existing flooring must not be embossed or textured enough to telegraph through, and that installations over existing resilient flooring may be more susceptible to indentation.6 It also warns that a skim coat over existing resilient flooring may cause more problems than it solves, such as bonding failures, cracking and indentations. And it does not recommend embossing levelers for commercial installations.6 EverStep excludes carpet, laminate, floating floors and cushioned vinyl as substrates for its click products.2 In each case, the existing floor must be fully bonded and stable, or it comes out.
Height, doors and transitions
Going over tile raises the floor by the thickness of the vinyl plus any skim coat or underlayment. That changes door clearances, transitions to adjoining floors, and the height at elevator thresholds and stair nosings. On a commercial job, check each transition against the accessibility requirements that apply to the project before deciding to overlay, and plan door trimming and transition profiles into the scope. Undercut door jambs so the floor's expansion space continues beneath them; the door jamb guide explains how.
Moisture does not stop at the tile
Tile on a slab does not seal the slab. Moisture that reached the old tile adhesive will reach the new floor. Daltile's guide requires testing concrete substrates, old and new, and sets its limits by test method.1 Where possible, test through a removed tile or at an exposed slab edge. Treat the overlay as a new installation on that slab, with the same moisture and pH checks.
Sources
- Daltile, “ProSeries Luxury Vinyl Flooring Installation & Care Guide (Rigid Core Click, Glue Down)”. s1.img-b.com/build.com/mediabase/specifications/daltile/1996309/daltile-
- EverStep Flooring, “LVP Click Lock Installation Guidelines”. everstepflooring.com/lvp-click-installation-guidelines/
- Timeless Designs, “Click Floating Luxury Vinyl Installation Instructions”. timelessdesignsflooring.com/wp-content/uploads/2023/05/TD-Rigid-Core-Ins
- NFP, “Architect’s Choice LVP Installation Guide”. my-nfp.com/resource/architects-choice-lvp-installation-guide
- Marquis Industries, “Rigid Vinyl Plank Installation Instructions (Angle)”. marquisind.com/static/resources/Angle_Angle%20Installation%20Instruction
- FloorFolio, “Installation Guide 2025”. floorfolio.com/wp-content/uploads/2025/FloorFolio-Installation-Guide-202
General information for the flooring trade. This article was drafted with AI assistance and checked against the sources listed above; the manufacturer's current instructions and the project specification govern any real job. If something here is wrong or out of date, tell us.