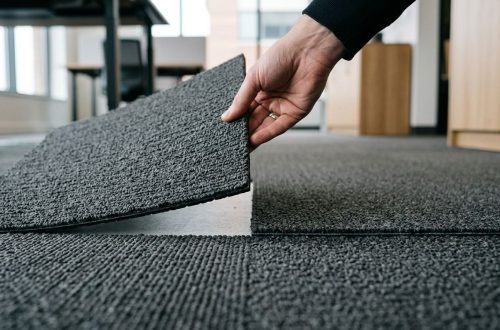
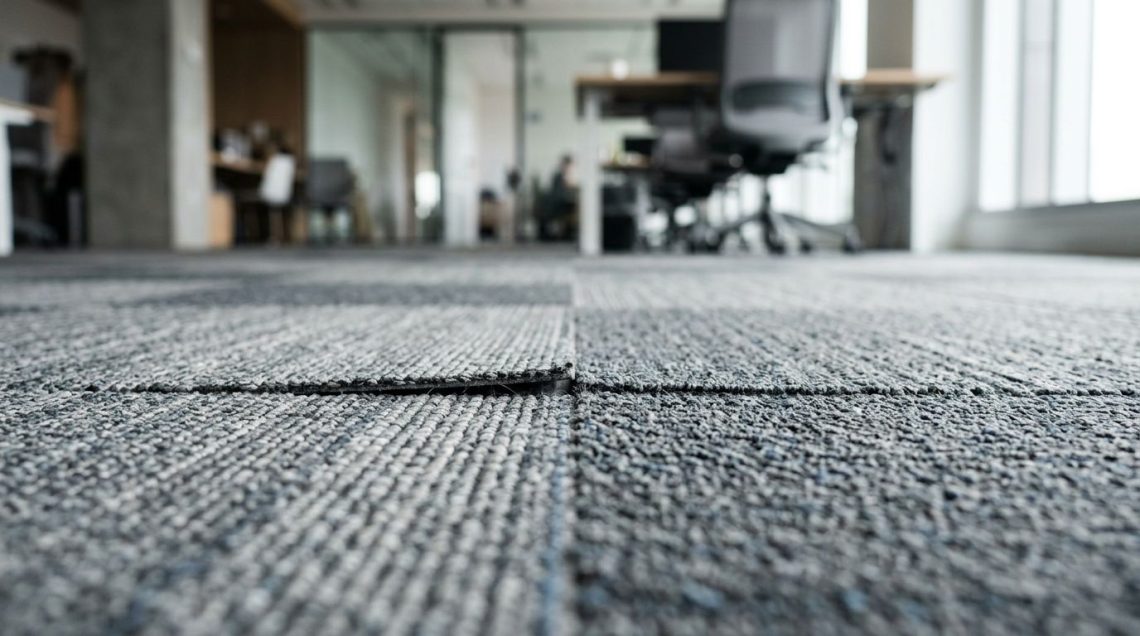
Visible carpet tile seams can ruin an otherwise clean install in seconds. The floor may be square, but the eye catches every edge that sits high, low, or out of alignment.
That problem usually comes from a small chain of issues, not one dramatic mistake. Lighting, pile direction, subfloor flatness, backing stiffness, and rushed layout can all make a seam stand out more than it should.
The good news is that most seam problems have a clear cause. Once you know where to look, you can fix many of them without tearing up the whole room.
Key Takeaways
- Visible seams usually come from alignment, pile direction, edge quality, or site conditions.
- Pressure alone rarely solves the issue if the cut, backing, or layout is wrong.
- Temperature, humidity, and subfloor flatness can change how carpet tile seams read under light.
- Product construction matters, so backing changes and manufacturing shifts deserve attention before the job starts.
- The fastest repair starts with a careful check of the seam, not with more adhesive or more rolling.
Why Carpet Tile Seams Show After Installation
Carpet tile seams show when two edges do not meet in a way the eye can ignore. That can happen even on a job that looks fine from across the room. Under office lights, showroom lights, or daylight from a window wall, a tiny height difference can create a shadow line.
Pile direction is one of the biggest culprits. If adjacent tiles face slightly different directions, the surface reflects light in different ways, and the seam looks darker or more open than it is. The same thing happens when a pattern arrow gets ignored or when a tile turns a few degrees off line.
Subfloor issues matter too. A ridge, dip, or patch repair can push one tile edge up and the next edge down. Then the seam becomes a visual line instead of a clean joint.
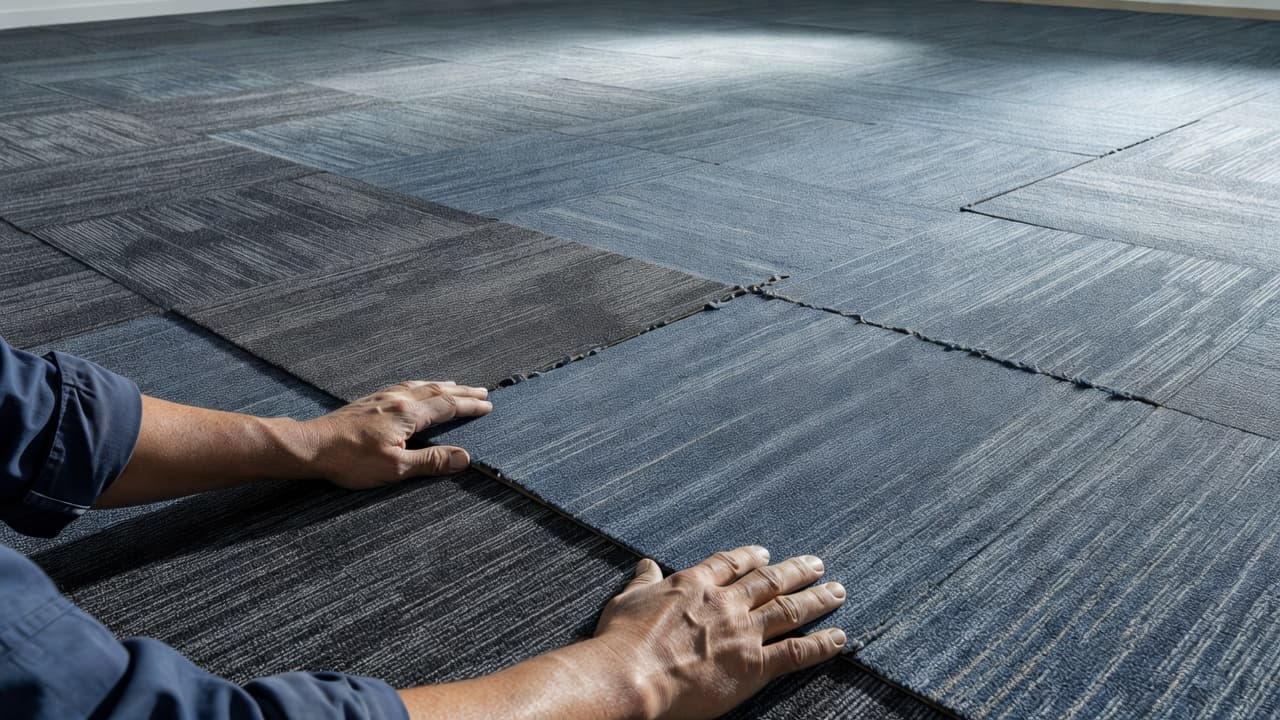
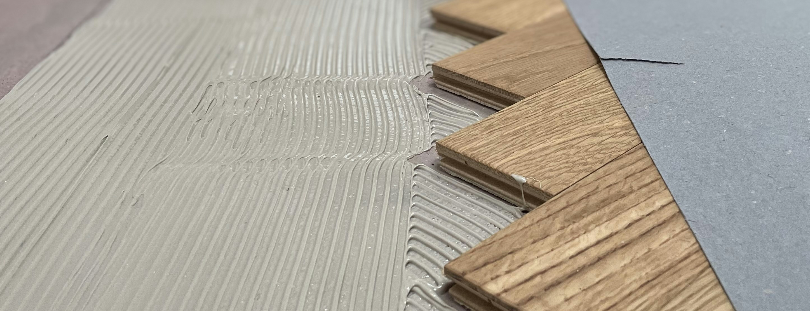
Backing construction can also change the way a seam sits. When tile backing is too stiff, unevenly cured, or changed without enough testing, the edge may hold a curl or sit proud. That is why how bitumen backing affects carpet tile installation matters to anyone who installs or buys modular carpet.
Environmental conditions add one more layer. Hot, dry air can affect adhesion and edge relaxation. Excess moisture can do the opposite and make the floor move after the install has already looked finished.
How to Fix Visible Seams Without Ripping Up the Floor
Start with the easiest checks first. Many seams look worse than they are because of light, viewing angle, or tile orientation. Walk the room, look across the seam, and then look along it. The angle tells you more than the straight-on view.
- Recheck the layout and pile direction.
Make sure the arrows, shade, or pile nap line up the way the product calls for. A tile that looks fine in isolation can stand out once it sits next to four others. - Confirm that the edges are fully seated.
Press the tiles together by hand, then check whether the seam closes. If the edges fight each other, something is off in the cut, the backing, or the subfloor. - Inspect the room conditions.
Temperature and humidity should be stable before and after install. If the room changed after the tiles went down, let the floor settle before you judge the seam. - Replace any damaged or poorly cut tiles.
A crushed edge, frayed yarn, or rough knife cut can keep the joint open. Swapping one bad tile is faster than chasing the entire seam line.
Pressure can hide a bad seam for a short time. It will not fix a poor cut or a curled edge.
For a practical field checklist, the steps in troubleshooting carpet tile seams line up with what good installers already do on site.
If the seam still shows after those checks, stop forcing it. Extra rolling, extra adhesive, or repeated lifting can make the area worse. At that point, pull a sample tile, inspect the backing, and check whether the problem comes from the product itself.
The Mistakes That Make Seams Worse
Some seam problems start with the install, but a few habits make them louder. One of the biggest is ignoring the subfloor. Carpet tile can cover small flaws, yet it cannot hide a ridge that runs right through the joint.
Another common mistake is mixing tiles too casually. Shade variation is real, and even slight changes between dye lots can show up in bright light. That is especially true in open offices and retail spaces with wide sightlines.
Cut quality matters just as much. Rough knife work leaves a fuzzy edge, and an edge that looks fuzzy often looks open. Clean cuts, square corners, and correct pressure during fitting all help the floor read as one continuous surface.
Lighting can also expose problems that looked minor on install day. A seam under warm ambient light may disappear. The same seam under LED panels can stand out sharply because the light runs parallel to the joint.
There is also a product-side mistake that gets missed too often. When buyers focus only on color and pattern, they can overlook how the backing behaves once the tile reaches the jobsite. A page on carpet tile formulation and installation challenges shows why small shifts in construction can change the final result.
What Product Specs and Industry News Tell You
Carpet tile seams do not begin at the jobsite alone. They often begin in the spec sheet, the factory, and the purchase order. When backing chemistry changes, when adhesive systems change, or when density shifts slightly, installers feel it on the floor.
That is why flooring professionals keep an eye on flooring news and flooring industry news before a project starts. Those updates often point to supply changes, backing revisions, or lead-time pressure that can affect how a product performs in the field.
The same is true at annual flooring shows. Dealers and contractors go to see the newest flooring trends and products, but the smart ones also watch how those products are built. Some flooring trends favor bold patterns, linear visuals, or subtle tonal shifts, and all of them make seams easier to spot if the product or install is off by a little.
Buyers also compare the newest flooring products before they lock in a spec. That is where the questions should get specific. Ask about pile direction, backing stability, acclimation, and the type of traffic the floor will see. In flooring manufacturing factories, small changes in process can affect edge behavior, so the details matter long before the boxes land on the dock.
If a product line has a new construction, a new backing mix, or a new sourcing path, test it before a full rollout. A small mockup can reveal seam behavior that a sample board will never show.
Conclusion
When carpet tile seams show, the fix usually starts with the basics. Check the layout, the pile direction, the subfloor, and the room conditions before you reach for a heavier solution.
That approach saves time, protects the install, and helps you separate a field problem from a product problem. In carpet tile, the seam tells the story early, and the best floors are the ones where nobody notices it at all.