 SW-03 · Carpet & Soft Flooring
Carpet tile patterns are set by the arrows on the back. Monolithic points them all one way, quarter-turn turns alternate tiles 90 degrees, and ashlar and brick offset them by half a tile.1 Use the method the manufacturer lists for the product.2 Milliken recommends arrows running along the main walkway, not across it.3 Plan from square chalk lines, with perimeter tiles at least half size.1 2
A box of carpet tile does not decide what the floor will look like. The installation method does. The same product can read as a seamless broadloom, a checkerboard of light and dark, or a staggered brick, depending on how each tile is turned. For a designer that is a tool. For a contractor, it is a source of disputes when the floor does not match the sample board. Knowing what each method does, and which ones the product allows, avoids both.
The arrows on the back
Most carpet tiles carry arrows on the back that show pile direction. Interface says these are important during installation. It points to product-specific recommendations on its shade cards, specifications and catalogue.1 The CRI 104 standard notes that tile size, shape, backing and installation method vary, and says to follow the carpet manufacturer's recommendations.2 Not every method suits every product. Check the method the product lists before drawing a pattern.
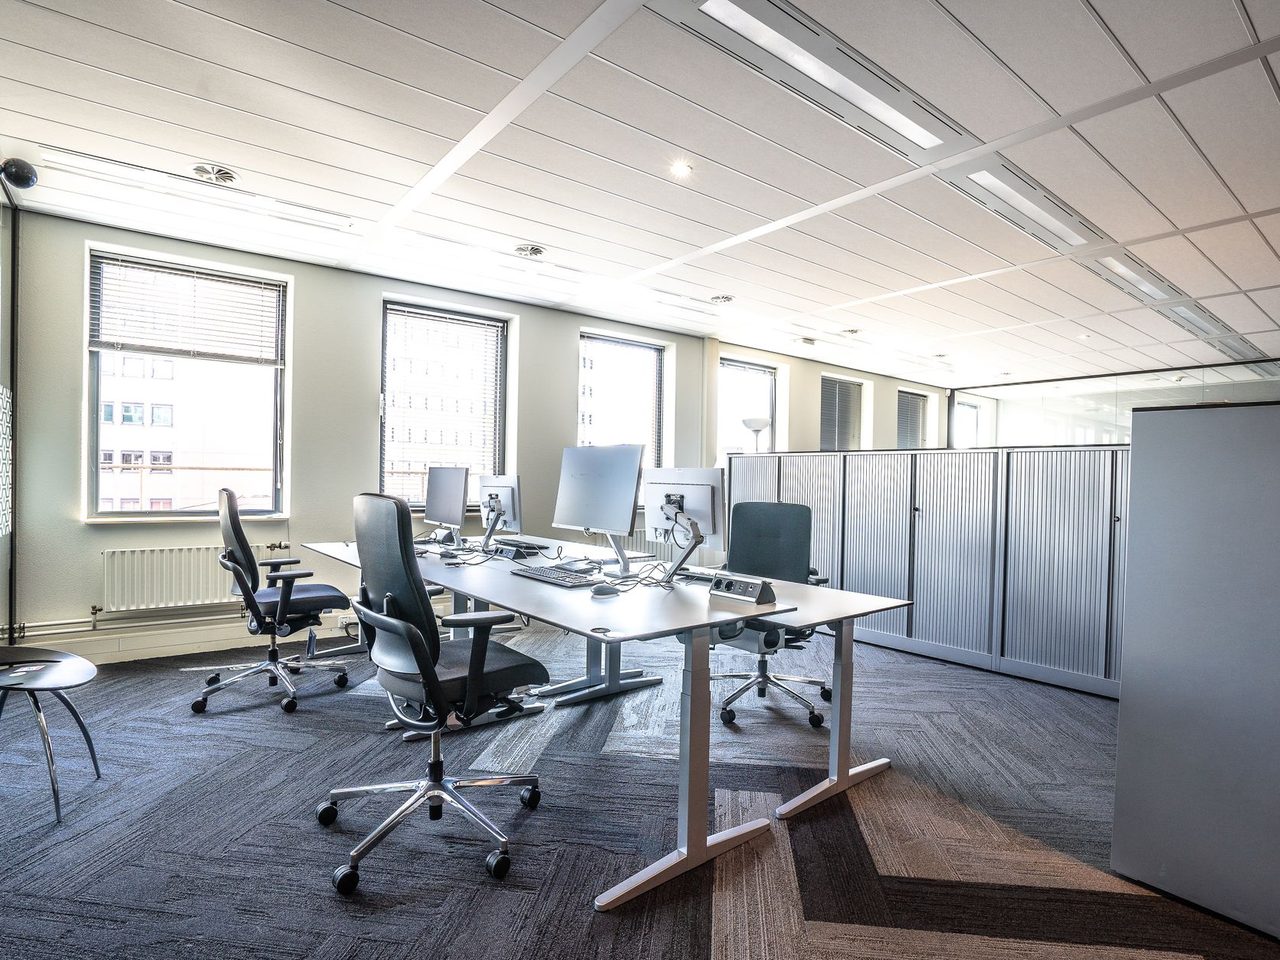
The main methods
Interface defines the common methods for square tiles.1
| Method | How tiles are placed |
|---|---|
| Monolithic | All arrows the same way, no offset; also called broadloom or sheet |
| Quarter-turn | Each tile turned 90 degrees to its neighbors, no offset; also called checkerboard1 |
| Ashlar | Arrows the same way, rows offset by half a tile in the arrow direction |
| Brick | Arrows the same way, rows offset by half a tile across the arrow direction |
| Non-directional | Tiles laid without regard to direction |
Milliken adds a random method for some products, where tiles are delivered randomized and laid so the arrows do not all point the same way. It also uses a vertical ashlar layout.3
What each method does to the floor
Monolithic gives the most continuous look, closest to broadloom. It also shows the joints most clearly, because every tile reflects light the same way and any misalignment stands out. Quarter-turn breaks up the surface into a checkerboard of slightly different shades, which hides joints and makes later replacements easier to blend. Ashlar and brick add a running offset that disguises the grid along one axis. Non-directional and random installations are the most forgiving: no tile can be turned the wrong way.
That last point matters for maintenance. On a monolithic floor, one replacement tile set the wrong way is obvious. See replacing a carpet tile.
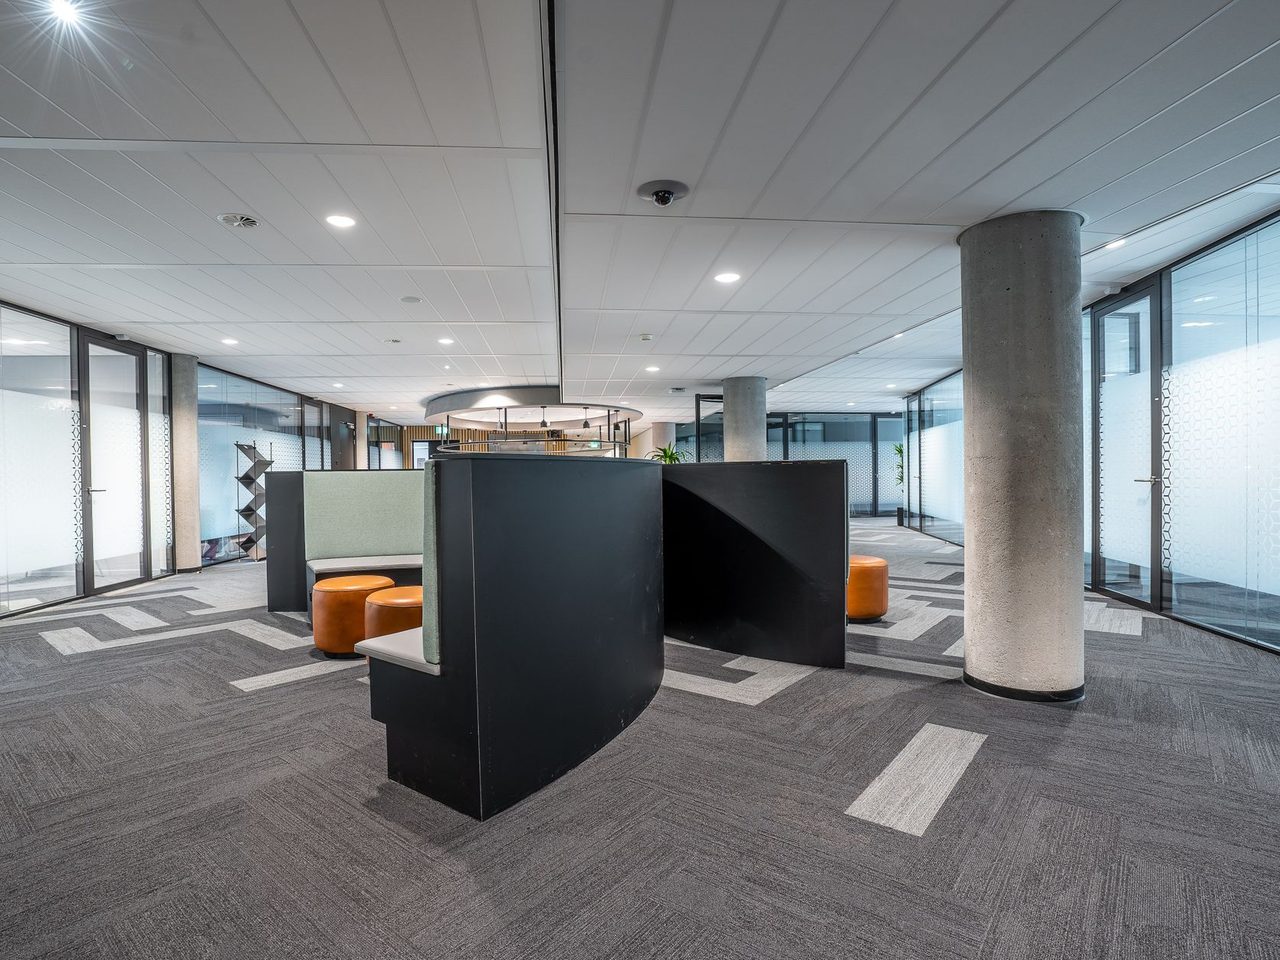
Direction and traffic
For directional methods, the arrows should follow the way people walk. Milliken recommends that for monolithic, ashlar and vertical ashlar designs, modules are installed with arrows pointing along, not across, the most heavily trafficked walkway.3 It says arrows should not run across hallways unless that is unavoidable, and notes this matters for later maintenance of the carpet.3 In an open office, decide the main circulation route first, then set the arrows to it.
Plank formats and herringbone
Narrow carpet planks open up more patterns. Interface's 25 x 100 cm planks can be installed in ashlar or herringbone.1 For ashlar, it recommends a variable drop over a half drop for some products, laid parallel to the side light source.1 Herringbone is laid in an L pattern from either a 90 degree start (type A) or a 45 degree start (type B). Interface stresses that measurement accuracy is vital.1 For type B, it measures a working line 18 cm from the center line to keep the pattern centered.1 Herringbone takes more layout time and more cutting. Price it that way.
Layout from the center
Every method starts with square reference lines. CRI 104 asks for at least two perpendicular chalk lines at a 90 degree angle to each other.2 Interface starts from the center of the room. It notes that offsetting the center line may be needed so perimeter tiles are at least half-size or larger.1 Doorways and partitions can move the starting point away from the center.1 Small slivers at walls look poor and hold badly, so the offset is worth the extra planning.
How the tiles are held
The pattern does not change the need to hold the tiles in place. CRI 104 describes modular adhesive as a pressure-sensitive type for releasable installation, designed to prevent lateral movement while allowing easy removal.2 Interface offers connectors at every joint, or a tackifier for some backings applied in a 100 mm band on a 2 m grid.1 It says connectors are not recommended for stairs, ramps or spaces with heavy rolling loads.1 Milliken says areas with heavy or rolling traffic, and ramps, may need a stronger tack.3 Choose the fixing for the busiest part of the floor, not the average. A pattern that drifts under carts will not stay a pattern for long.
Raised access floors
Many open offices sit on raised access floors, and the panel grid is a second pattern under the first. CRI 104 says tile seams should be offset from access panel seams unless otherwise specified.2 Interface warns against over-applying tackifier on access floors, so the adhesive does not run between panels and bond them together.1 Panels have to stay liftable for cabling, so plan the tile grid with the panel grid on the drawings.
Batches across a large floor
On an office floor that uses several batches, the batch change is part of the pattern. Interface ships in dye batches that should not be mixed.1 CRI 104 asks for the drawings to note exactly where dye lot changes occur.2 Put the change at a natural break, such as a doorway, a column line or a change of room, not across the middle of an open area.
Agree on it before the floor goes in
Interface sets a benchmark area of 100m2 that all authorizing parties should inspect. Any discrepancy should be reported before the rest of the installation continues.1 That is a good habit for any pattern. Lay a test area in the chosen method, under the real lighting, and get it signed off. See the mockup checklist.
Sources
- Interface, “Carpet Tile Installation Instructions”. interface.com/content/dam/interfaceinc/interface/technical/emea/installa
- Carpet and Rug Institute, “CRI 104 Standard for Installation of Commercial Carpet”. carpet-rug.org/wp-content/uploads/2019/03/CRI-104-STANDARD-For-INSTALLAT
- Milliken, “Modular Carpet Installation Guidelines”. contenthub.milliken.com/api/public/content/212b9643130e469aa098eefd05147
General information for the flooring trade. This article was drafted with AI assistance and checked against the sources listed above; the manufacturer's current instructions and the project specification govern any real job. If something here is wrong or out of date, tell us.