 SW-07 · Contracting & Specs
A flooring mockup is a small installed area, using the approved products and the manufacturer's methods, that the owner and architect accept for color, texture, pattern and workmanship.1 It stays in place as the standard to compare the rest against, and may be kept in the work if the owner approves.1 Use it to prove the hard parts: adhesive bond, seams, transitions and the look under the real lighting.2 3
Samples are approved at a desk under office lights. Floors are judged in corridors, classrooms and patient rooms, under different light, at full scale, after the crew has done its work. The gap between the two is where disputes start. A mockup closes it. For schools and healthcare, where floors are large, visible and hard to replace once occupied, it is usually the cheapest quality control available.
What the specification asks
Guide specifications describe the mockup in a few lines. One manufacturer's guide spec for resilient flooring asks the contractor to install a job mockup at the project site using acceptable products and manufacturer-approved installation methods.1 The owner's and architect's acceptance is obtained for finish color, texture and pattern, and the workmanship standard.1 It leaves the mockup size for the specifier to fill in.1 It says the mockup is maintained during construction for workmanship comparison and removed when no longer required. It may be incorporated into the final construction with the owner's approval.1
That last clause matters for cost. A mockup built in a room that will get the same floor can stay. A mockup built on a scrap of plywood in the site office cannot.
Where and how big
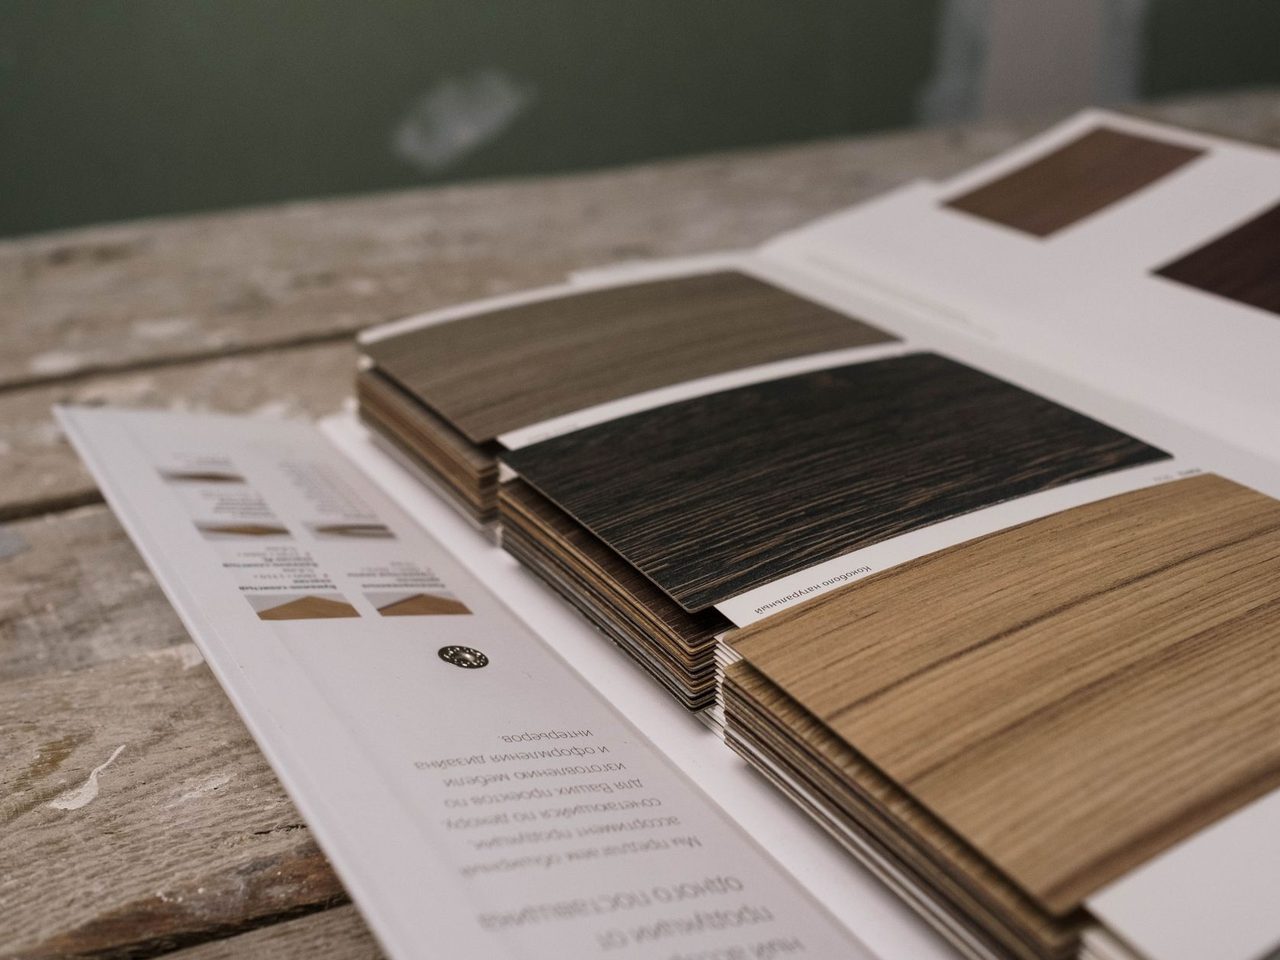
Put the mockup where it can prove something. That means the real substrate, prepared the way the rest will be, in a space with representative light. A corridor with a window at one end will show seams, lippage and shading that a windowless store room never will. Make it big enough to include at least one of each detail that worries anyone: a seam, a transition, a corner, a base, a door.
Interface takes a similar approach to carpet tile. It sets a benchmark area of 100m2 to be inspected by all authorizing parties, with any discrepancy reported before the rest of the installation continues.4 That is a large mockup, built as the first part of the real floor.
Prove the adhesive bond
The mockup is the natural place for bond testing. FloorFolio asks for adhesive bond tests to be conducted and passed with the flooring and adhesive that will be used on the job.2 Its method glues down 3’x3’ pieces in several locations and leaves them for 72 hours before trying to remove them.2 It suggests putting some bond tests over patched areas, to check the patching compound's bond too.2 The VA master specification allows the owner's representative to have test tiles removed to check for non-uniform adhesion, spotty adhesive coverage and ease of removal.5
Test the slab before the mockup goes down, not after. The VA specification asks for moisture and pH testing as the flooring and adhesive manufacturers recommend, starting at the deepest part of the concrete structure.5 Without other guidance, it sets limits of 3lb of water/1000 sq. ft. in 24 hours by ASTM F1869, and 75 percent relative humidity by ASTM F2170.5 Record the readings in the mockup file. A mockup that passes on a slab no one tested proves less than it seems.
Prove the seams and the joints
Seams are the most argued-about feature of a commercial floor. In healthcare, heat-welded seams on sheet vinyl need an agreed standard. David Gross of INSTALL notes that a properly skived weld should be visually imperceptible, with no raised or recessed area.6 Build at least one seam into the mockup, and have it accepted.
For tile, lippage is the usual dispute. The consultant Donato Pompo, writing in The Construction Specifier, argues that excessive lippage can be avoided with specifications that include quality testing, mockups and quality control.3 He notes that some complaints are about perceived lippage, caused by lighting rather than real height differences.3 A mockup under the real lights settles both questions.
Prove the color and blend
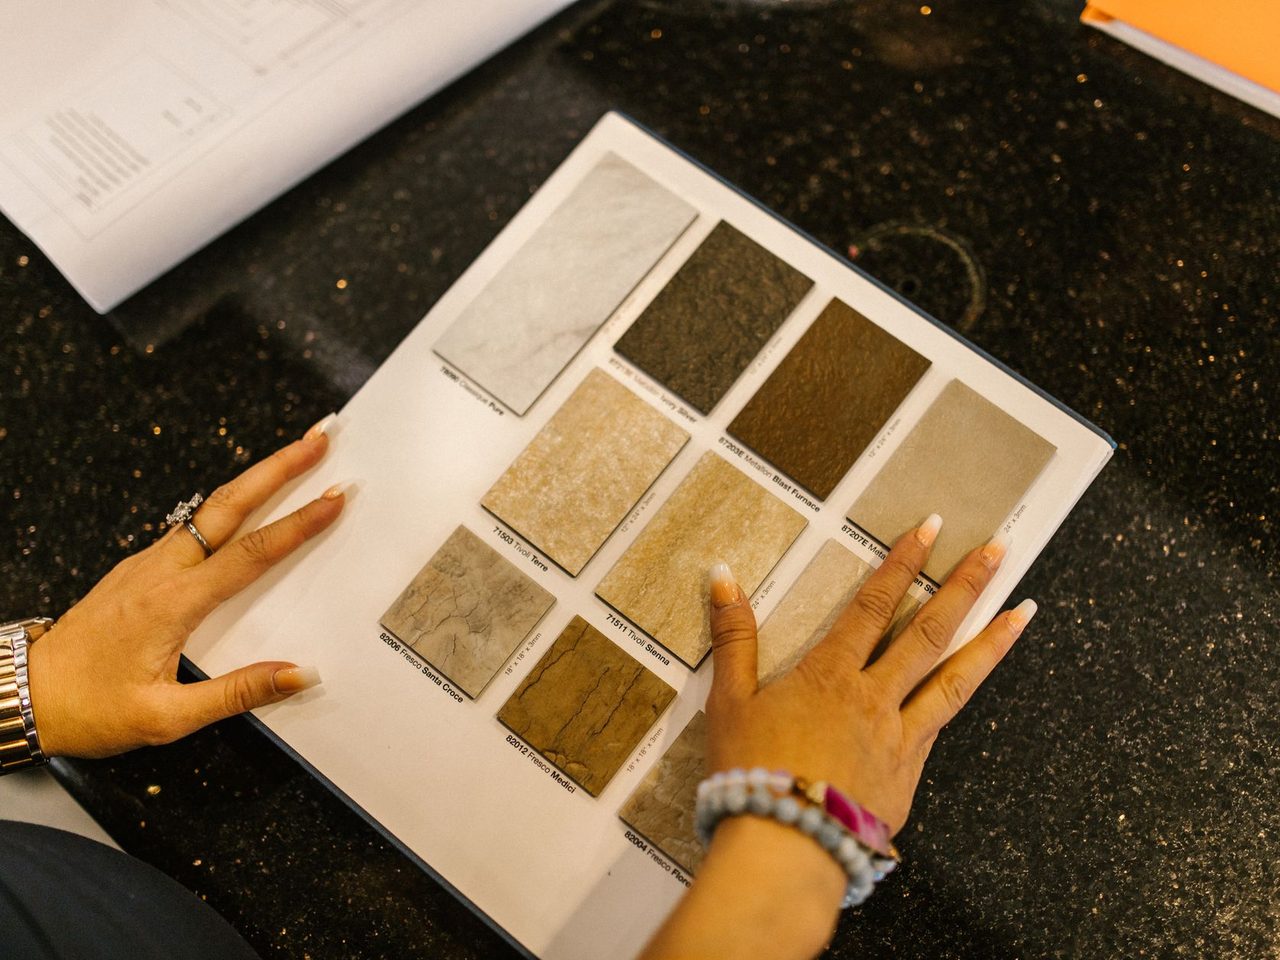
A floor laid from one carton looks different from a floor blended across several. The VA specification asks for tile to be mixed from at least two containers, and says an apparent line of shade or pattern variance will not be accepted.5 Lay the mockup the way the floor will be laid, from the delivered lots, with the blending the crew will use. If the job has more than one lot, show the transition between them.

Who signs, and what they sign
The acceptance should be written and specific. Record the date, the location, the products and lots, and what was accepted: color, pattern, seam appearance, transitions, base. Attach photos, including low-angle shots along the seams. The guide specification also calls for a pre-installation meeting to verify project requirements, substrate conditions, manufacturer's instructions and warranty requirements.1 Holding that meeting at the mockup puts everyone in front of the same piece of floor.
Schools and healthcare specifics
Schools are usually installed in summer, in short windows, with HVAC that may be shut down for other work. Build the mockup early enough to fix problems before the main installation starts. Healthcare projects often add infection-control requirements and occupied adjacent spaces, and the mockup can test the containment as well as the floor. In both, include the transitions to existing floors that will remain, since those are where height differences appear.
The checklist
- Mockup size and location agreed, on the real substrate under the real light.
- Bond tests with the job adhesive, including over patches.
- At least one seam, transition, corner and base detail.
- Material from the delivered lots, blended as the crew will blend it.
- Written, photographed acceptance by the owner and architect.
- A decision on whether the mockup stays in the work.
The accepted mockup becomes the standard at the punch walk; see the punch list checklist.

Sources
- Regupol America, “Specification Guide, Section 09 65 00 Resilient Flooring (REGUPOL revolution)”. commercial.regupol.com/fileadmin/user_upload/us/products/regupol-revolut
- FloorFolio, “Installation Guide 2025”. floorfolio.com/wp-content/uploads/2025/FloorFolio-Installation-Guide-202
- The Construction Specifier, “Tile and stone lippage: What is acceptable (and how do you specify it?) - Page 2 of 2 - Construction Specifier”. constructionspecifier.com/tile-and-stone-lippage-what-is-acceptable-and-
- Interface, “Carpet Tile Installation Instructions”. interface.com/content/dam/interfaceinc/interface/technical/emea/installa
- U.S. Department of Veterans Affairs (via WBDG), “Section 09 65 19, Resilient Tile Flooring (master specification)”. nibs-s3-wbdg3-production.s3.us-east-1.amazonaws.com:443/FFC/VA/VANCAS/VA
- The Construction Specifier, “Inside a perfect seam: the art and science of heat welding vinyl floors”. constructionspecifier.com/inside-a-perfect-seam-the-art-and-science-of-h
General information for the flooring trade. This article was drafted with AI assistance and checked against the sources listed above; the manufacturer's current instructions and the project specification govern any real job. If something here is wrong or out of date, tell us.