 SW-03 · Tile & Hard Surfaces
Cement backer board over a wood subfloor is bonded to the subfloor and then fastened, and USG says its Durock board is not designed for use as a structural panel.1 2 James Hardie calls for fasteners a maximum of 8 in. on center over the entire surface, and USG calls for 8 inches o.c. in both directions.1 2 The two makers differ on the bedding material and on fastener edge distance, so a submittal should name one board and follow that maker's instructions.1 2
Cement backer board on a wood floor does not carry the load. It gives tile a cement face to bond to, over a subfloor that already does the structural work. USG states that its Durock board is not designed for use as a structural panel.2 James Hardie and USG both have the board bonded to the subfloor first and then fastened on a tight grid.1 2
The details differ between the two makers, and those differences reach the bid. They cover trowel size, fastener type, edge distance, gaps and joint fill. This article sets both sets of instructions side by side and adds what the TCNA Handbook says about substrates and specifications. For flatness and deflection in more depth, see tile substrates before the first tile.
What goes under the board
Hardie says the subfloor should be a minimum of 5/8 inch exterior grade plywood or 23/32 inch OSB with an Exposure 1 classification.3 1 Where joists run more than 16 inches on center, Hardie says to consult the building code for subfloor thickness.3 It says not to install its board on joists more than 24 inches on center.3 USG also sets a maximum joist spacing of 24" o.c. for floors.2
USG's installation sheet says the subfloor should be a minimum 5/8" APA span-rated plywood or OSB, Exposure 1 or better.4 Its system guide adds that the subfloor should be tongue and groove or back blocked at unsupported edges.2 The same guide has a floor detail drawing labeled 3/4" min. plywood or OSB subfloor, while its written specification lists 5/8" or 3/4".2 USG's documents do not agree with each other on that point. Where the drawings do not settle it, send an RFI before bidding the subfloor.
Stiffness is written differently by each maker. Hardie says the floor assembly must be engineered not to exceed L/360, or L/720 for natural stone, including live and dead design loads.1 USG says the subfloor system should be designed with a minimum deflection limit of L/360. It notes that large format tile and natural stone may require a more rigid subassembly.2 Neither board changes that number. Correcting deflection means framing or subfloor work, and that is rarely in a tile contractor's scope.
For commercial floors, USG's technical data lists all three Durock thicknesses as passing cycles 1-6 of ASTM C627, rated light commercial.2 USG also says not to use Durock board with vinyl flooring.2
The bed under the board
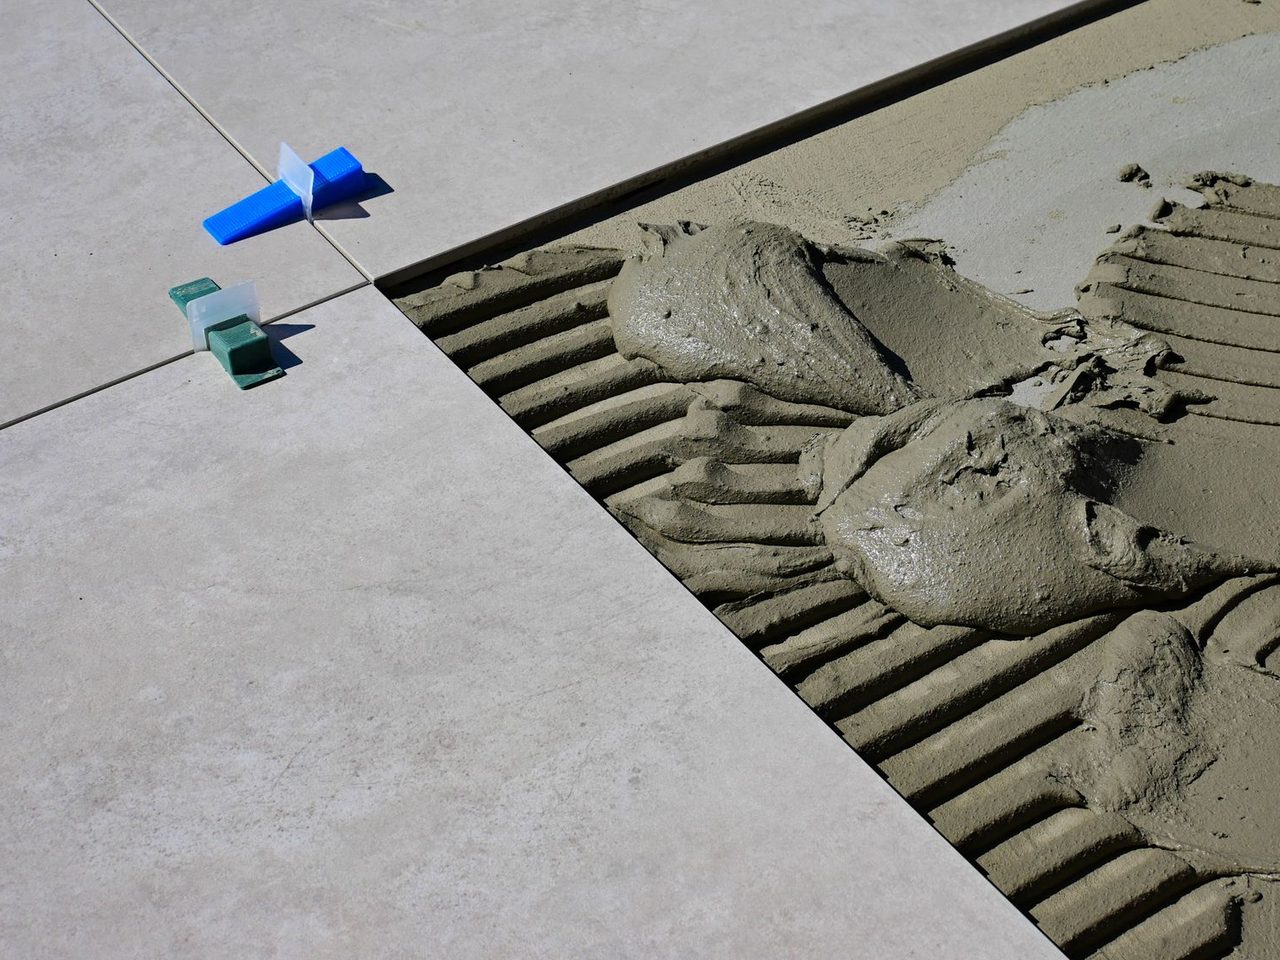
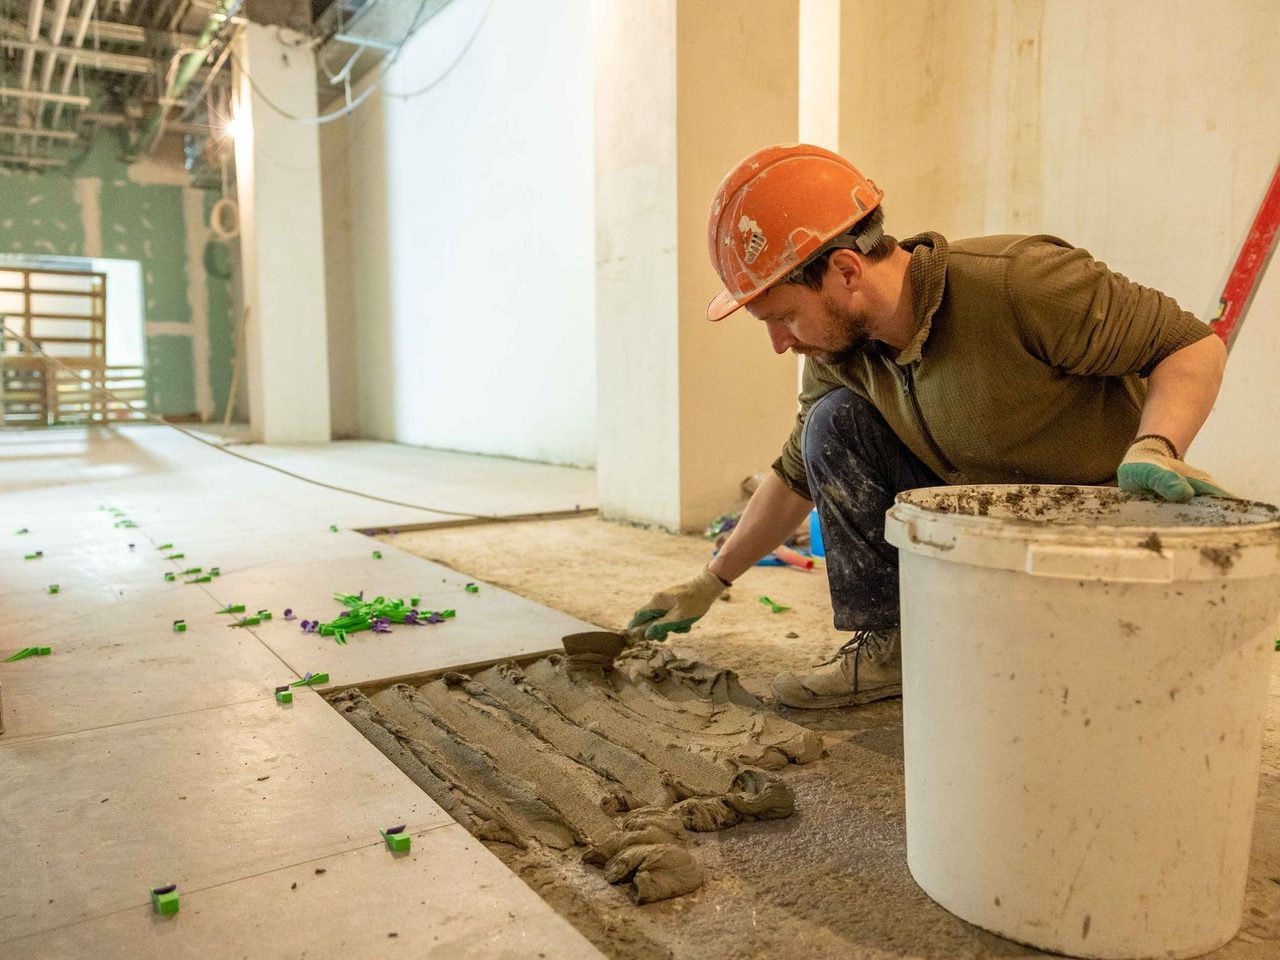
Hardie calls for a supporting bed of dry-set mortar or modified dry-set mortar, spread with a 1/4 in. square-notched trowel.1 Its materials list names ANSI A118.1 dry-set or ANSI A118.4 modified dry-set for this bedding layer.1 The board is then embedded firmly and evenly in the wet mortar. Hardie's floor page describes a sliding motion.3 1
USG allows more options. Its guide permits Type 1 organic adhesive, latex-fortified mortar, or dry-set mortar mixed with acrylic latex additive, if suitable for bonding backer board to plywood.2 It uses a 1/4" square-notched trowel for mortar and a 5/32" V-notched trowel for adhesive.2 Hardie's bedding list includes no organic adhesive.1 A crew that switches brands mid-job and keeps its habits can end up outside the instructions.
The bed is the step most likely to be left out of a price. It costs a bag of mortar and labor on every sheet. Price it as a line item so it is not dropped later.
Fasteners: type, spacing and edge distance
The grid is similar for both makers. The fastener and the edge band are not.
| Item | James Hardie | USG Durock |
|---|---|---|
| Bed under board | Dry-set or modified dry-set mortar 1 | Type 1 organic adhesive, latex-fortified mortar, or dry-set with acrylic latex additive 2 |
| Trowel | 1/4 in. square-notched 1 | 1/4" square-notched for mortar; 5/32" V-notched for adhesive 2 |
| Fastener | Minimum 1-1/4 in. No. 8 ribbed wafer head screws, or minimum 1-1/4 in. corrosion-resistant roofing nails 1 | 1-1/4" Durock tile backer screws or 1-1/2" hot-dipped galvanized roofing nails 2 |
| Spacing | Maximum of 8 in. on center over the entire surface 1 | 8" o.c. in both directions 2 |
| Edge distance | 3/8 in. to 3/4 in. from edges; 2 in. from corners 1 | At least 3/8" and less than 5/8" from ends and edges 2 |
| Joint fill | Same mortar used to set the tiles, with 2 in. alkali-resistant glass fiber tape 1 | Tile-setting mortar or adhesive, with Durock tile backer tape 2 |
USG's outer edge limit is tighter than Hardie's.1 2 A fastener at 3/4 inch from the edge fits Hardie's text but not USG's.1 2 Hardie's screw note is tied to compliance with ANSI A108.11.1 USG says not to use drywall screws or drywall nails.2
Both makers want heads set flush and not overdriven.1 2 USG explains why. Flush heads ensure firm panel contact with the subfloor.2
Gaps and layout
Hardie recommends a 1/8 inch gap between board edges and keeping edges 1/8 inch back from walls and cabinet bases.1 It says to stagger joints, keep them off subfloor joints, and never let four board corners meet at one point.3 1 USG says to stagger board joints from subfloor joints. It says to fit ends and edges closely but not forced together.2 USG's floor text gives no gap dimension, although its wall and countertop instructions call for a 1/8" gap.2
Movement joints sit above the board, but the board layout has to respect them. Hardie's guide says expansion and control joints should follow TCNA method EJ171. It advises getting a design professional to set their specification and locations.1 The TCNA Handbook says the design professional or engineer shall show the specific locations and details of movement joints. It lists interior spacing of 20 to 25 feet in each direction.5
Joint treatment
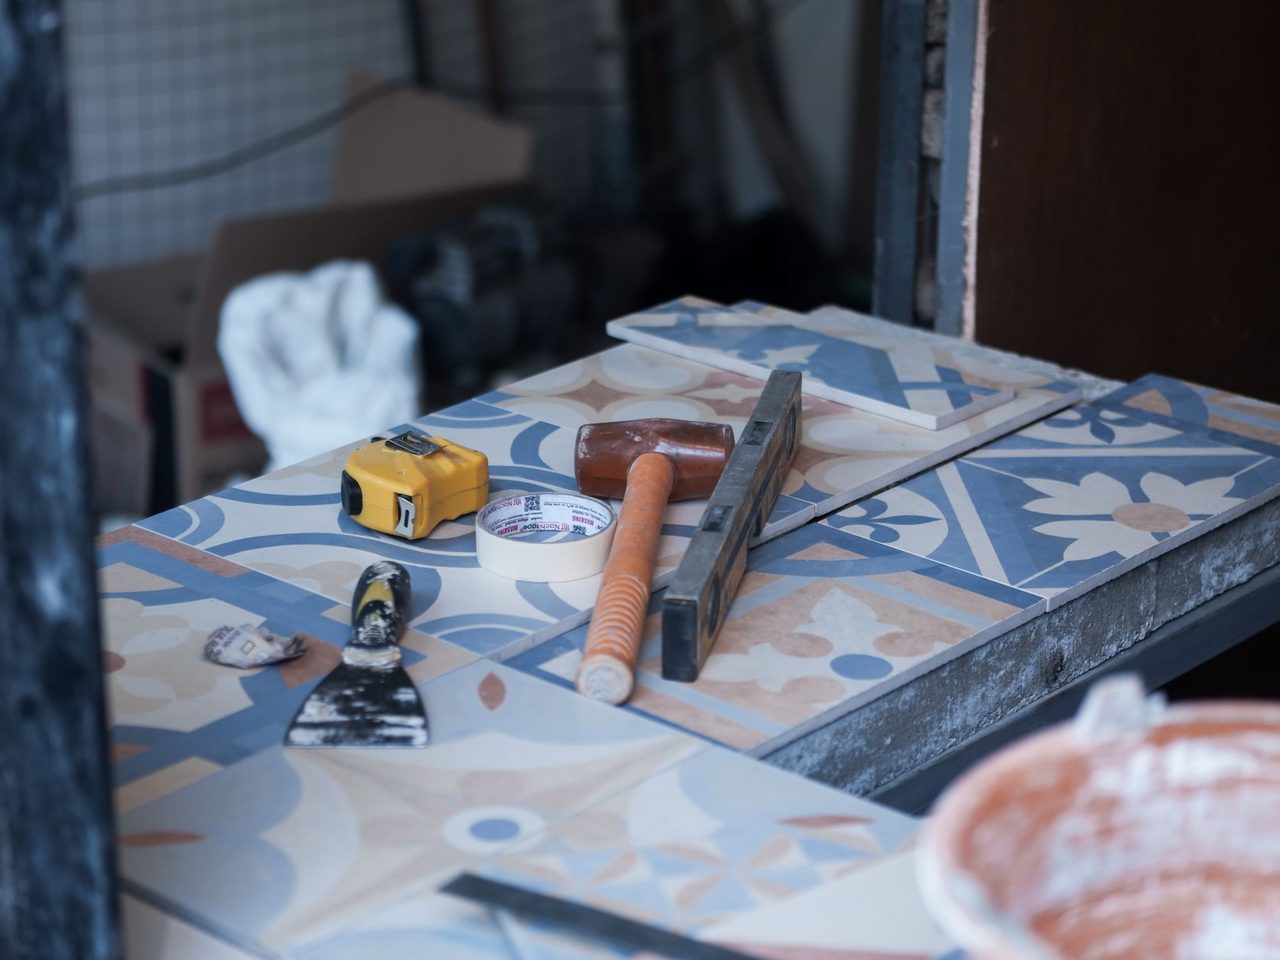
Hardie says to fill all joints with the same mortar used to set the tiles. While the mortar is still workable, embed minimum 2 in. wide high-strength alkali-resistant glass fiber tape and level it.1 It says not to use all-purpose joint compound or paper tape.1 USG says to prefill joints with tile-setting mortar or adhesive, then immediately embed its alkali-resistant tape and level the joints.2 USG says not to use drywall joint tape, or lightweight setting-type and ready-mix joint compounds directly over the board.2
Waterproofing is where the two boards differ most. Hardie says its HydroDefense board has internal waterproofing treatment, does not require a moisture barrier, and passes ANSI A118.10.1 Hardie still notes that some areas may require additional waterproofing under local code.1 Where complete waterproofing is required, Hardie says to seal all joints, edges and fastener penetrations with a liquid membrane.1 USG says its board is vapor permeable. If waterproof construction is specified, a separate barrier must be applied over or behind it.2
The TCNA Handbook adds a contract point. If a membrane is optional in the specification, the contractor is not required to install one unless it is clearly specified.5
Setting tile on the board
Hardie says to wipe the board with a damp sponge, spread modified thinset with a trowel suited to the tile, and comb ridges in one direction.3 It calls for a minimum of 24 hours curing set time before grouting.3 1 USG says to contact the tile manufacturer for the appropriate tile-setting mortar on floors.2 For mortar standards, see thin-set mortars by standard.
Flatness still governs large tile. For tile with one side greater than 15 inches, the TCNA Handbook sets a thin-bed tolerance of 1/16 inch variation in 24 inches.5 A board laid over a high seam carries that seam through. The lippage limits apply either way.
Where the money goes
Hardie says to replace any warped, missing or uneven subfloor sections before installing board.3 The TCNA Handbook says project specifications shall include a specific and separate requirement to bring the substrate into compliance when a thin-bed method is specified and the substrate does not meet it.5 Where that requirement is missing, subfloor repair belongs in a written change order. It should not be absorbed into the tile price.
Mixing brands carries its own risk. USG assumes no liability for failure resulting from alternative materials or from installation other than as specified.2 Where a specification lists more than one material without choosing, the TCNA Handbook says the contractor may choose any listed option.5
Two site conditions are easy to overlook. Hardie says never to cut its products indoors with high-speed power tools, because of silica dust.1 USG says to keep building temperatures within 40 to 100°F during cold-weather installation, and not to install board when it is wet.2
What to check and put in writing
- Confirm subfloor thickness and joist spacing against the chosen board maker's limits.3 2
- Get the deflection basis in writing, including L/720 if natural stone is on the drawings.1
- Name one board and one bedding material in the submittal, not "or equal."
- Price the bed, the tape and the joint fill as separate line items.
- Check that the fastener edge distance matches the specified maker.1 2
- Ban drywall screws, drywall tape and joint compound in writing.1 2
- Confirm whether a membrane is required or optional before bidding.5
- Ask the designer for movement joint locations and details.5
- Put any subfloor repair on a change order before the board goes down.

Sources
- James Hardie, “hardie-backer-install”. pdf.lowes.com/productdocuments/dc675459-7a89-44fb-9cd0-3fa4c40b579a/1147
- USG, “usg-durock-system”. usg.com/content/dam/USG_Marketing_Communications/united_states/product_p
- James Hardie, “How to install Hardie® Backer cement board on floors | James Hardie Pros”. jameshardie.com/blog/for-siding-pros/how-to-install-hardiebacker-cement-
- USG, “usg-durock-install”. pdf.lowes.com/productdocuments/8ce1bcdb-1253-4252-ab64-b559cfd10165/0813
- Tile Council of North America (via CSI Louisville), “tcna-handbook-excerpt”. csilouisville.org/images/downloads/2024_tcna_handbook_shorten_v_ky_.pdf
General information for the flooring trade. This article was drafted with AI assistance and checked against the sources listed above; the manufacturer's current instructions and the project specification govern any real job. If something here is wrong or out of date, tell us.