 SW-03 · Tile & Hard Surfaces
CTaSC says 28 days of curing generally brings concrete to 90% cure, with no significant shrinkage after that for ceramic tile.1 Drying is a separate process that can take months.2 Most makers of regular polymer-modified thin-sets say the slab needs to cure a minimum of 28 days, and moisture limits vary by maker.1 The setting-material data sheet and an in-situ RH test decide the start, not the calendar.1 2
A tile contractor is asked to set porcelain on a slab that will be less than 60 days old at mobilization. The slab is not under roof yet.1 Someone on the job will quote the 28-day rule. That number describes curing and early shrinkage, not how dry the slab is.1 2
Three things decide the start date. The setting-material data sheet, a moisture test on this slab, and the project specification. Here is what each covers, and where the money goes when the start is premature.
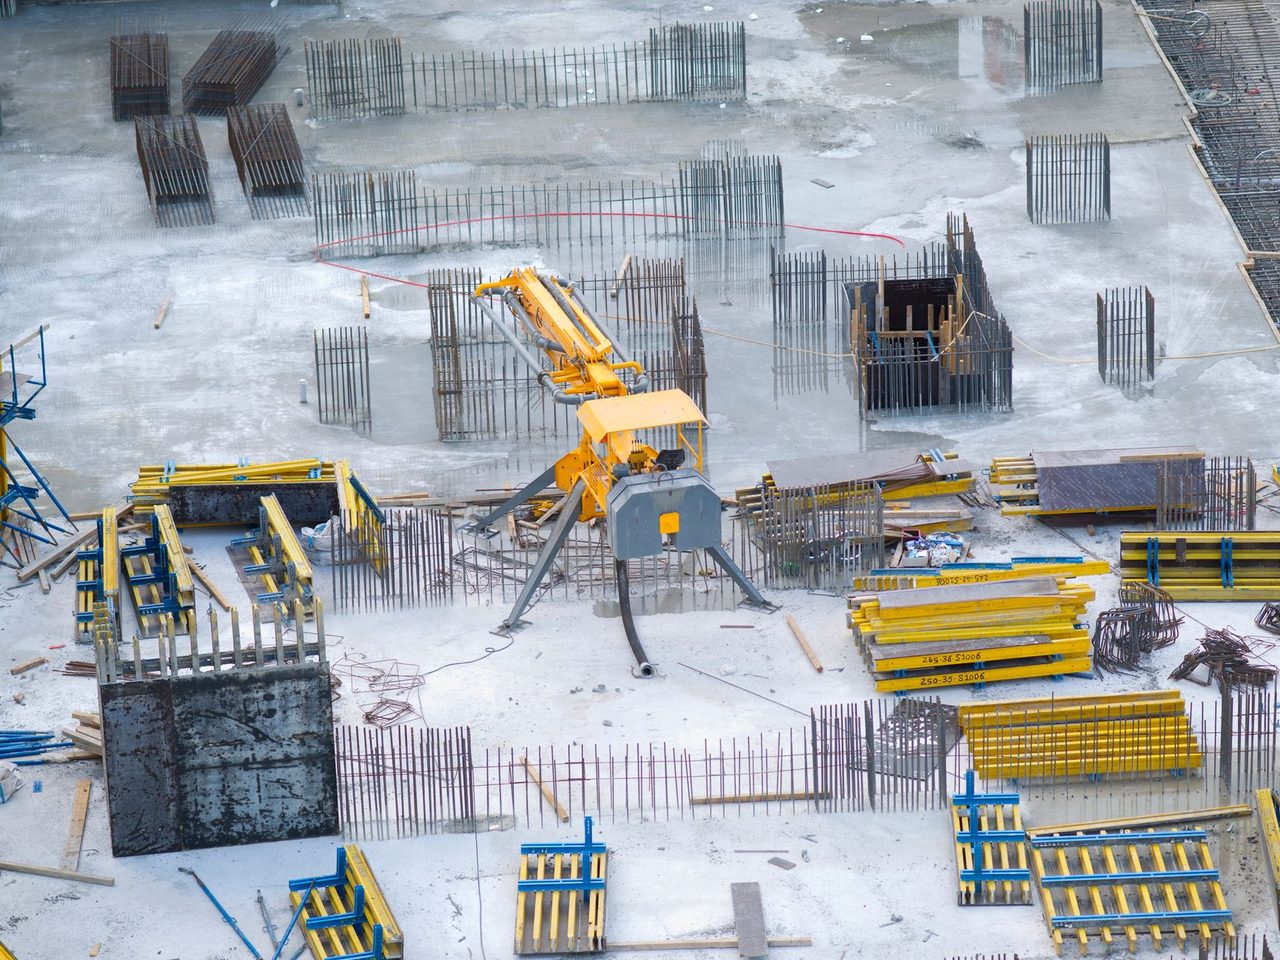
What the 28 days actually describes
The answer published by CTaSC is plain. Generally speaking, 28 days of curing lets concrete achieve 90% cure.1 After that, it says, there is no significant shrinkage in terms of installing ceramic tile.1 The concern behind the rule is shrinkage as concrete cures in its early stages.1 That shrinkage can lead to cracking that could telegraph up through the tile.1
Wagner Meters, a moisture-meter maker, frames the number differently. It says curing is usually mostly complete after 28 days, but concrete continues to harden for a significant amount of time afterward.2 In a reader reply, Wagner says concrete at 28 days is typically about 80% of its designed strength.2 The two sources use different measures, cure and strength, so the 90% and 80% figures do not contradict each other.1 2 Neither is a reading from your slab.
The 28 days also moves. CTaSC says cure speed depends on thickness, how wet the concrete was placed, how absorbent the surface below is, and temperature and humidity.1 It reports one manufacturer's claim that for every 18 degrees F over 70 degrees F, cure time is reduced by half.1 If it is very cold or wet, CTaSC says, it will take a lot longer.1
Curing and drying run on different clocks
Wagner treats concrete curing and concrete drying as two different processes.2 Curing is the hardening that begins immediately after the pour, as water and cement react.2 Leftover water either evaporates or remains in the concrete's capillaries.2 Even after the concrete is cured, that excess water still must evaporate. Drying can take months.2
Wagner notes the slab is ready for foot traffic within 24 to 48 hours.2 Walkable is not ready for tile. Its drying rule of thumb is 28 days for every inch of slab thickness.2 It adds that real-world conditions are not always that simple. The conditions must be right: low ambient relative humidity and a consistently warm temperature.2
The mix sets part of the drying clock. Wagner says too much water in the mix means a longer drying time.2 Lightweight aggregates absorb a lot of water and increase drying time.2 Curing, sealing or bond-breaking agents can inhibit evaporation from the surface.2 Those choices were made before tile was bid. Ask for the mix and curing method anyway.
A slab that is not under roof
An open slab does not follow any of these timelines. Wagner advises enclosing the space as soon as possible once the slab has cured, to stop it absorbing more moisture.2 If ambient relative humidity is too high, it says, the slab won't be able to dry.2 Enclosure lets HVAC control conditions.2 Wagner cites the EPA recommendation of indoor relative humidity below 60%, ideally between 30% and 50%, as well suited to drying concrete.2
What sits under the slab matters too. ACI 302.1R-15 says the greatest level of protection for floor coverings comes when the vapor retarder/barrier is in direct contact with the slab.3 That placement removes the chance for water from rain, saw-cutting, curing or cleaning to get trapped in the fill.3 ACI says wet or saturated fill above the retarder can significantly lengthen the time a slab needs to dry.3 An open pour over a sandwiched fill layer is the case to ask about first.
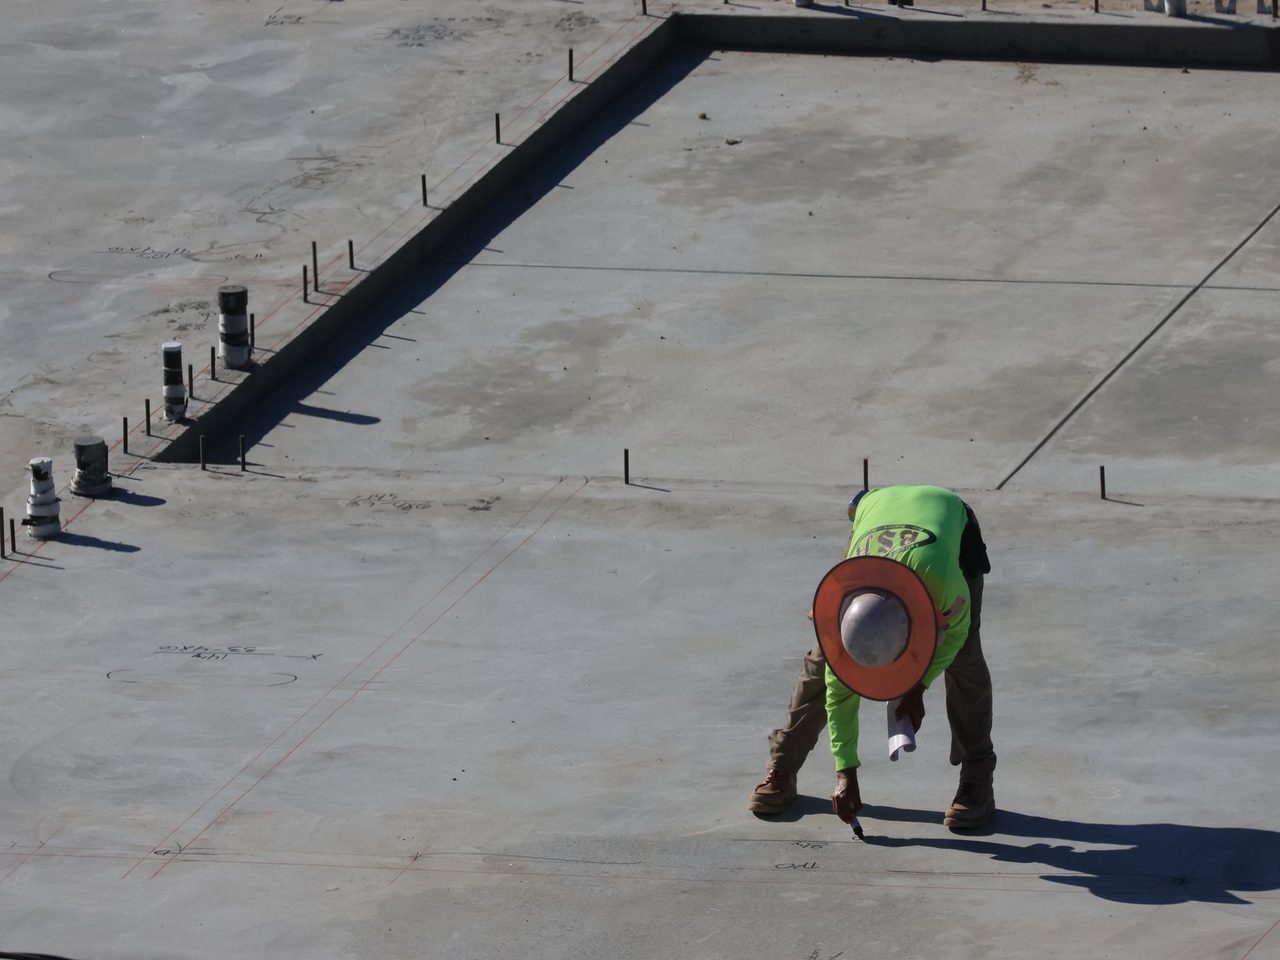
What ACI says the slab is doing
ACI 302.1R-15 explains why tile setters worry about young slabs. Portland cement slabs start to lose volume as soon as they are placed.3 This continues as long as water, heat, or both are released to the surroundings.3 Top and bottom dry and cool at different rates, so shrinkage varies through the depth and distorts the slab.3 ACI calls curling at joints a normal consequence of that differential moisture loss.3
ACI is direct about tile. Curling can lead to conflicts with some floor coverings in the months after placement.3 It says national standards for ceramic tile require surface tolerances that cannot be met under typical slab curling behavior.3 It calls random visible cracks in 0 to 3 percent of floor slab panels a reasonable expectation.3 Present technology, ACI says, permits only a reduction in cracking and curling, not elimination.3
ACI puts the answer on the design side. The designer should correlate the slab design with the floor covering specification.3 The design should also address the potential for joints to telegraph through the flooring.3 ACI states its guide should not be referenced in contract documents; anything the architect or engineer wants enforced must be restated in mandatory language.3 When you write a condition, cite the project specification, not ACI.
The data sheet sets the start date
CTaSC says to rely on the data sheet recommendations of the thin-set you are using to bond to the concrete.1 It reports that most makers of regular polymer-modified thin-sets say the slab needs to cure a minimum of 28 days.1 Premium thin-sets have more polymers. CTaSC says they perform better on bond strength and resistance to movement.1 For the standards behind those categories, see thin-set mortars by standard.
Earlier starts exist, and they are product claims. CTaSC mentions uncoupling membranes that allow going over the slab within 7 days.1 It also mentions some adhesives that claim installation as soon as 14 days.1 It names flexible thin-sets that will allow installing over the concrete sooner.1 Each is one maker's instruction for its own system. Confirm the mortar above and below the membrane carries the same allowance, and keep that page with the submittal.
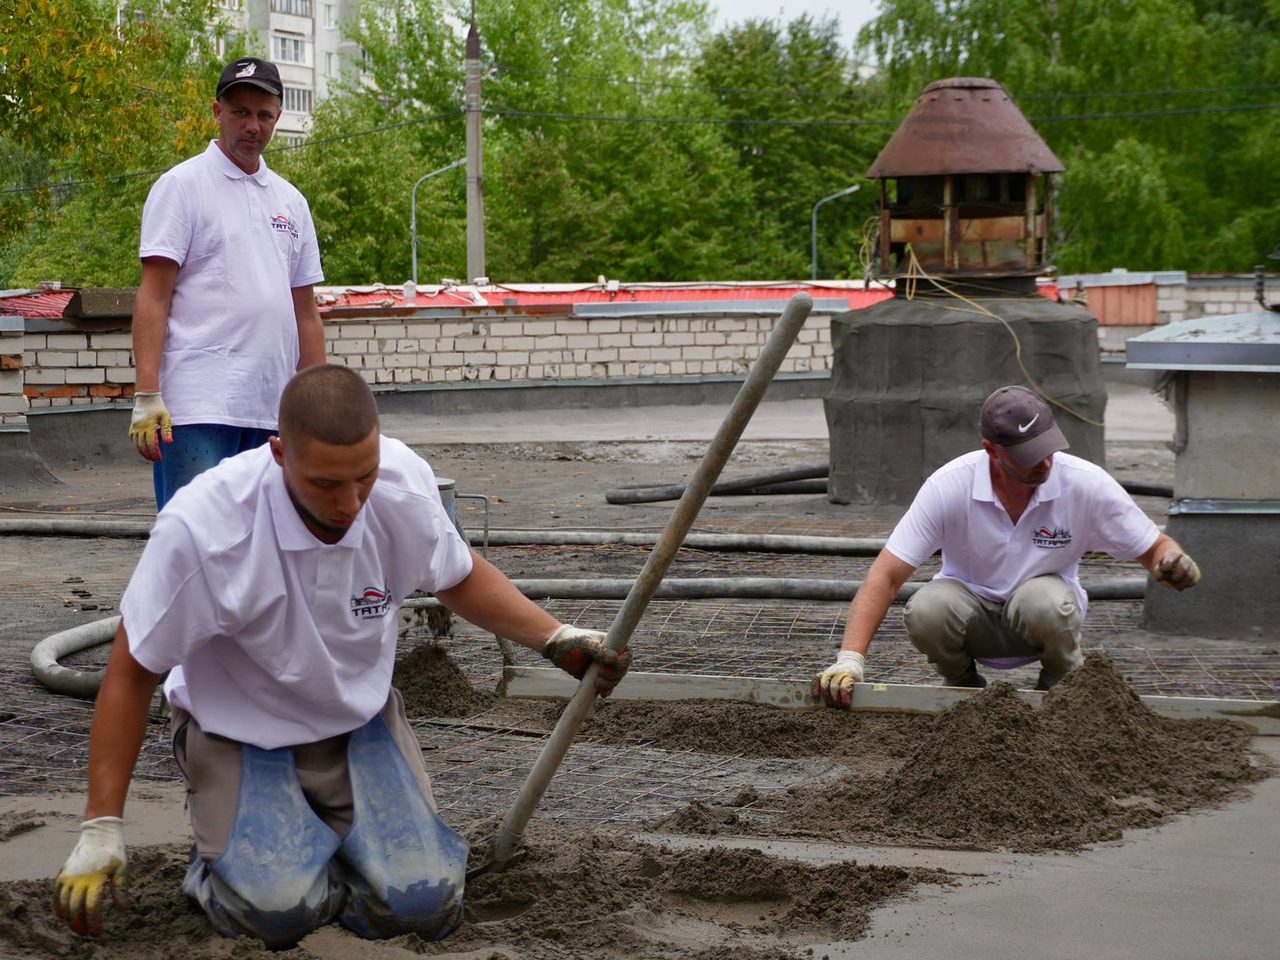
Moisture limits for tile are not consistent
CTaSC says the ceramic tile industry is not consistent on moisture testing.1 Some setting-product makers refer to the calcium chloride vapor emission test.1 For interior work, particularly with a membrane over the slab, some require as low as 3 lbs/1000sf/24hours maximum.1 CTaSC calls that probably too conservative. Others go as high as 12 or more.1 CTaSC says the test isn't considered reliable, because it can't be calibrated and the surrounding environment creates variables.1
CTaSC calls the ASTM F2170 in-situ relative humidity probe more meaningful.1 For interior work, particularly with a membrane, it says manufacturers generally require a 75% to 80% maximum RH.1 For exterior work they normally have no requirements, because controls are limited.1 Wagner says probes go to 40% of slab thickness when the slab dries from one side, and 20% when it dries from both.2 It warns the surface is nearly always drier than the center.2 Test procedure is covered in concrete moisture testing before resilient flooring.
Porcelain itself is the easy part. CTaSC says porcelain tile isn't so sensitive to moisture.1 The layers under it are another matter. CTaSC tells readers to make sure the membrane doesn't have limitations for moisture content in relative humidity.1
Surface, cracks and joints on a young slab
A green slab still faces the usual checks. CTaSC asks for a broom finish that readily absorbs water.1 If it does not, CTaSC says to tell the client to scarify to at least CSP 3.1 Shrinkage cracks should be isolated per TCNA F125, partial or full coverage.1 Structural cracks can't be isolated and must be repaired per the project engineer.1 The TCNA Handbook says crack isolation products guard against minor in-plane movement, generally less than 1/8”.4 They are not designed to bridge or relocate intended joints.4 CTaSC calls for movement joints at perimeters, transitions and in the field per TCNA EJ171.1 Flatness and joint layout are covered in tile substrates before the first tile.
Who carries the risk of an early start
This is where an early start costs money. In a reader reply, Wagner says that in the US it is normally stated that a flooring contractor who starts installing on a slab accepts responsibility for things such as moisture testing.2 Setting on an untested slab can put a later failure on the tile contractor's account. Wagner also notes that logged readings give a record of the slab's condition if your work is questioned.2
The TCNA Handbook places substrate correction in the specification. Where a thin-bed method is specified over a noncompliant substrate, it says the specification shall carry a separate requirement for that work.4 Wagner says a moisture mitigation system can let a floor covering go in before drying is complete.2 That is added material and labor. If neither item is in the documents, raise it before mobilizing. See how to write a flooring RFI and change orders to put in writing.
Before you agree to a start date
- Get the pour date and slab thickness, and confirm whether it dries from one side or both.2
- Ask whether curing or sealing compounds were used; Wagner says they can inhibit evaporation.2
- Confirm where the vapor retarder sits: in direct contact with the slab, or under a fill layer.3
- Record the enclosure date and when HVAC started running.
- Pull the minimum cure from the data sheet for the exact mortar, membrane and adhesive submitted.1
- Run F2170 RH testing and compare results to the limit the setting-material maker publishes.1
- Check the surface for a broom finish that absorbs water, or name who scarifies to CSP 3.1
- Map cracks: shrinkage cracks for isolation, structural cracks to the engineer.1
- Put the condition in writing: start contingent on test results, and who pays for prep, mitigation or delay.
Sources
- CTaSC, “How Long Should Concrete Cure before Installing Tile? – CTASC.com”. ctasc.com/expert-answers/how-long-should-concrete-cure-before-installing
- Wagner Meters, “How Long Does Concrete Take to Dry vs. Cure?”. wagnermeters.com/concrete-moisture-test/concrete-info/how-to-speed-up-co
- American Concrete Institute, “ACI 302.1R-15 Guide to Concrete Floor and Slab Construction, Chapter 5 (excerpt)”. concrete.org/Portals/0/Files/PDF/302.1R-15_Chapter5.pdf
- Tile Council of North America (via CSI Louisville), “tcna-handbook-excerpt”. csilouisville.org/images/downloads/2024_tcna_handbook_shorten_v_ky_.pdf
General information for the flooring trade. This article was drafted with AI assistance and checked against the sources listed above; the manufacturer's current instructions and the project specification govern any real job. If something here is wrong or out of date, tell us.