A welded seam can look perfect at handoff and still fail after the building settles into daily use. The trouble usually shows up later, as a hairline lift, a split at the edge, or a seam that starts collecting dirt where it once looked tight.
That lag time makes heat-welded sheet vinyl tricky. The job can pass a quick walkthrough, then come back with a failure that seems random until you trace it to prep, heat, movement, or trimming.
Key Takeaways
- Most seam failures start before the weld ever begins, especially with poor groove prep and dirty edges.
- Too much or too little heat can create a seam that looks sealed but opens under traffic.
- Subfloor movement, moisture, and adhesive problems can stress an otherwise decent weld.
- New products and show-floor demos are useful, but field conditions still expose bad technique.
- A simple final inspection catches many open seams before the job turns into a callback.
Why welded seams fail after the job is complete
A welded seam is only as strong as the materials around it. If the groove is shallow, the rod does not fuse properly, or the edges are contaminated, the seam may hold for a few days and then start to separate.
That delay happens because traffic, temperature swings, and cleaning cycles keep working on the joint. A seam that survives install day can still fail when carts roll over it, when a building warms in the afternoon, or when a slab releases a little moisture.
A seam that looks smooth from standing height can still be weak at the bond line.
Commercial sheet vinyl gets used in schools, clinics, retail spaces, and corridors for a reason. It performs well when the details are right. When the details slip, the failure usually appears first at seams, corners, and transitions.
The small mistakes that become open seams
Most seam problems start with work that feels minor in the moment. A little dust, a rushed cut, or a rod that does not match the sheet can create a weak line that does not show itself right away.
This table covers the mistakes that most often lead to late-opening seams.
| Mistake | What shows later | Better practice |
|---|---|---|
| Dirty or dusty seam edges | The weld peels or opens at the edge | Vacuum, clean, and inspect every groove before welding |
| Wrong groove depth or poor cut | The rod sits proud or fails to bond | Cut consistently so the rod can fuse into both sides |
| Mismatched welding rod | Color shift, shrinkage, or weak fusion | Match rod type and size to the sheet and manufacturer spec |
| Heat set too low | The rod bonds on top instead of melting in | Test heat and travel speed before starting long runs |
| Heat set too high | Scorching, glossy edges, or brittle welds | Keep the gun steady and watch edge response, not just speed |
| Trimming too early | The seam edge tears or pulls | Let the weld cool before final trimming |
| Skipping conditioning | Movement opens the seam after install | Keep the room within the required temperature and humidity range |
The pattern is clear. Late failures usually start with a small shortcut, then grow when traffic and time expose it.
Heat, speed, and trimming have to work together
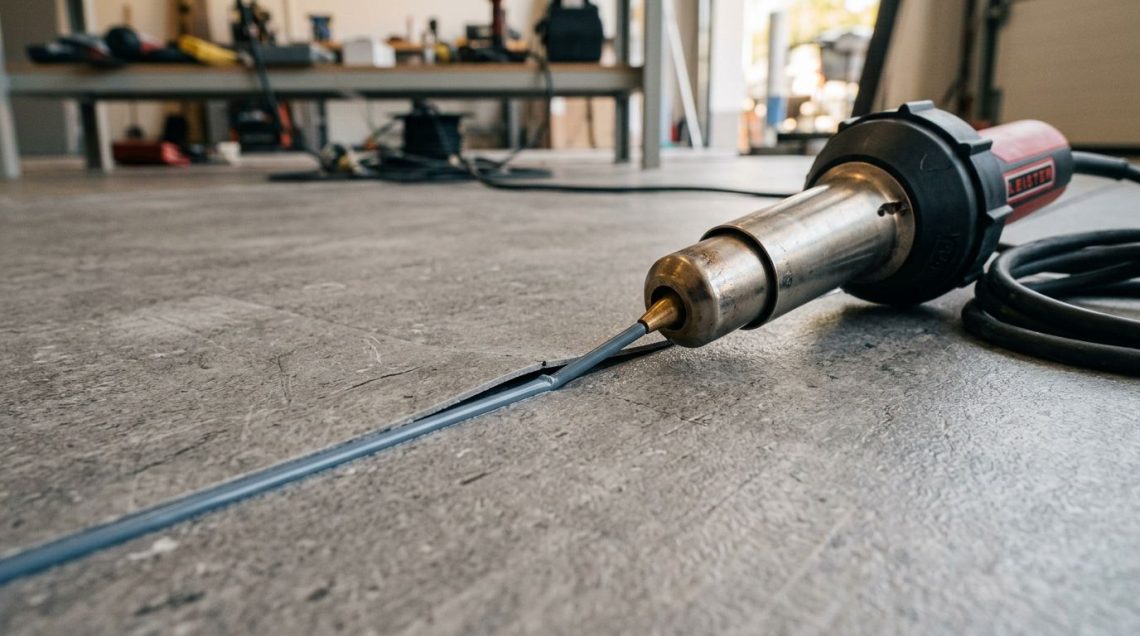
The weld has to melt enough to fuse, but not so much that it cooks the sheet edge. Crews sometimes chase speed because the seam looks finished sooner. That is where trouble starts.
If the gun moves too fast, the rod can sit on top of the groove instead of bonding into it. If it moves too slowly, the vinyl can overheat and lose strength at the seam edge. Either way, the first inspection may look fine, because the surface still hides the weak bond underneath.
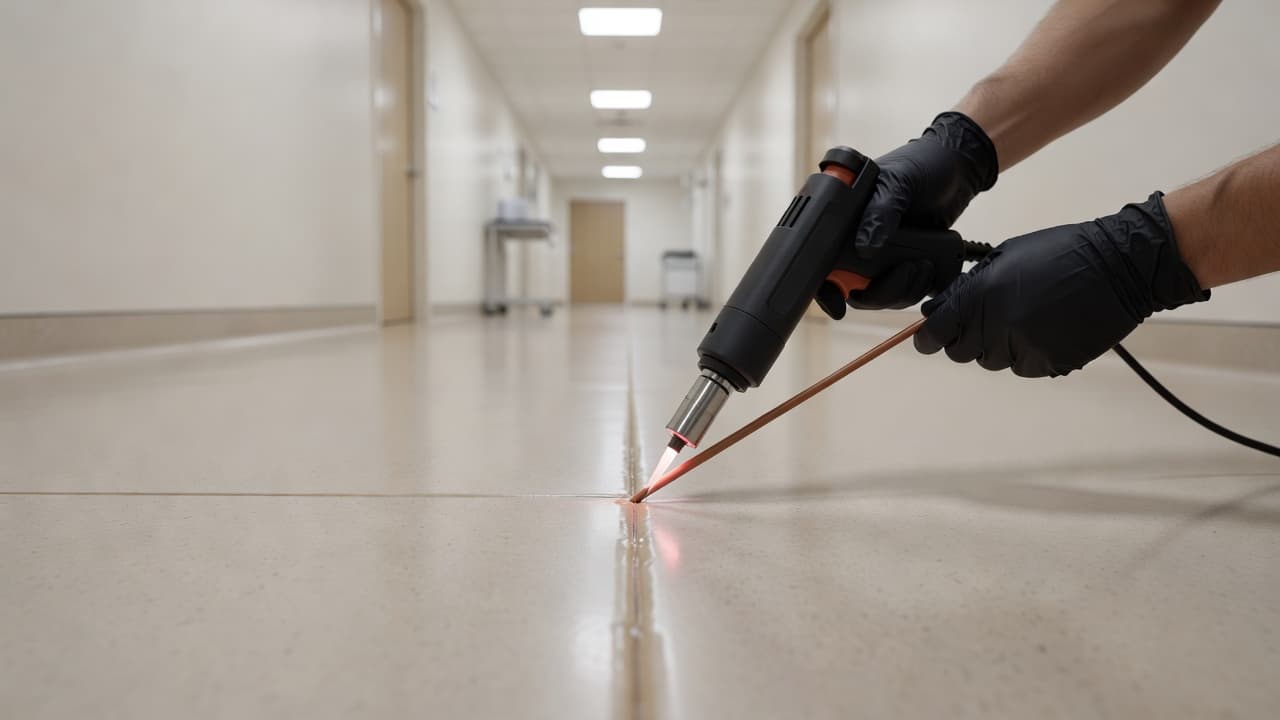
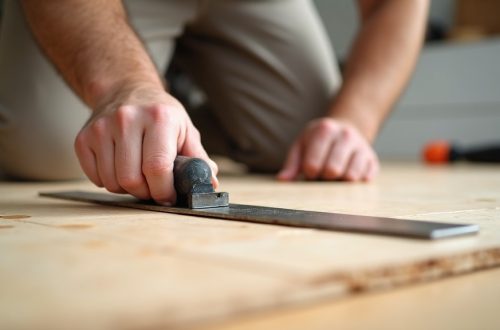
A good weld also depends on trimming at the right time. Trim too early and the rod can pull out of the groove. Trim too late and the bead can harden so much that the knife leaves a ragged edge. Either problem can leave a seam that looks clean today and opens at the cut line later.
The safest habit is to treat the weld, the cool-down period, and the final trim as one sequence. Break that sequence, and the seam starts taking on stress before it ever sees traffic.
Subfloor movement and moisture put seams under strain
Even a well-welded seam can open if the floor underneath moves. That is why subfloor prep matters as much as the welding pass itself.
Flatness problems create stress points. Moisture creates bond issues. Small voids can flex under foot traffic, then transfer that movement straight to the seam line. Over time, the seam starts to show the load.
That same logic appears in common LVP installation errors, because any flooring system that cannot stay stable under load eventually telegraphs its problems to the surface. Sheet vinyl is no different. When the slab or substrate moves, the seam usually pays first.
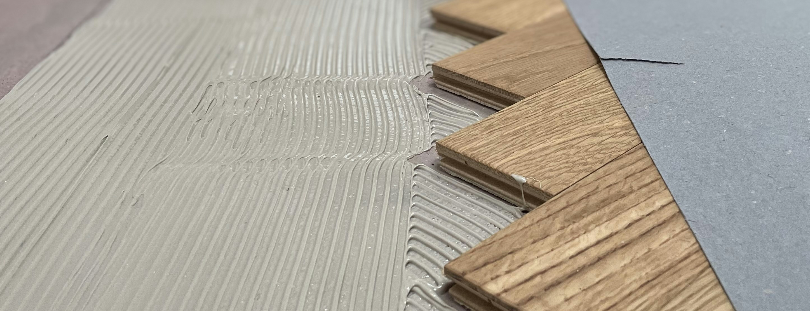
Adhesive problems can compound the issue. If the bond below the sheet is weak, the surface may sound hollow or feel soft in spots, and that movement can stress the welded joint. Similar bond failure shows up in troubleshooting glue-down flooring bubbles, where trapped air, poor coverage, or a contaminated slab creates a failure that appears later, not immediately.
The lesson is simple. A seam cannot stay closed for long if the floor beneath it keeps shifting.
What 2026 product trends mean for weld quality
Keep an eye on flooring industry news and the annual flooring shows, because they give a good look at where commercial vinyl is headed. The newest flooring trends and products keep pushing better visuals, tighter schedules, and more demand for consistent performance on the jobsite.
That matters for seam work. The newest flooring products often bring new backings, new surface textures, or tighter installation requirements. A crew that knows one line well may still need new rod, blade, heat, or trimming habits for the next one.
Changes in flooring manufacturing factories can also affect how a sheet behaves during welding. A denser backing may cut differently. A different print layer may show heat marks faster. A revised accessory package may call for a different rod size or pass temperature. Those details do not show up in a showroom sample, but they matter in a hospital corridor at 3 p.m.
The best crews read product data, listen to manufacturer reps, and compare notes from the field. Show-floor demos are useful, but they do not replace hands-on verification. A seam that behaves well in a display hall still has to survive carts, cleaners, and daily traffic.
A final inspection catches most late failures
The last walk-through should focus on the seam line, not just the overall look of the floor. Run your eye along every welded joint, then check the ends, doorways, turns, and transitions where stress collects first.
Touch the seam where the job allows it. You are looking for a proud edge, a faint gap, or a place where the rod never truly fused into the sides. If anything feels off, fix it before the room goes into service.
It also helps to document the install conditions, especially temperature, humidity, and cure time. When a callback happens later, those details tell you whether the seam failed because of the weld or because the room moved after install.
Conclusion
Late-opening seams usually trace back to a few familiar problems, poor prep, weak heat control, movement below the surface, or a rushed finish. None of those problems hides for long once traffic and temperature start working on the floor.
The strongest welds come from steady prep and disciplined trimming. When the seam, substrate, and install conditions all line up, the floor stays quiet long after the first walkthrough.