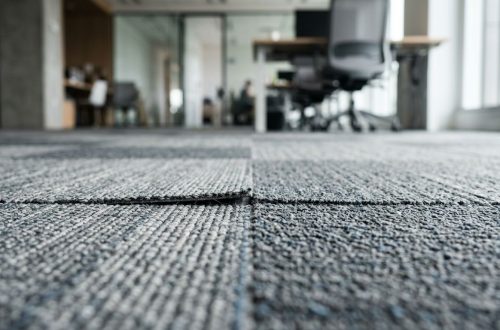
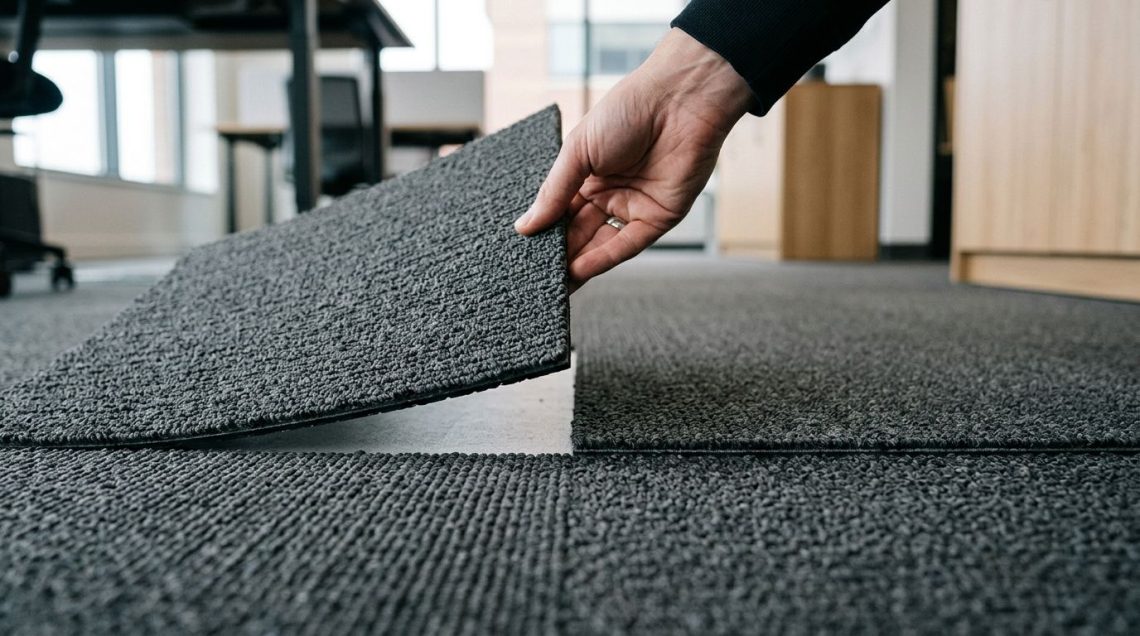
A single damaged tile can ruin an otherwise clean floor. The hard part is not swapping it out, it’s making the repair disappear in plain sight.
That takes more than a sharp knife and a spare square. Color shift, fiber wear, pile direction, and adhesive choice all affect the final result. Professionals who follow flooring news and annual flooring shows know how fast product lines change, and that matters when you need a replacement that blends with the rest of the room.
Key Takeaways
- Match the replacement tile by dye lot, backing, pile direction, and wear, not just by product name.
- Clean prep matters as much as the install, because loose fibers and old adhesive will telegraph through the repair.
- Use the right adhesive for the tile system, especially on modular carpet with releasable tack.
- If the exact tile no longer exists, replace a larger area or pull a tile from an inconspicuous spot.
- Keep spare tiles from the same run whenever possible, because future repairs get harder over time.
Start with the tile match, not the knife
Before you cut anything, compare the spare tile to the installed floor in real light. A tile that looks close in the warehouse can read differently near a window or under LED lighting.
Pay attention to the small details that make a floor look uniform. Dye lot, face weight, pile direction, and backing style all matter. So does wear. A new tile may sit slightly higher, look darker, or reflect light differently than the surrounding field.
The closest tile in the box can still stand out once it sits next to a worn floor.
Professionals who track understanding carpet tile backing formulations also know that construction changes can affect fit and feel. If flooring manufacturing factories change a backing recipe or a binder source, the repair piece may behave differently than the original tile. That is one reason to watch managing carpet tile lead time risks before a repair turns urgent.
Gather the right tools and prep the opening
The repair goes smoother when the area is clean and controlled. A sharp utility knife, a straightedge, a seam roller, a vacuum, a putty knife, and the correct adhesive all belong on hand before the first cut.
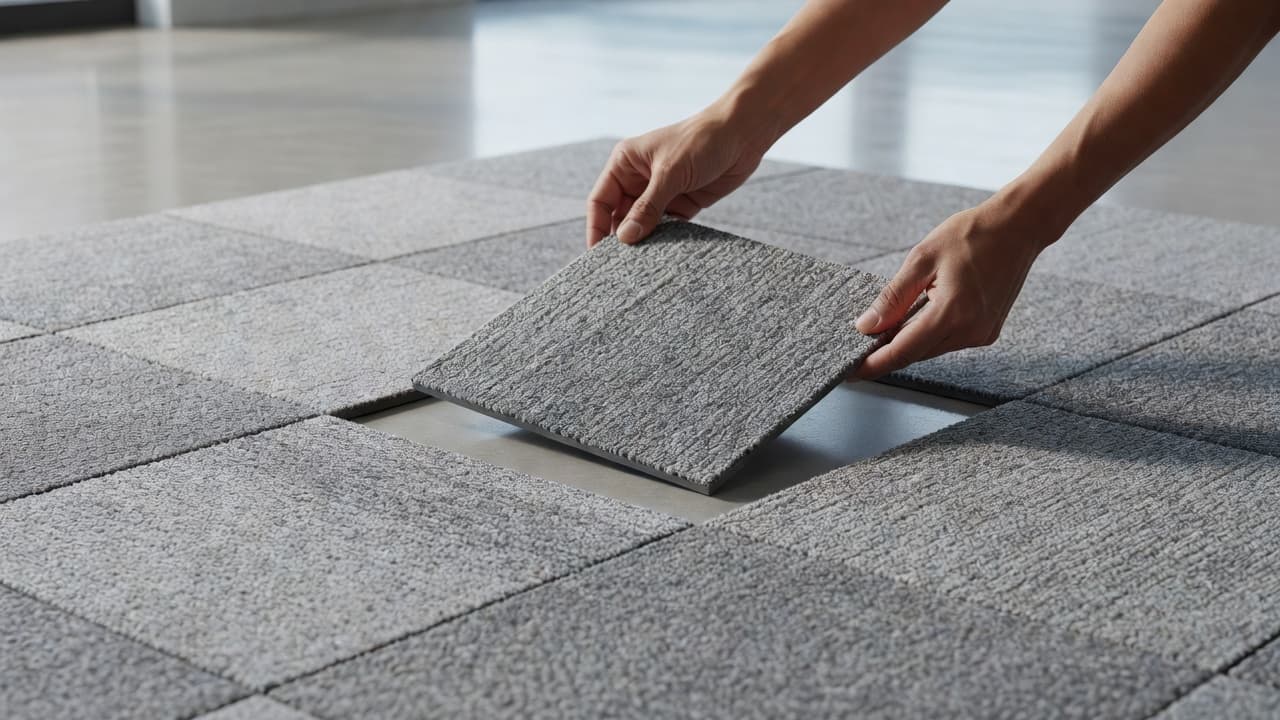
If the tile uses releasable tack or pressure-sensitive adhesive, clean the backing and the subfloor until they are free of dust and old residue. For more detail on adhesive selection, best practices for carpet tile installation adhesives can help narrow the choice before you start.
A careful prep pass also helps you avoid a common mistake. Many installers rush to cut the new tile before they check the old tile’s orientation and seam pattern. That shortcut often leaves the patch visible even when the color match is decent.
Remove the damaged tile without disturbing the neighbors
Once the surrounding area is ready, cut the damaged tile into smaller sections. That makes removal easier and lowers the chance of lifting adjacent tiles.
- Score the face of the damaged tile with a sharp blade.
- Lift one section at a time with a putty knife or scraper.
- Remove loose adhesive, fibers, and grit from the opening.
- Test-fit the new tile before you commit to the adhesive.
Work slowly near the seams. A rough pull can fray the edges of nearby tiles or distort the layout. If the field uses a pattern match, keep every piece aligned exactly as it was laid. Even a small rotation can catch the light and expose the repair.
A vacuum pass between each step helps more than most people expect. Clean edges seat better, and a clean subfloor makes the replacement tile sit flat instead of rocking at the corners.
Set the new tile so it blends into the floor
Dry-fit the replacement tile first. Make sure the pattern lines up, the arrows on the backing point the right way if present, and the face yarn runs in the same direction as the surrounding tiles.
Then set the tile into the opening with firm, even pressure. Press the corners first, then the center. Roll the area if the adhesive and product type call for it. After that, check the seam from a low angle to see if any edge is lifting or reflecting light differently.
In commercial spaces, the best repairs are often the ones that disappear after the first cleaning. That happens when the seams sit tight and the tile height matches the surrounding field. It also helps to brush the fibers in the same direction as the neighboring tiles.
When one tile still stands out
Sometimes the patch will not disappear completely. That happens when the original tile has heavy wear, when the new tile comes from a different lot, or when the room has strong sunlight.
In those cases, widen the repair. Replacing a small group of tiles often looks better than leaving one obvious square in the middle of a worn path. If the room has a closet, storage corner, or another hidden area, you can borrow a matching tile from there and move the newer piece out of sight.
Current flooring industry news also matters here because supply shifts can change what you can source quickly. The newest flooring products may look close on paper, but a floor needs a real-world match, not a catalog match. That is why professionals who follow flooring trends and visit the newest flooring trends and products at annual flooring shows often keep repair stock ahead of time.
Keep a small repair inventory for the next job
The easiest repair is the one you planned months ago. Save a few extra tiles from every commercial install, label them by product and dye lot, and store them flat in a dry space.
If possible, keep the cartons with the original job records. That information can save hours when a client calls about a single damaged tile. It also helps when a manufacturer updates a style or when flooring manufacturing factories shift materials and a close substitute no longer matches the old run.
For modular carpet systems, a small spare box can be worth more than a last-minute order. It gives you a better chance of matching the original floor, which is the whole point of a repair that disappears.
Conclusion
When you replace a carpet tile well, nobody notices the repair. They just see a floor that still looks finished.
The best results come from careful matching, clean prep, and the right adhesive. Keep spare tiles whenever you can, and treat one-tile repairs like small installs, not quick fixes. That approach saves time now and makes the next repair easier when the call comes in again.