 SW-04 · Troubleshooting & Repairs
If the damaged plank is near a wall, unlock the rows back to it, swap the plank and relock.1 2 If it sits in the middle of a floor, the plank is cut out, the replacement's tongues are trimmed, and it is glued into the grooves of the surrounding floor.2 Either way, the repair matches only if you kept spare planks from the same production, stored properly.3
A dropped tool, a dragged appliance or a stain from a mat can ruin a single plank in an otherwise perfect floor. On a click-lock floor, that plank is locked into its neighbors on all four sides, which makes it look impossible to remove without lifting half the room. The manufacturers' repair instructions describe two ways round that problem. Which one to use depends on where the damaged plank is.
Near a wall: unlock and swap
When the damaged plank is close to the perimeter, the clean method is to take the floor apart back to it. Timeless Designs calls this the simplest method: disconnect the planks carefully, protecting the tongue and groove edges, until the damaged plank can be removed, then replace it and reassemble the floor.1 It notes this typically works for planks closest to the two long walls of a room.1 Elite gives the same advice for planks near the perimeter.2
How the planks come apart matters. Timeless warns that planks must remain flat and be slid apart, because attempting to remove them by lifting will damage the end joint and compromise the locking mechanism.1 Number the planks as they come up, keep them in order, and relock them the same way they went down.
In the middle of the floor: cut it out
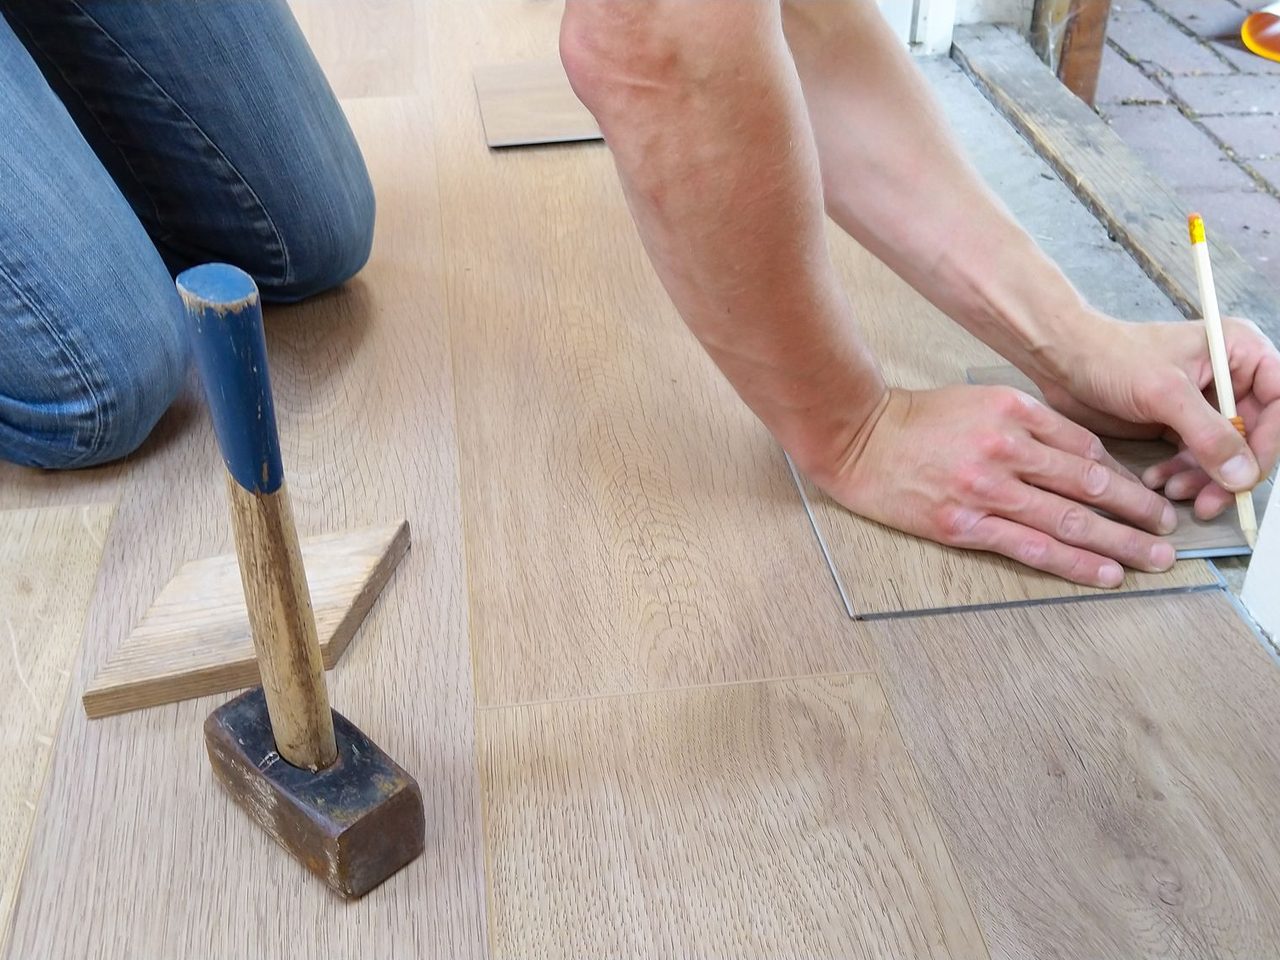
When the plank is far from any wall, unlocking would mean lifting a large area. Both Timeless and Elite describe the alternative: remove the damaged plank in place and insert a new one with its locking profiles trimmed.1 2 Elite's instructions give the procedure in full:
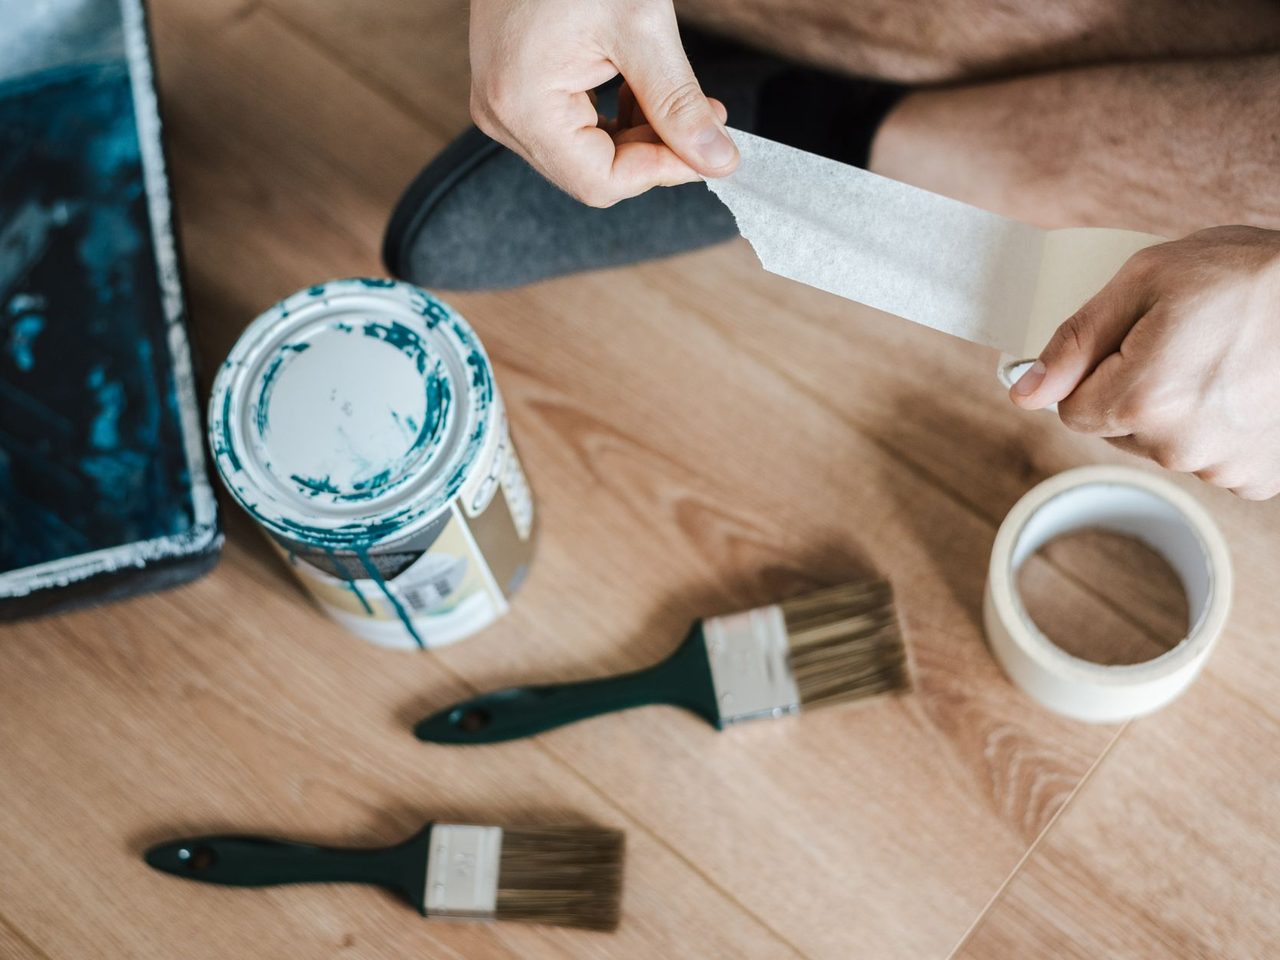
- Put blue painter's tape around the damaged plank to protect the planks around it.
- Cut completely through the center of the damaged plank, along its length, with a utility knife.
- Remove the cut pieces, then clean and vacuum the exposed area.
- Remove the tongue from the long and short side of the replacement plank.
- Remove 1.5 inches of the groove on the long side of the replacement, from the tongue end.2
- Run a small bead of ethyl cyanoacrylate super glue into the grooves of the planks in the floor.
- Insert the replacement, locking its long grooved side into the floor; its tongue end overlaps until fully inserted.
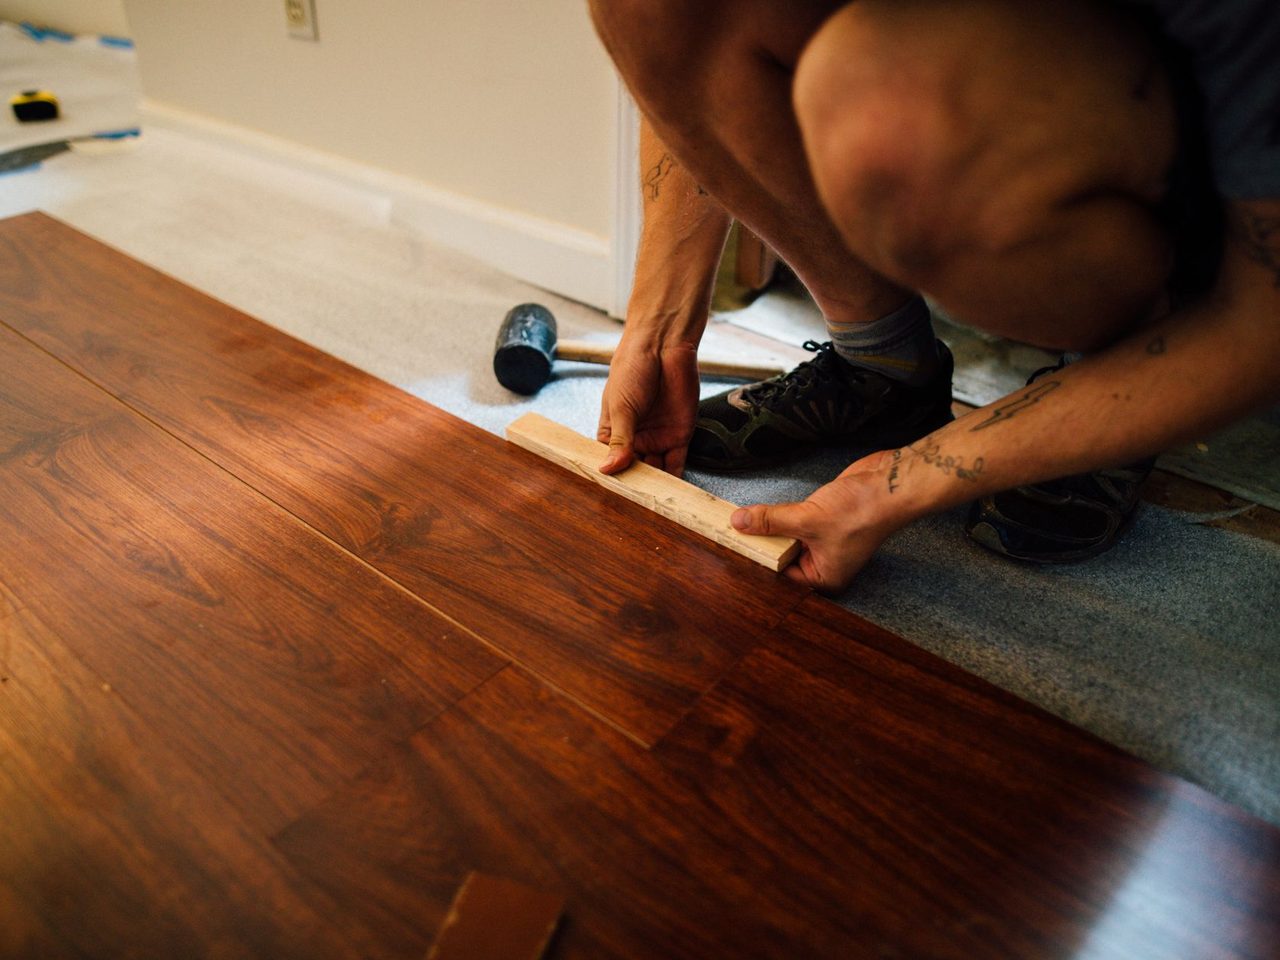
- Use a scrap of flooring as a tapping block to tap the groove end into place, trimming the other end as needed.
- Weight the plank down until the glue has set.2

Why the trimmed profiles
A new plank cannot be clicked into a hole surrounded by locked planks; there is no angle to bring it in. Removing its tongues lets it drop into place, and the glue replaces the lock it has lost. That makes the repaired plank glued rather than locked. Follow the manufacturer's named adhesive. Elite specifies an ethyl cyanoacrylate glue for this step.2 On a glue-down floor the process is simpler in principle, since there is no lock: the old piece is cut and lifted, the adhesive is cleaned off, and a new piece is set in the floor's approved adhesive.
Attic stock decides the result
A repair is only invisible if the new plank matches the old ones. Dye lots and production runs vary. EverStep recommends mixing planks from two to three cartons of the same production during installation, which shows how much variation exists.4 Daltile asks for excess flooring to be stored in a protected, climate-controlled place for possible future repairs.3 On a commercial project, specify attic stock in the contract, label it with the product, color and lot, and hand it over at closeout with the maintenance instructions. A plank bought years later may come from a different run and never quite match; see matching floor colors after a repair.
Before replacing anything
Confirm why the plank failed. A scratch or a stain is a one-plank problem. A plank whose joint has opened, peaked or cracked may be the visible part of a floor-wide problem: a pinned edge, moisture, or a substrate defect under it. Replacing it without fixing the cause only moves the failure. Check the floor around it, and see why plank seams open up before treating it as a single damaged piece.
Check the warranty too. Elite says boards with obvious visual defects should not be installed, and that installing them means accepting them.2 A plank that was defective from the start is a different conversation from one damaged in use.
Tools for a single-plank repair
- Blue painter's tape and a sharp utility knife with spare blades.
- A tapping block made from a scrap of the same flooring, and a rubber mallet.
- The glue the manufacturer specifies, and weights to hold the plank while it sets.
- A vacuum, and the replacement plank from the original lot.
Sources
- Timeless Designs, “Click Floating Luxury Vinyl Installation Instructions”. timelessdesignsflooring.com/wp-content/uploads/2023/05/TD-Rigid-Core-Ins
- Elite Flooring, “Välinge Installation Guide (Woodlands)”. eliteflooringusa.com/links/install-instructions/Elite-Installation-Guide
- Daltile, “ProSeries Luxury Vinyl Flooring Installation & Care Guide (Rigid Core Click, Glue Down)”. s1.img-b.com/build.com/mediabase/specifications/daltile/1996309/daltile-
- EverStep Flooring, “LVP Click Lock Installation Guidelines”. everstepflooring.com/lvp-click-installation-guidelines/
General information for the flooring trade. This article was drafted with AI assistance and checked against the sources listed above; the manufacturer's current instructions and the project specification govern any real job. If something here is wrong or out of date, tell us.