 SW-04 · Troubleshooting & Repairs
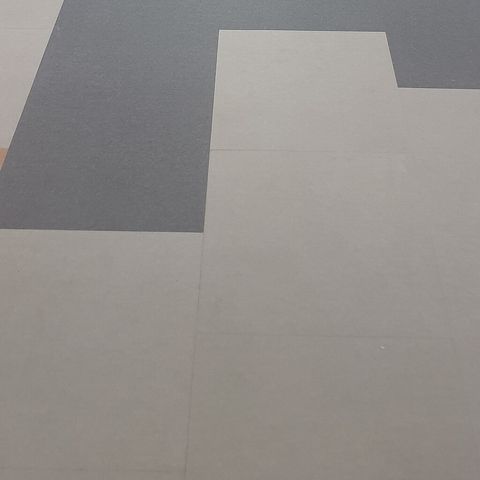
A partial floor repair can look worse than the original damage when the replacement material misses the surrounding color. A plank, tile, or carpet square may share the same name and still stand out under jobsite lighting.
To match floor colors well, teams must account for dye lots, wear, sunlight, texture, sheen, and cleaning history. Product identification matters, but the condition of the existing floor matters just as much.
The work starts with a careful diagnosis, not a sample book.
Key Takeaways
- Confirm the original product, color, size, construction, and lot number before ordering replacement material.
- Compare samples in the repair area under natural and installed lighting, not only under showroom lights.
- Clean a representative section before judging color, since soil and finish buildup can change the apparent shade.
- Use material from closets, under fixed furniture, or attic stock when a current production run won’t blend.
- Document every repair with photos, samples, lot numbers, and closeout notes for future maintenance work.
Why Matching a Floor Color Is Harder Than It Looks
Flooring changes after installation. UV exposure can lighten wood, darken some vinyl visuals, and fade carpet fibers. Traffic polishes raised textures, while cleaning chemicals may dull or brighten the surface. A replacement from the same product line can therefore look new beside a floor that has been in service for years.
Color isn’t the only issue. Grain direction, embossing, gloss, pattern repeat, pile direction, and plank width all influence whether a repair disappears into the field. A gray LVP plank with a different sheen can catch the eye even when its printed color is close.
Commercial interiors make the problem more demanding. Daylight from storefront glass can produce a different appearance than overhead LED fixtures. A repair that looks acceptable at 8 a.m. may become obvious under warm evening lighting.
The target is not the original catalog sample. The target is the installed floor as it appears after cleaning and under normal use conditions.
Before ordering, inspect the repair area from several standing positions. Look across the surface rather than straight down. Low-angle light often reveals contrast in gloss, edge profile, and texture that a direct overhead view hides.
For resilient repairs, don’t treat appearance as the only concern. A plank that matches well but moves under foot will become a service issue. When the repair involves click-lock material, follow sound methods for replacing a damaged LVP plank so the new unit stays flat, locked, and properly supported.
Identify the Existing Floor Before Choosing a Replacement
Start with the records. Review submittals, purchase orders, cartons, attic stock, warranty files, and project closeout documents. Look for the manufacturer, collection name, color name, SKU, size, thickness, wear-layer information, and production lot number.
Manufacturers can revise a color over time without changing the collection name. Print technology changes, raw-material sources shift, and production equipment gets updated. Even a current carton marked with the same color name may have a different base tone or pattern balance.
If paperwork is missing, remove a loose or damaged piece only after confirming that removal won’t expand the repair. Take the sample to a flooring distributor or manufacturer representative. A full plank, tile, or carpet piece gives a better result than a phone photo.
Photographs distort color because cameras adjust white balance automatically. They also flatten texture and hide sheen. Use photos for documentation, but don’t use them as the final matching method.
For wood floors, determine whether the material is solid hardwood, engineered hardwood, site-finished, or factory-finished. The species alone won’t identify the floor. White oak, for example, can range from pale natural tones to near-black stains, and the same stain reacts differently to boards with varied grain.
For carpet tile, confirm the installation direction. A correct dye lot can still look wrong when replacement tiles turn against the existing pile direction. Check arrows on the backing and compare the installed layout before lifting anything.
Clean, Sample, and Compare in the Repair Area
A floor should be clean before anyone decides it has faded. Embedded soil often makes existing carpet appear darker. Residue can make LVT or sheet vinyl look hazy. Wood floors may look warmer because old finish has ambered over time.
Use the manufacturer’s approved cleaner and let the floor dry completely. Then place several candidate samples directly beside the repair. Avoid judging a single small chip. Larger pieces reveal pattern scale, gloss, and direction.
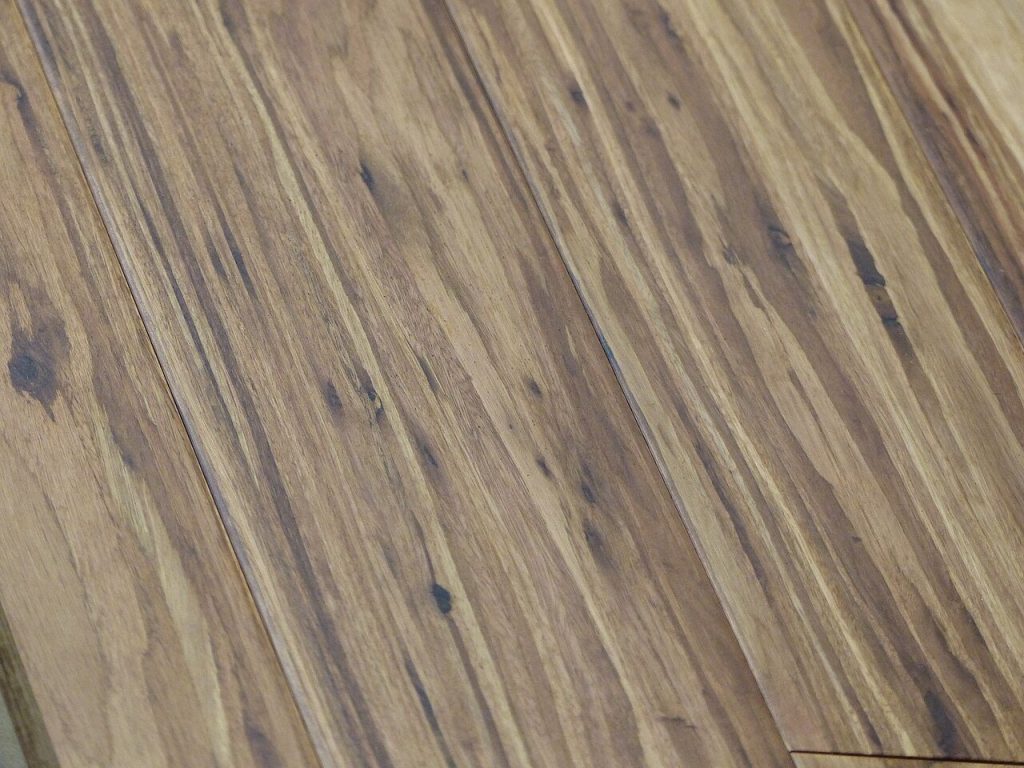

Check samples at different times of day. If the space has exterior glazing, compare them in daylight and after interior lights come on. In areas with only electric lighting, inspect the repair under the fixtures used during normal operations.
A practical comparison sequence keeps opinions from taking over:
- Place the sample flush against the existing material, with no gap or overlap.
- View it from several directions, including the main path of travel.
- Compare color, gloss, texture, edge detail, and pattern movement.
- Move the sample away from the repair area and return it after several minutes.
- Ask the owner or facility representative to approve the selected material before installation.
The brief visual reset in step four matters. Eyes adjust quickly, so a sample can seem acceptable after staring at it too long. Moving away and returning helps expose contrast.
When a match is close but not exact, distribute the replacement pieces rather than placing them in a tight cluster. A single new plank in the middle of a large worn field often draws attention. Several compatible pieces, placed along a wall or within a natural pattern break, can reduce the contrast.
Use Salvaged Material When Current Production Won’t Blend
The strongest match often comes from the same floor. Material under permanent casework, a refrigerator, a closet shelf, or a built-in cabinet may have seen less light and traffic. In some layouts, contractors can move those pieces into the visible repair area and install new material in the concealed location.
This approach works especially well for LVP, laminate, and hardwood boards. However, verify that the replacement piece has not changed shape or accumulated adhesive before reinstallation. Keep expansion gaps and locking profiles intact.
Carpet repairs can also benefit from donor material. A piece taken from a closet may match the fiber color, but pile crush or direction differences can remain visible. Groom the donor section, verify tile orientation, and inspect the seam line under normal lighting.
The table below shows common causes of mismatch and the most practical response.
| Flooring Type | Common Mismatch Cause | Best First Response |
|---|---|---|
| LVP or laminate | Different print batch or sheen | Find attic stock or move material from a concealed area |
| Hardwood | UV aging and finish ambering | Blend boards, then stain and finish test samples |
| Carpet tile | Dye lot or pile-direction change | Match lot number and install in the original direction |
| Sheet vinyl | Pattern repeat and heat-weld seam visibility | Use matching roll stock and align the pattern before cutting |
| Ceramic or porcelain tile | Shade variation and grout contrast | Compare multiple cartons and test grout beside existing joints |
For site-finished wood, create test boards before touching the repair. Sanding exposes fresh wood that may absorb stain differently than the aged floor. Test the complete schedule, including stain, sealer, finish, and sheen level. A strong color match with the wrong gloss still reads as a patch.
Plan Repairs Around Current Flooring Products and Supply Changes
Product availability affects repair decisions. Discontinued collections, overseas lead times, and manufacturer substitutions can limit options. Flooring manufacturing factories also make routine changes to embossing films, pigments, backing systems, and protective coatings. Those updates can improve performance while complicating a repair match.
This is why flooring stores and contractors should retain cutoff pieces from every major installation. Label each piece with the project name, room, date, manufacturer, product code, color, lot number, and installer contact. A well-kept sample file can save days of searching later.
Follow flooring news with a repair mindset. Current flooring industry news has included continued product development in wood visuals, laminate performance, tile, and resilient surfaces. As manufacturers introduce the newest flooring trends and products, older colors may leave the line faster than facility teams expect.
Annual flooring shows also remain useful for sourcing discontinued looks and comparing replacement options in person. Digital images help narrow choices, yet texture and color need direct viewing. Buyers attending these events can assess the newest flooring products under real lighting and speak with manufacturer representatives about lot continuity, replacements, and transition options.
Flooring trends also affect repair planning. Long, wide planks, high-variation wood visuals, and low-gloss finishes can hide a blended repair better than uniform materials. Conversely, highly repetitive patterns and bright solid colors make even small differences easy to spot.
Document the Repair for the Next Service Call
A repair file should be part of the finished work, not an afterthought. Record the product details, installation date, lot number, adhesive or patch material, seam treatment, and exact location of the repair. Include wide photos of the room and close photos of the repaired area before and after work.
Keep one approved sample with the documentation whenever possible. It gives future teams a physical reference after product names change or cartons disappear.
For commercial projects, note the cleaning products and maintenance schedule as well. A floor’s appearance depends partly on how it is maintained. If the repair looks different after six months, those records help determine whether the cause is material variation, cleaning residue, traffic wear, or light exposure.
Owners should understand that a close match may become less noticeable with normal aging. However, no contractor should promise an invisible repair when the original production lot is unavailable. Clear approval language protects the installer and sets a realistic standard.
A Better Match Starts Before the Cut
Successful partial repairs depend on disciplined comparison, not guesswork. Identify the original material, clean the surrounding floor, inspect full-size samples in place, and use salvaged stock when it offers the closest visual result.
A repair can be structurally sound and still look unfinished if color, sheen, or texture is ignored. When teams document each installation and retain labeled attic stock, the next repair becomes far more likely to blend into the floor rather than announce itself.