A blurry phone shot can stall flooring warranty claims before anyone reads the rest of the file. If the angle is wrong, the lighting hides the edge, or the photo never shows where the defect sits in the room, the reviewer is left guessing. Because they are tasked with validating a claim against the manufacturer warranty, they need clear, undeniable evidence to move the process forward.
That matters more now because flooring trends keep changing, the newest flooring trends and products show up fast at annual flooring shows, and flooring manufacturing factories keep refining cores, coatings, and backings. The proof has to keep pace, and identifying visible defects early is crucial to ensuring your documentation is accurate and useful.
Good defect photos do one job well, they turn a complaint into evidence. The steps below show how to capture that evidence without wasting time.
Key Takeaways
- Use a Layered Approach: Move from room-wide shots to mid-range views and finally detailed close-ups to provide context and demonstrate the scale of the defect.
- Include Professional References: Always pair your photos with documentation such as original sales receipts, lot numbers, and, if applicable, moisture test readings to link the defect to the specific product and site conditions.
- Master Lighting and Angles: Avoid harsh glare by using indirect light, and ensure the camera lens remains parallel to the floor to prevent visual distortion of flat surfaces or seams.
- Prioritize Objective Evidence: Use a ruler or measuring tool for scale rather than relying on random objects, and avoid all filters or cropping that could compromise the integrity of the photographic evidence.
- Document Before Repairs: Capture images of the failure immediately upon discovery and before any attempts are made to fill, patch, or repair the area, as cleanup can often erase the critical evidence needed for a successful claim.
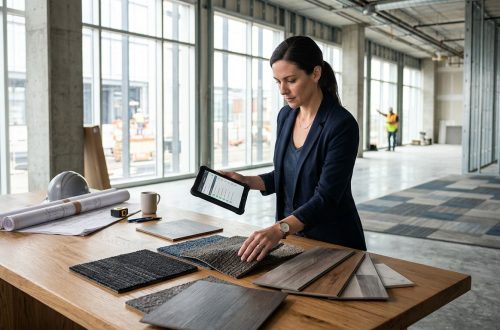
Start with the claim file in mind
Before you touch the camera, you must understand the claim process and what the reviewer needs to see. Most claim desks require a clear path from the defect to the product, the room, the installation date, and the purchase record.
That is why your sales receipt serves as the core documentation for starting the claim. Shaw’s Residential Repel Hardwood Limited Warranty makes the point plainly: the claim starts with proof of purchase from an authorized retailer and installation that follows the written installation instructions. A photo set without that paper trail may look complete and still go nowhere.
The same logic applies when the defect looks like a product issue rather than a site-related problem. US Floor’s warranty page points buyers toward checking for manufacturing defects tied to milling, grading, staining, and coating. If the surface problem matches that kind of issue, your photos need to show it clearly and early.
If the failure may come from the field instead of the factory, review the site conditions too. A quick look at vinyl plank flooring installation errors to avoid can help you separate a material defect from improper installation before the claim gets filed.
The best claim photo answers three questions at once, what failed, where it failed, and how big it is.
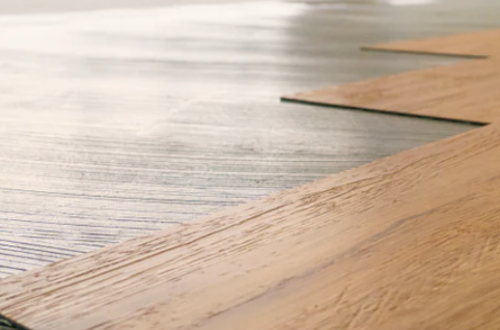
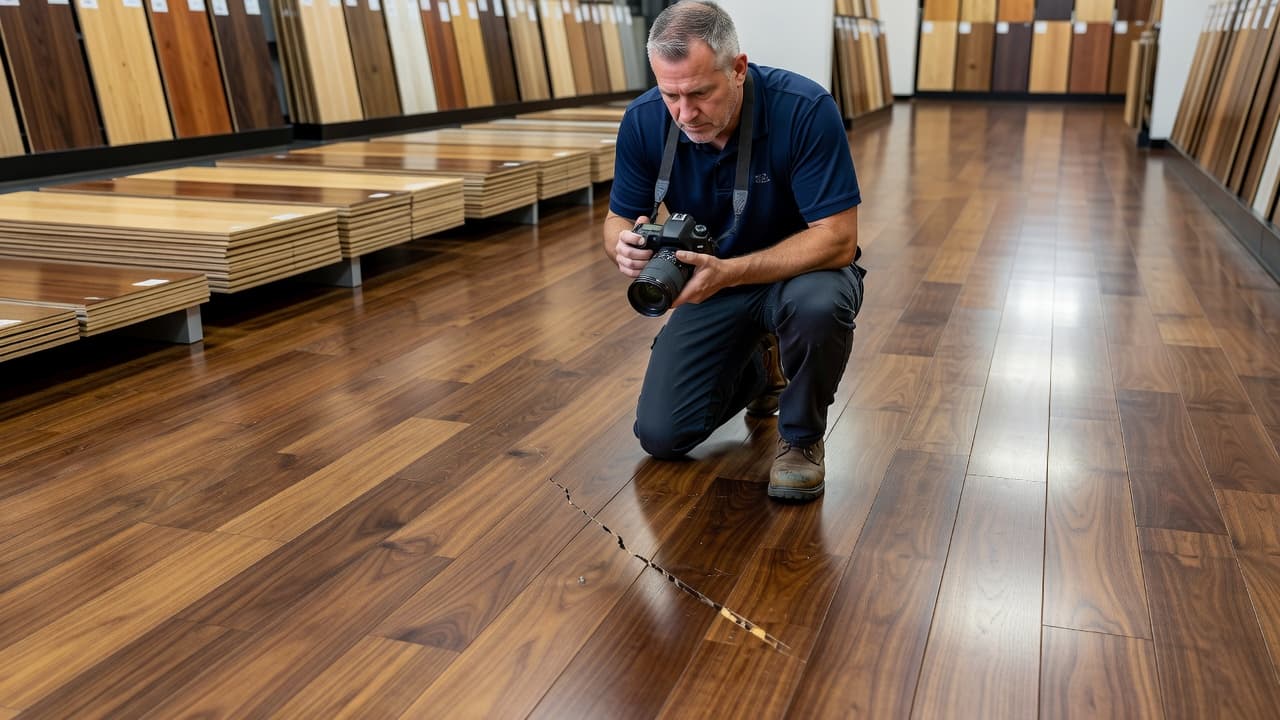
Shoot the floor in layers, not as one close-up
A single close-up rarely tells the whole story. A good set of photos moves from the room to the area to the defect, so the reviewer can follow the problem without extra explanation.
A simple shot sequence works well for most flooring warranty claims.
| Photo type | What to capture | Why it matters |
|---|---|---|
| Room-wide shot | The full room, doorways, and transitions | Shows where the defect sits |
| Mid-range shot | The area around the defect | Shows pattern and spread |
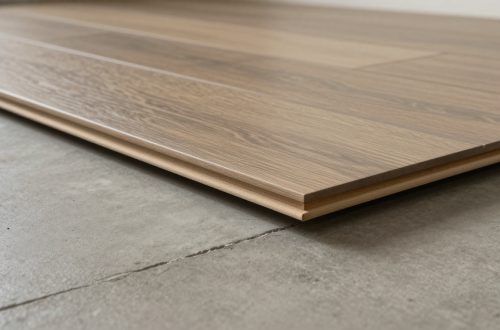
| Close-up shot | The defect itself with a ruler or tape measure | Shows size, texture, and severity |
| Reference shot | Carton label, lot number, invoice, or moisture reading | Ties the image to the product, subfloor conditions, and site conditions |
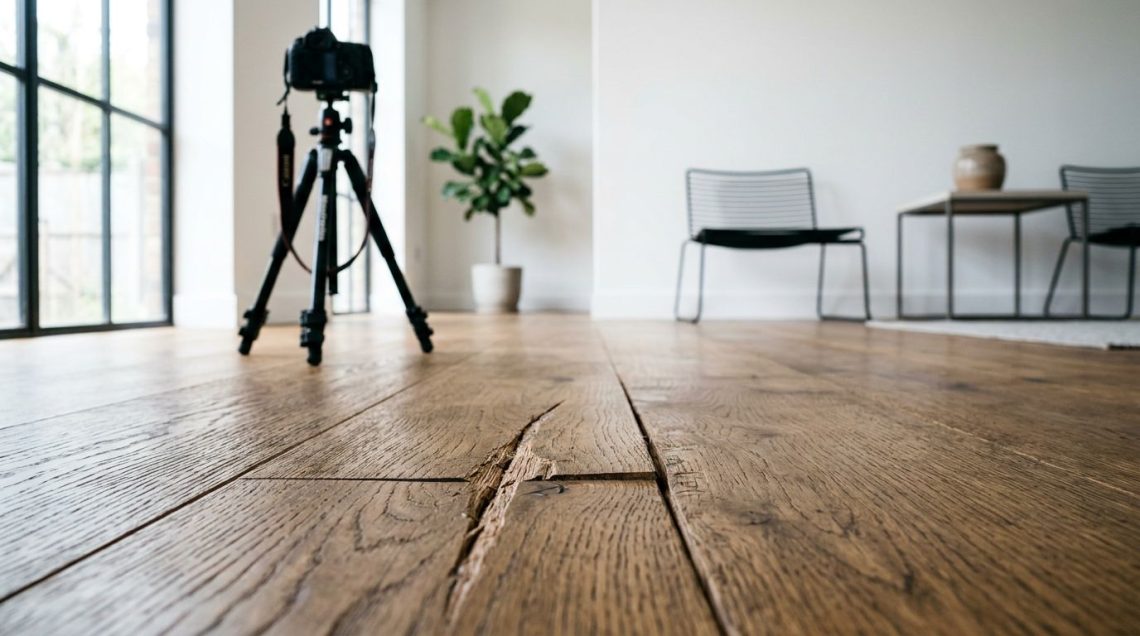
Take the room-wide shot first. Then move closer until the defect fills the frame without losing context. A chipped plank, lifted seam, hollow tile, or bubbled glue-down spot needs both views.
Use the same idea when the floor has multiple concerns. For example, a damaged edge near a transition should be photographed once as part of the room and once as the actual break. That gives the reviewer a map, not just a snapshot.
If the defect is small, place a tape measure, straightedge, or marked ruler beside it. A coin can help with scale, but a measuring tool is more useful because it gives an exact reading. When the issue relates to a wear warranty, such as finish loss, or a moisture warranty, such as gapping or cupping, providing an exact measurement is critical for your claim.
Lighting, focus, and angle decide whether the defect shows up
Camera quality helps, but framing helps more. Bright overhead light can wash out texture, while flash can create glare on vinyl and finished wood. Because of that, the best photos for your formal inspection often come from indirect daylight or soft indoor light.
Hold the phone steady and keep the lens parallel to the floor when possible. A tilted angle can make a flat board look bowed or hide a ridge line at a seam. When you need a profile view, take a second shot from the side instead of relying on one dramatic angle.
Glossy surfaces need extra care. Move a little left or right until the reflection breaks and the visible defects stand out. Textured floors often need one shot from above and one shot from a low angle, because the second photo can reveal edge lift, crushed texture, or a raised joint.
Keep your focus on the defect, not on the surroundings. If the camera keeps jumping to the wall or your hand, tap the screen on the damaged spot and retake the image. Clean the lens too, as a smudge can turn a sharp defect into a soft blur. When cleaning the surface area for your photos, ensure you are following standard maintenance guidelines so the floor condition is represented accurately without violating the terms of coverage.
The same rule applies to edits. Skip filters, heavy cropping, and contrast boosts. They can make the image look better and the claim look weaker.
When a slab joint or control joint is part of the problem, photograph it before anyone fills, patches, or covers it. A useful reference for that kind of failure is managing control joints for vinyl plank flooring, especially when the crack or seam runs along the subfloor movement line.
Common mistakes that weaken claims
Some photo sets fail because they show too little, while others provide insufficient documentation to support the claim. When the visual evidence is incomplete, it becomes difficult for manufacturers to determine if labor costs should be covered under workmanship guarantees. Clear, comprehensive photos help the reviewer distinguish between issues caused by a lack of professional installation and actual material failures.
- Cropping out the room removes the location context.
- Taking only close-ups hides the scale of the issue.
- Shooting after cleanup can erase the original defect entirely.
- Leaving out labels, invoices, or moisture readings makes the photo evidence harder to process.
Glue-down vinyl needs special attention. A bubble in the middle of a plank looks simple, but the cause may reside in the adhesive spread, the open time, or the condition of the substrate. A close shot helps identify the issue, yet the full story often requires a wider frame. If your team encounters that kind of problem, troubleshooting glue-down LVP bubbles is worth reviewing before the repair starts.
Timing matters as much as framing. Report the issue before traffic, repairs, or weather changes the floor. A hot room, a wet slab, or a moved appliance can change the evidence. If the manufacturer asks for fresh photos after the first report, take them fast and keep the same angles so the file remains consistent.
Organize the file before you send it
A well-shot claim can still get stuck in a messy folder. Name the images with the job name, room, date, and defect type. Save the original files, not just compressed copies from a text thread.
Then attach the basics in one place: the invoice, install date, product name, lot number if available, moisture test results, and the names of the people who inspected the floor. If you completed the product registration when the materials were purchased, be sure to include that reference number, as it significantly streamlines the filing a claim stage. Providing this comprehensive documentation helps adjusters determine whether the manufacturer will repair or replace the affected area much faster.
This part matters even more when you follow flooring news and flooring industry news closely. Annual flooring shows keep introducing the newest flooring trends and products, and flooring manufacturing factories keep updating finishes, backings, and wear layers. A claim file needs to show the exact product that was installed, as specific warranty terms often require proof of the specific build to satisfy a claim.
That is also why field teams should resist the habit of saying everyone knows what this floor is. A clear label beats memory every time, especially when the newest flooring products look similar on the surface but differ under the hood.
If your company handles multiple categories, build the same habit across wood, vinyl, carpet tile, and underlayment claims. Good documentation does not slow the process down. It keeps the first review from becoming a second inspection.
Frequently Asked Questions
Why is it important to include a measuring tool in my defect photos?
Using a ruler or tape measure provides the warranty reviewer with precise, objective data regarding the size and severity of the issue. This removes guesswork and allows the manufacturer to determine the extent of the product failure much faster than relying on a visual estimate alone.
Should I edit my photos to make the defect more visible?
No, you should never apply filters, adjust contrast, or heavily crop your images. Manufacturers expect to see an accurate, raw representation of the floor, and edited photos can lead to a rejected claim as they may appear to misrepresent the actual condition of the material.
Can I use photos taken after I have performed a temporary patch or repair?
It is highly recommended to photograph the defect before any repair or cleanup is performed. Modifying the area can destroy vital evidence regarding the root cause of the failure, making it difficult for the manufacturer to distinguish between a material defect and an installation-related issue.
How does a room-wide shot help with a specific defect claim?
A room-wide shot provides essential context by showing the location of the defect relative to doorways, windows, and transitions. This helps the reviewer understand the site environment and can often highlight external factors, such as sunlight exposure or proximity to water sources, which may be relevant to the warranty coverage.
Conclusion
Strong photos do more than prove a defect. They show location, scale, product identity, and the conditions around the failure.
That is what keeps flooring warranty claims moving. A clean file, taken early and shot from the right angles, gives the reviewer less room to guess and provides a much stronger case for full warranty coverage and professional resolution.