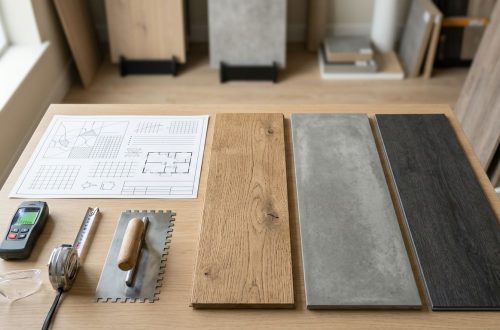
A kitchen is where floating floors get tested. You’ve got long cabinet runs, tight toe-kick recesses, dishwasher openings, and end panels that look like furniture. Then you try to slide in click-lock LVP installation and keep it floating, not trapped, not squeaking, not buckling six months later.
The trick is simple to say and easy to mess up: the planks must expand and contract as one sheet, even when they stop at cabinets. That means planning clean gaps, hiding them the right way, and never fastening anything through the vinyl.
Start with layout and expansion gaps along cabinet runs
If cabinets are already installed, treat them like a wall. Most click-lock LVP needs a perimeter expansion gap (commonly 1/4 inch to 3/8 inch, follow the product instructions). That gap is non-negotiable along the cabinet toe-kick line, end panels, and any tall pantry or fridge surround that’s fixed to the building.
A clean install starts before the first plank clicks:
- Check flatness first. Cabinet runs often hide subfloor humps at the kick area. Click systems hate rocking spots, and a tight kitchen layout makes that noise travel.
- Choose your starting line with purpose. In kitchens, a straight reference line parallel to the longest cabinet run keeps cuts consistent and prevents skinny slivers at the toe-kick.
- Stagger with cabinet features in mind. Avoid short end joints lining up right at dishwasher edges or sink base corners where foot traffic is highest.
One more point that saves callbacks: if a remodel includes new cabinets, it’s usually safer to set base cabinets on the subfloor (or on a built-up platform), then run the floating LVP up to them. Putting cabinets on top of a floating floor can pin it down and void warranties unless the manufacturer allows it.
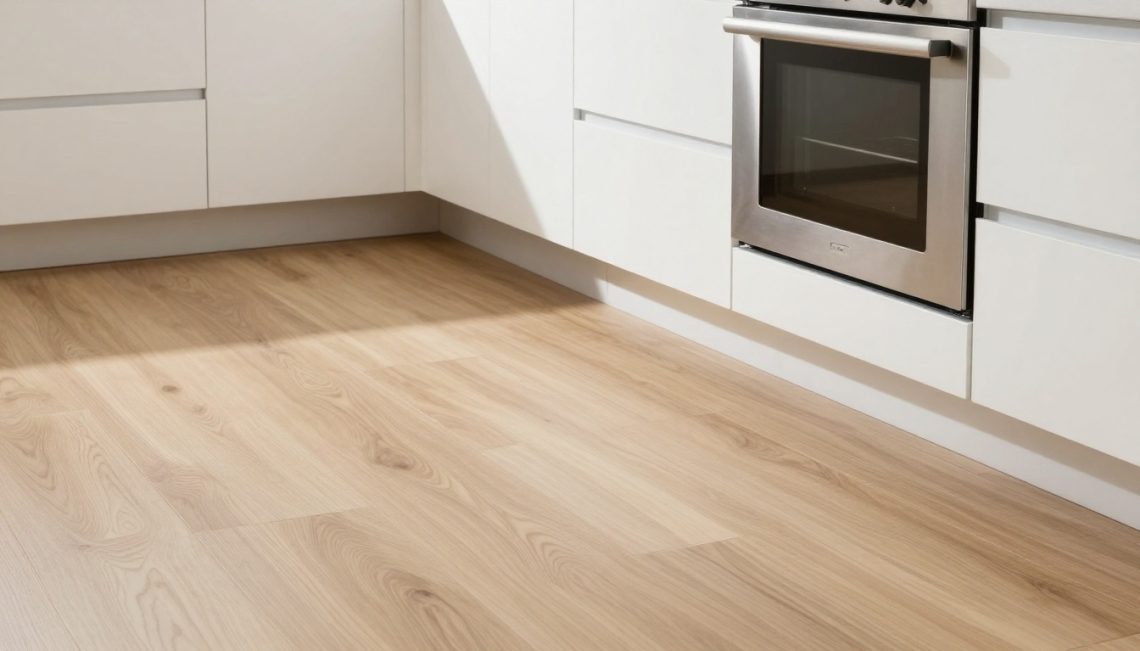
Toe-kick gaps: hide the cut, don’t trap the floor
Toe-kicks cause trouble because they tempt people to “make it disappear” with tight cuts and caulk. A floating floor needs room to move, and toe-kick recesses are where installers accidentally wedge planks under cabinetry until they can’t move.
A better mental model: the toe-kick is a removable cover, and the floor should slide under it visually, but never be jammed.
Common toe-kick approaches that keep LVP floating:
Run planks close and cover with the toe-kick face: If the toe-kick overhang hides the edge, leave the required gap under that shadow line. Use spacers while clicking rows in so the gap stays consistent.
Undercut the toe-kick face (only if needed): When the toe-kick sits low and you can’t hide the edge, undercutting gives you clearance. The goal isn’t to lock the plank under the cabinet, it’s to make a neat opening where the plank can slide as it expands.
Avoid rigid fill at the kick line: If you need a moisture detail near a sink base, check the LVP manufacturer guidance. Many allow a flexible sealant at the perimeter, but a hard bead pressed tight between plank and cabinet can act like glue. If sealing is required, keep it flexible and don’t pack the gap solid.
A quick quality check: after the floor is down but before toe-kicks go back on, confirm you can slip a spacer into the gap in several spots. If it’s tight in one area, the floor will “find” that pinch later.
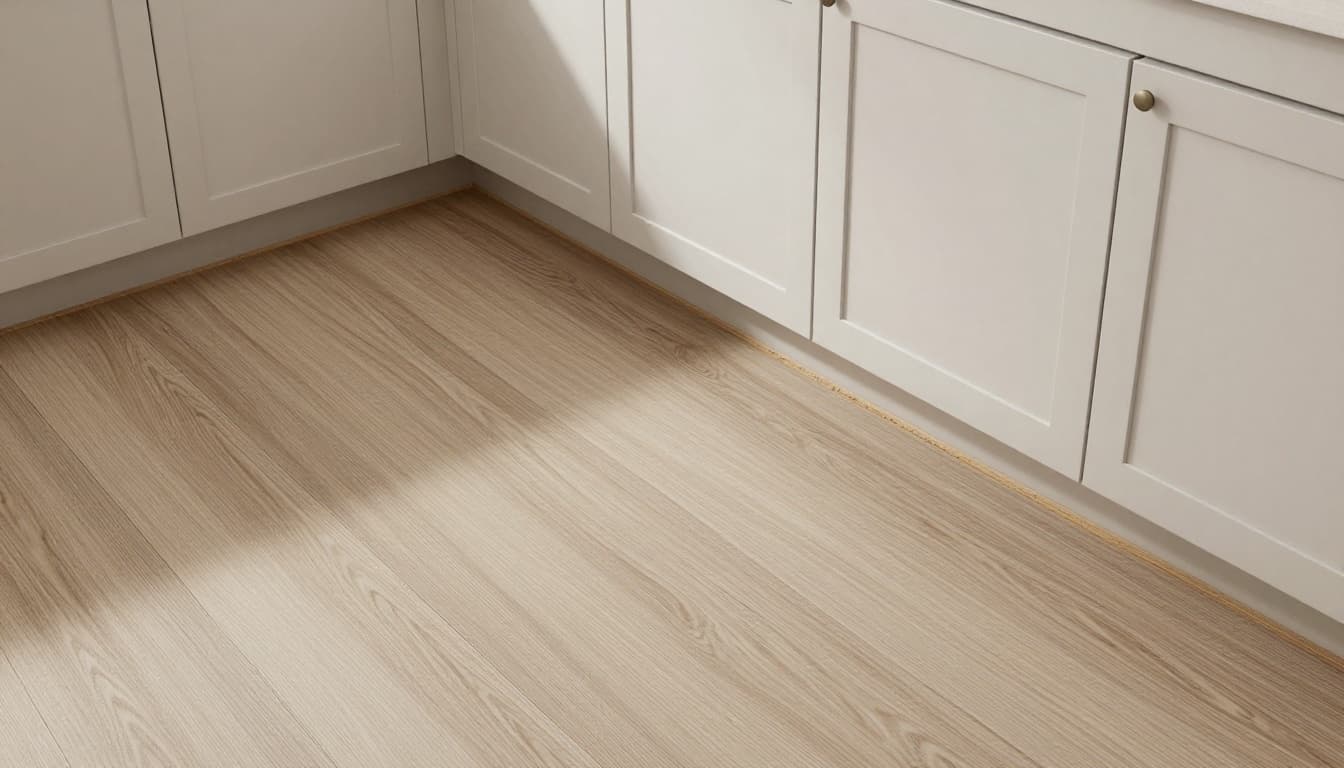
End panels and waterfall sides: trim belongs to the cabinet, not the floor
Cabinet end panels are the spot customers stare at. They’re also where installers get nervous and “tight fit” the vinyl to avoid a visible shadow line. Don’t. Leave the same expansion gap you’d leave at drywall.
To make the finish look built-in while keeping the floor floating, use trim that’s attached to the cabinet, not the LVP.
Here’s the rule of thumb: if a nail or screw goes through the plank, the floor isn’t floating anymore.
| Detail next to cabinets | Do this | Not this |
|---|---|---|
| End panel (waterfall side) | Leave expansion gap, cover with shoe or scribe trim fastened to panel | Caulk gap solid, or nail quarter round into the LVP |
| Long cabinet run | Maintain gap with spacers during install | Push planks tight “because it’s hidden” |
| Tall pantry panels | Treat like wall, keep gap, trim to cabinetry | Glue planks to panel for “extra hold” |
Also watch out for “decorative” cabinet feet or furniture bases. They look like part of the cabinet, but they often touch the floor in a tiny spot that can pin the LVP. If a foot lands on top of the plank, you may need to isolate it (or set it on the subfloor before flooring goes in).
Scribing around corners and appliance openings without breaking the click system
Kitchen cabinet details aren’t square, and toe-kicks love to wander. Scribing makes those cuts look intentional, but you have to protect the click-lock profile so rows still lock tight.
A practical workflow:
Dry-fit the full plank first: Mark where it hits the corner, then pull it out. This keeps you from measuring off a cabinet face that isn’t plumb.
Scribe, then cut, then test: Leave your expansion gap built into the scribe line. If you cut to “perfect,” you cut too tight.
Keep the locking edge where it matters: When possible, put the cut on the wall side and keep the factory click edge toward the field. If the cut removes a lock, plan for the manufacturer-approved method (some allow a specific seam glue for a broken lock, others don’t).
For appliance openings, think about movement and serviceability:
- Dishwasher: Maintain expansion at the sides and back, and avoid pinning the floor with brackets through the planks. If an anti-tip bracket is required, mount it to the subfloor or wall per the appliance instructions, not through floating LVP.
- Fridge enclosures: Treat panels like walls. Leave a gap and cover it with trim fastened to the enclosure, not the floor.
January 2026 notes: what shops are watching right now
Install details don’t exist in a vacuum. In early 2026, shops are balancing tighter remodel budgets with higher expectations for fit and finish. Recent flooring news has pointed to a mix of economic signals, including reported U.S. GDP growth in Q3 2025 and a small uptick in existing-home sales late in 2025. That usually means fewer full moves and more “we’re staying put” kitchen upgrades, which puts cabinet-adjacent installs on the schedule.
On the flooring industry news side, manufacturers are also paying more attention to material testing and compliance (including new PFAS detection methods reported in manufacturing inputs). That has buyers asking more questions about what comes out of flooring factories, not just how it looks on the rack.
And for teams tracking flooring shows, early-year events and regional markets remain a practical way to compare newest flooring products in person. Many buyers still want to see texture and sheen under real lights because photos can’t show feel or reflectance well. Those conversations often shape upcoming flooring trends, especially in waterproof and hybrid categories that compete for kitchen share.
Conclusion: the floor floats, or it fails
A kitchen can look perfect on install day and still fail if the LVP is trapped at a toe-kick, end panel, or appliance opening. Keep the expansion gap consistent, hide it with trim attached to cabinets, and protect the click system when you scribe tight corners. Do that, and your click-lock lvp installation will act like it should, one floating sheet that stays quiet and flat as seasons change.