Click-lock LVP can look tough, but the locking joints are picky. If the floor under it has waves, ridges, or dips, the planks can flex, rock, and slowly work the seams loose.
Getting LVP subfloor flatness right isn’t busywork. It’s the difference between a quiet, tight install and callbacks for gapping, peaking, or broken click edges. The good news is you don’t need a lab to check it, just a few simple tools and a repeatable routine.
Flat vs. level: what click-lock LVP actually needs
“Level” means the whole floor is perfectly horizontal. Most rooms aren’t, and LVP usually doesn’t care.
“Flat” means the surface doesn’t have sudden highs and lows. Click-lock LVP cares a lot, because the planks span over dips and teeter on humps. When you walk, the joint takes the stress.
A helpful mindset is: level is nice, flat is required. If you want a deeper explanation of that principle from a subfloor-focused perspective, this guide from HP Subfloors is a solid reference: “Flat is a Must, Level is a Plus”.
Common subfloor flatness tolerances for click-lock LVP
Always follow the LVP manufacturer’s printed spec, because warranties live and die on those numbers. Still, most click-lock LVP and LVT specs land in a familiar range.
| Measurement span | Typical allowed variation | What it means on site |
|---|---|---|
| 6 feet | 1/8 inch | Great “straightedge check” target for rigid-core installs |
| 10 feet | 3/16 inch | Common requirement across many brands |
| 10 feet | 1/4 inch | Sometimes allowed on thicker or more forgiving constructions |
Some installers keep a quick reference bookmarked like this explainer on how flat your floor should be for vinyl plank, then confirm the exact numbers on the carton before work starts.
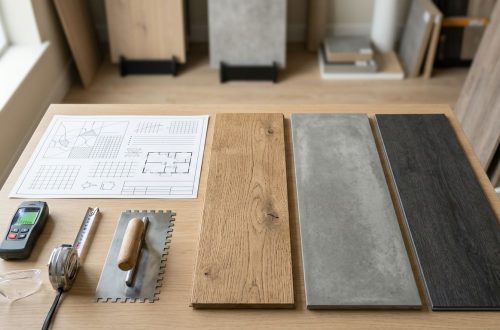
Simple tools to check LVP subfloor flatness (no fancy gear)
You can check flatness with tools most crews already have:
- 6-foot straightedge or 6-foot level: The workhorse. Longer is better than shorter.
- 10-foot straightedge (or two straightedges used carefully): Helps match common 10-foot tolerances.
- Tape measure: For quick gap checks.
- Feeler gauges or small shims: Faster than guessing with your eyes.
- Chalk line and pencil: For mapping highs and lows so you don’t lose the problem spots.
- Bright flashlight: Low-angle light makes humps and dips easier to see.
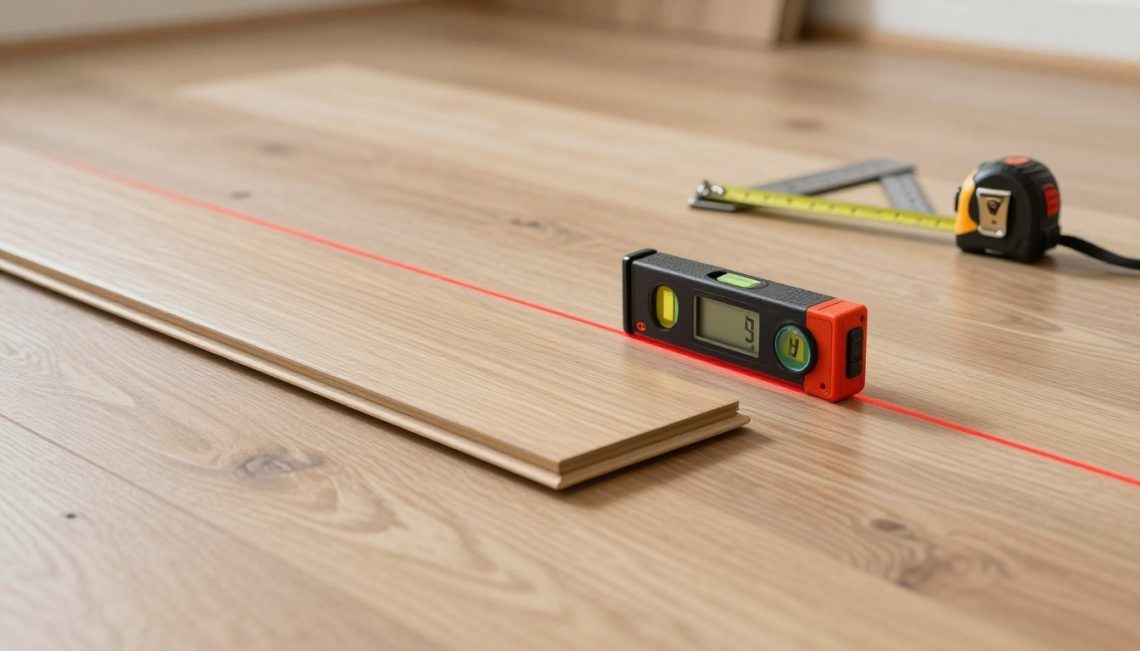
- Optional laser: Helpful in big rooms, but it’s not required for solid results.
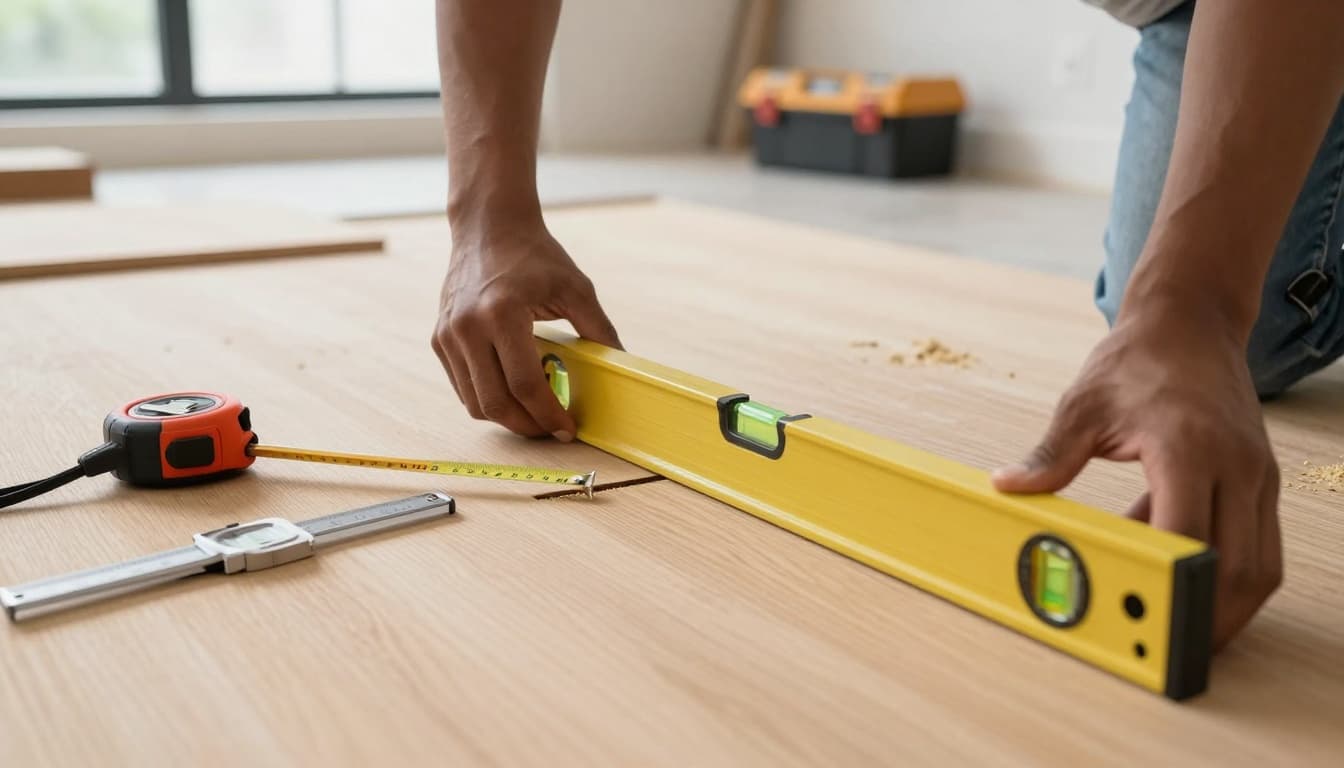
Measuring with a straightedge (what “good” looks like)
A quick, repeatable room routine (10 to 20 minutes)
1) Prep the surface so your readings aren’t fake
Sweep and scrape first. A drywall mud blob, a staple, or thinset crumbs can trick you into thinking you’ve got a hump.
If you’re on wood, tighten it up:
- Re-screw loose panels into joists.
- Fix squeaks now, not after the LVP floats over it.
2) Run straightedge passes in three directions
Don’t just check one line. Flatness problems hide diagonally.
- Along the plank direction
- Across the plank direction
- Diagonal passes across doorways, islands, and patched areas
Set the straightedge down gently. Don’t press it into the floor, because you’ll bend results in your favor.
3) Measure the worst gaps, not the best spots
Slide feeler gauges (or a measured shim) into the open space under the straightedge. You’re looking for the maximum gap over the span.
Also watch for rocking. If the straightedge teeters, you likely have a high spot that needs to come down.
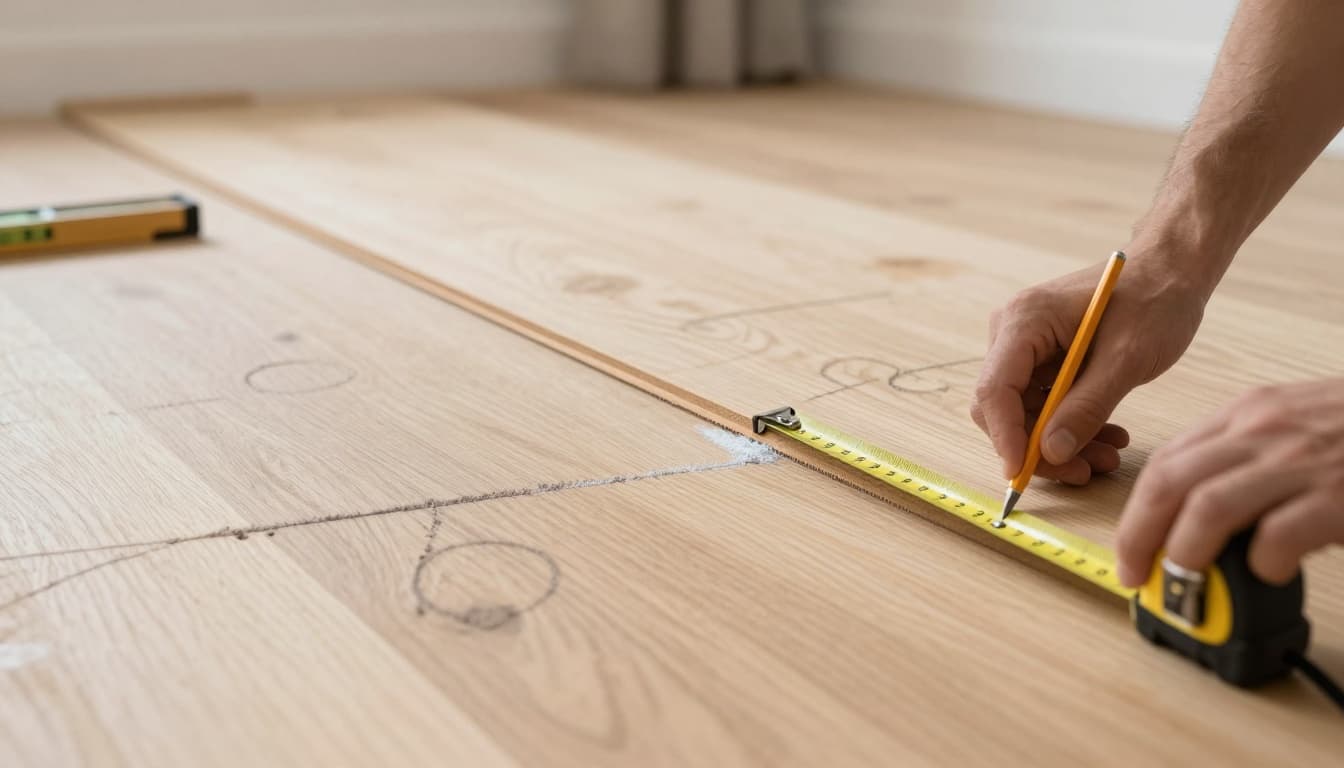
4) Map the floor like you’re about to paint it
Mark dips with a circle and write the depth. Mark humps with a line. In bigger rooms, snap chalk lines so you can see patterns.
5) Re-check after every fix
A quick patch can create a new edge. A sanding pass can create a shallow dish. Re-checking keeps small repairs from turning into a larger leveling job.
Quick fixes for click-lock LVP subfloor flatness (fast, clean, reliable)
Fixing high spots (the stuff that causes rocking and joint stress)
High spots are usually faster to fix than low spots.
Common causes
- Panel seams that crowned
- Joist crowns telegraphing through
- Old adhesive ridges
- Concrete “boogers” from past work
Quick fixes
- Sand or plane wood seams and humps, then vacuum dust.
- Scrape adhesive ridges with a sharp floor scraper.
- Grind concrete high spots with a cup wheel (use dust control).
After you lower the high, check fasteners again on wood. Sometimes the “hump” is a panel that wasn’t pulled tight to the framing.
Fixing low spots (the stuff that makes the floor feel bouncy)
Low spots need fill, but the fill has to bond well and feather smoothly.
Options that work
- Patch compound for small dips and feathering.
- Self-leveling underlayment (SLU) for broader areas, especially on concrete.
Practical tips crews rely on
- Prime when the product calls for it, skipping primer is a common failure point.
- Feather edges wide so you don’t create a speed bump.
- On SLU, plan your pour. Build simple dams at doorways and protect floor vents.
One caution that saves arguments later: underlayment pads don’t “fix” flatness. Many pads compress, and the LVP still flexes at the joint.
Red flags after install (signs flatness was missed)
If a job is already down, these symptoms often trace back to subfloor flatness:
- Seams separating in traffic paths
- Click joints breaking at end joints
- Hollow or crunchy sounds over dips
- Visible peaking where planks bridge a hump
An inspector’s perspective can be eye-opening, especially on how small subfloor issues turn into big complaints. This article shares common patterns seen in the field: What I’ve Learned as an Inspector for Luxury Vinyl Flooring.
Why flatness checks matter even more in 2026 (and what’s changing)
In January 2026, the pace of product changes is still fast. Rigid-core options, thinner profiles, and lighter “floating” builds show up constantly in the newest flooring products and trends, and that puts more pressure on prep. Many crews feel it in callbacks: the floor looks fine on day one, then joints complain after weeks of use.
At the same time, flooring industry news has been leaning hard into training and material accountability. Installer education continues to expand (tile and surface prep workshops are a good signal for the whole trade), and manufacturers are also improving how they test inputs, including updated methods to detect chemicals of concern in raw materials. Those shifts start upstream in flooring factories, but the impact lands on the jobsite through tighter specs, more documentation, and clearer warranty language.
Keep an eye on flooring news and broader flooring trends if you’re bidding commercial work, because clients are asking more questions about performance, health, and longevity. For a snapshot of current style and category momentum tied to the flooring business, this overview of 2026 flooring trends is a useful starting point, even if your focus is prep and install.
That’s the connection many crews miss: new flooring techniques and new product builds don’t reduce prep, they raise the standard.
Conclusion
Checking flatness for click-lock LVP isn’t complicated, but it has to be consistent. Use a long straightedge, measure the worst gaps, mark everything, and fix highs before you start filling lows. When the subfloor meets spec, the locking system stays quiet and tight, and your LVP subfloor flatness work pays you back in fewer callbacks and cleaner warranties.