Tile is tough, but it’s also unforgiving. Set it over a subfloor that’s wavy, loose, or damp and it’ll act like glass on a crooked table, it might look fine today, then crack, hollow, or pop tomorrow.
That’s why subfloor prep tile work isn’t “extra.” It’s the part that keeps your name off the next angry voicemail. When installers lose money, it’s rarely because they can’t set tile, it’s because the base wasn’t right and nobody caught it early.
Below are the most common subfloor issues that cause failures, plus practical ways to fix them before the first trowel of thinset.
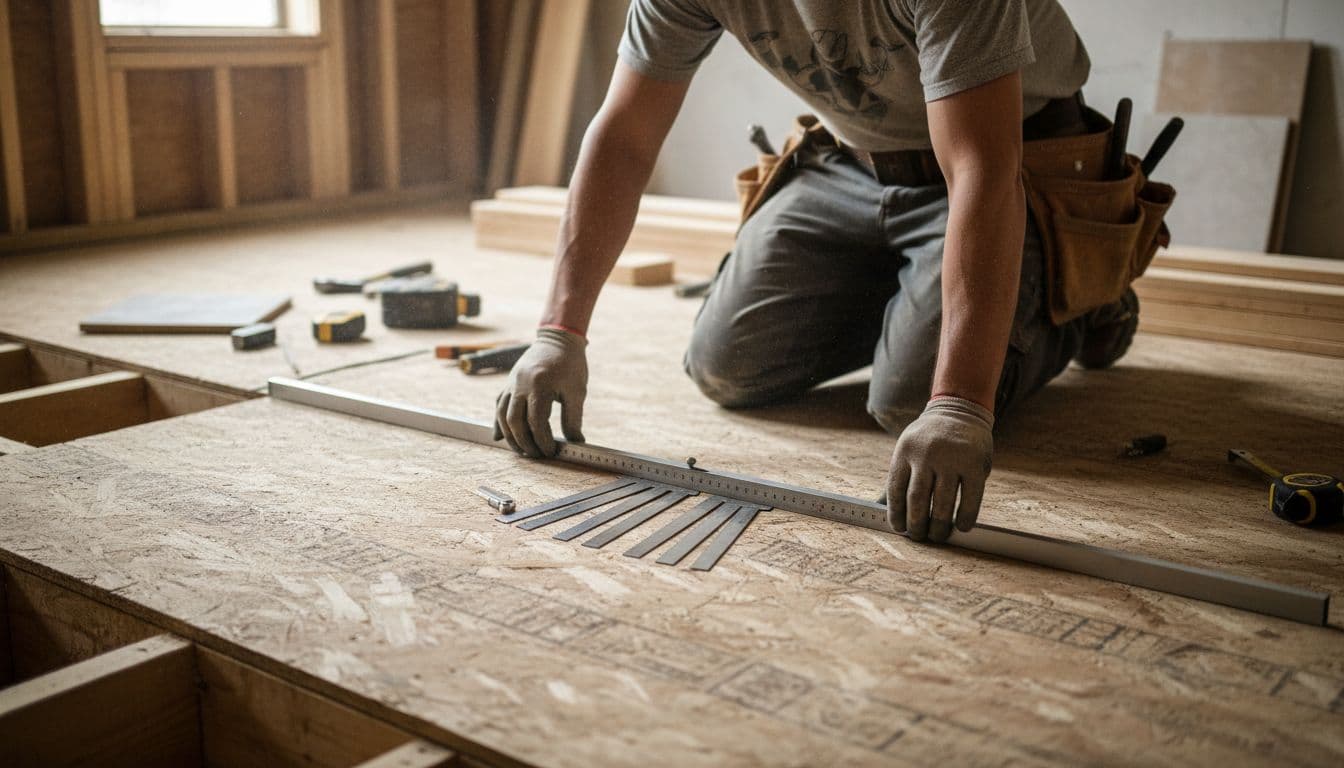
Start with a fast subfloor “preflight” (5 minutes that can save 5 days)
Tile callbacks often start with a missed step, not a bad product. Before you quote or start demo, take a quick pass and write down what you see.
A useful preflight includes:
- Flatness check with a long straightedge in multiple directions
- Movement check at seams, around toilets, tubs, and doorways
- Moisture check anywhere plumbing exists or existed
- Structure check for bounce, long spans, or patchwork framing
Treat it like a pilot’s checklist. Most flights land fine without it, until the day one item matters.
Flatness problems: the quiet cause of lippage, cracked grout, and hollow spots
Flat is not the same as level. Tile mainly cares about flatness, especially with large-format porcelain where the tile itself bridges highs and lows and forces lippage.
Use a 6 to 10-foot straightedge, mark the highs and circle the lows. Check:
- Along seams
- Across joists
- At transitions and doorways
- Where old underlayment stopped
Common fixes that reduce risk:
- Plane or sand high spots (then vacuum and re-check)
- Fill low areas with an appropriate patch or self-leveling underlayment (SLU) that matches the substrate and primer requirements
- Re-fastening first, if movement is part of the “dip”
One note for crews trying to move fast: if the floor isn’t flat, “more thinset” is not a plan. It’s a bet.
Loose panels and squeaks: movement that turns into cracked grout
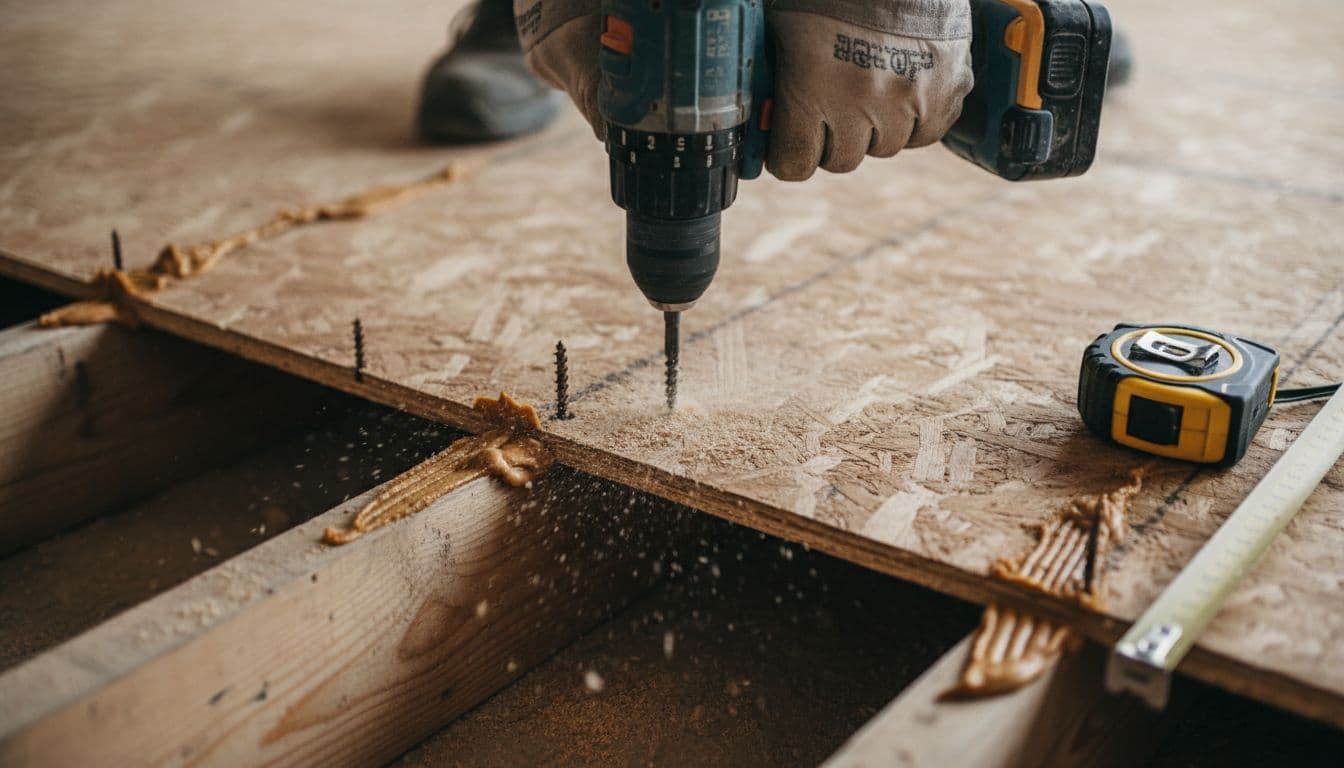
Tile assemblies hate movement. A squeak is your early warning siren. If the subfloor can flex under foot traffic, grout becomes the stress relief point.
Typical culprits:
- Panels fastened with staples or nails that have backed out
- Missed joists, especially near walls
- Seams that aren’t supported
- Old adhesive and debris holding a panel “high”
Better-than-callback fixes:
- Pull the problem area tight with deck screws sized for the subfloor thickness and framing, then re-check for movement
- Add construction adhesive where appropriate during re-fastening (follow best practices, avoid creating “ridges” that telegraph)
- If edges land between joists, add blocking so seams are supported
If a customer asks why you’re spending time on squeaks, explain it simply: the tile is only as stable as the wood under it.
Moisture and water damage: swelling, rot, mold, and bond failure
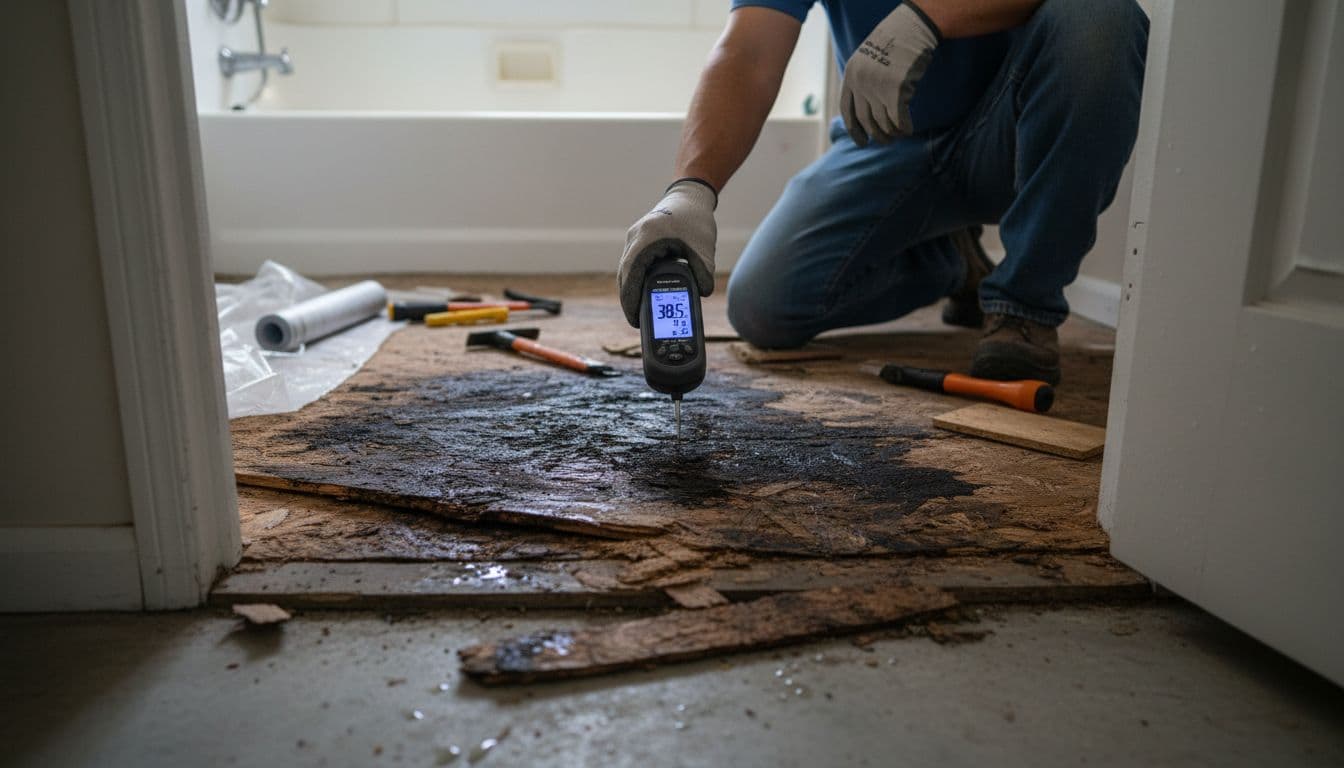
Bathrooms, laundry rooms, and exterior doors are repeat offenders. OSB can swell and stay swollen. Plywood can delaminate. Either way, thinset bonds to what’s there today, not what it becomes after the next leak.
Red flags:
- Dark staining, soft spots, or swollen edges
- Rusted fasteners
- Musty odor from cavities
- Previous patching around toilets or tubs
Do this before you “make it flat”:
- Find the source (wax ring, supply line, shower pan, door leak) and get it fixed
- Measure moisture, don’t guess. A pin meter is quick for wood substrates
- Replace compromised panels instead of skimming over them
Skimming over damaged OSB is like painting over rotten trim. It may look clean, but it won’t stay clean.
Deflection and bounce: when the structure isn’t stiff enough for tile
Even if the surface is flat, the framing below can be the real problem. Excess deflection shows up as cracked grout lines, tile fractures, or repeated “mystery” tenting.
Watch for:
- Long joist spans and open floor plans
- Heavy stone or oversized tile choices
- Second-story baths where plumbing cuts weaken framing
- “Trampoline” feel when two people walk the room
Options depend on access and budget, but common fixes include:
- Sistering joists to stiffen spans
- Adding a mid-span beam or support wall
- Correcting notches and bored holes when possible
- Upgrading the subfloor thickness where allowed
This is where clear scope language protects your flooring business. If structure upgrades are needed, call it out early and in writing.
Patching and self-leveling: get the chemistry and the timing right
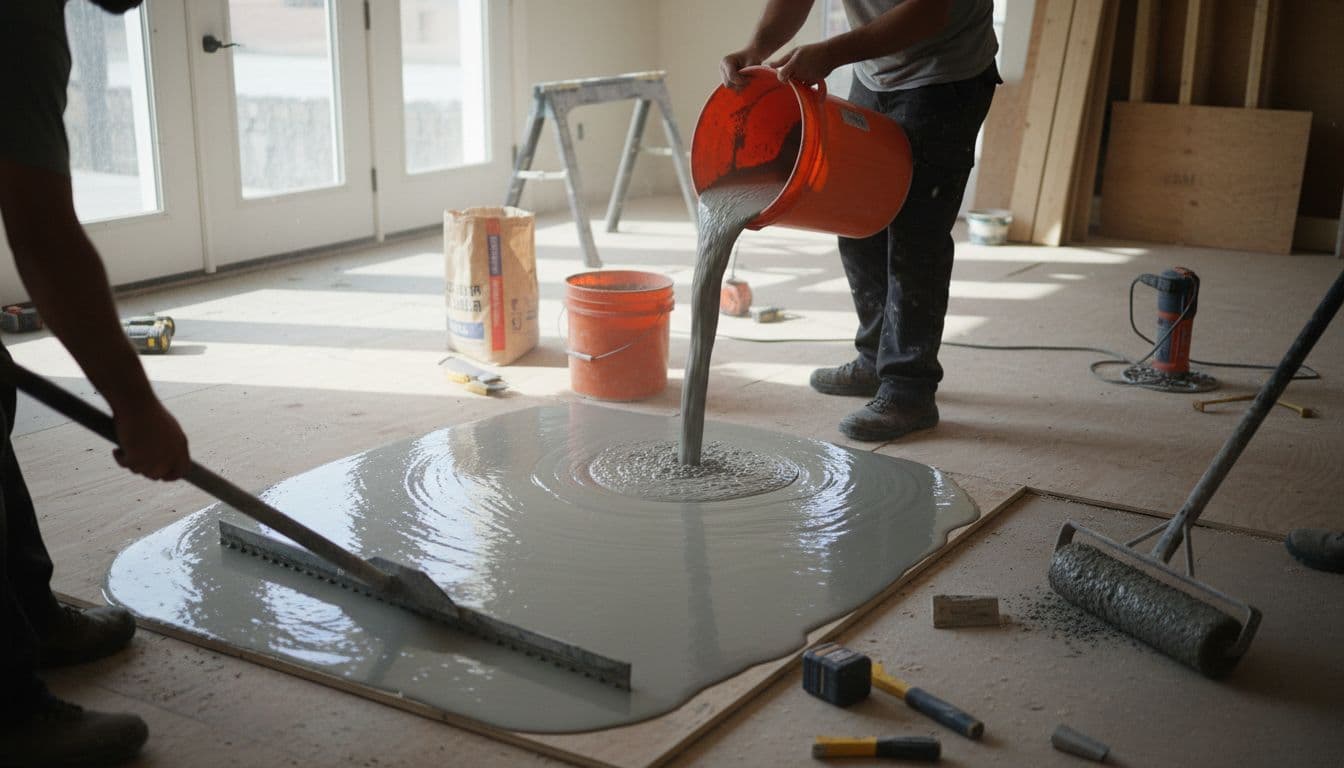
Patches and SLUs can be excellent tools, but only when installed the way the manufacturer expects. Miss the primer, add too much water, or pour too thin and you can end up with a weak layer that powders, cracks, or debonds.
A few field-proven habits:
- Vacuum like it matters, because it does
- Use the required primer, then respect its dry time
- Mix with the correct water ratio and mechanical mixing method
- Plan the pour so you’re not chasing cold joints
- Protect the area from drafts and rapid drying when needed
These are simple steps, but they’re also “new flooring techniques” for crews who grew up dry-packing everything. Products change, and so do expectations.
Underlayment and membranes: pick the system that fits the job, not the habit
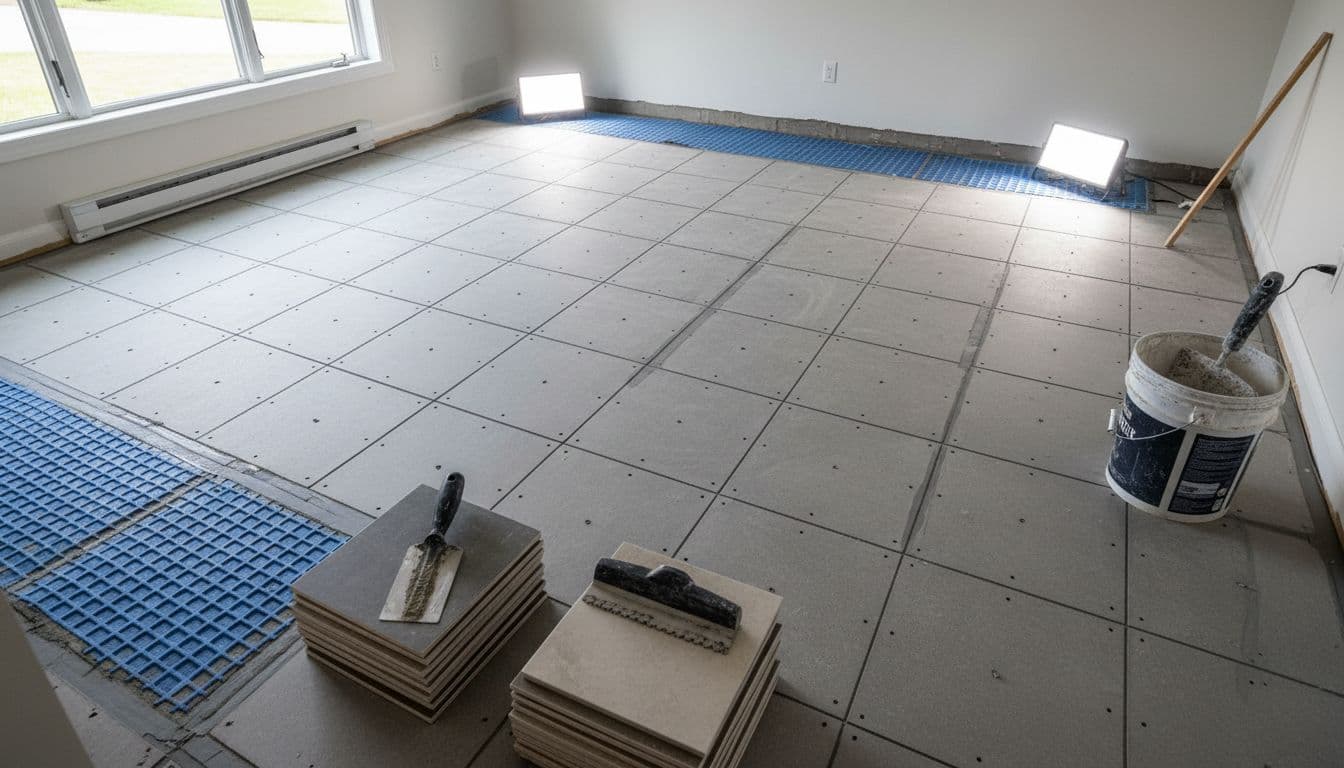
Cement backer board, uncoupling membranes, and bonded underlayments all have a place. The best choice depends on movement risk, moisture exposure, height limits, and the tile being installed.
A practical way to think about it:
- Backer board: adds a stable tile-friendly surface, but it doesn’t “fix” structural bounce
- Uncoupling membranes: help manage minor in-plane movement and can reduce stress transfer
- Waterproofing systems: matter most in wet areas, and they must be installed as a complete system
Keep an eye on flooring trends and manufacturer updates. Materials coming out of flooring factories change fast, and the “same” product line can evolve over time.
Reduce callbacks with documentation and training (and keep up with industry updates)
Callbacks aren’t only technical, they’re also communication failures. Take photos of flatness checks, damaged areas, and repairs. Record moisture readings. Note what was replaced. When there’s a dispute later, your job file becomes your shield.
This matters even more right now. Recent flooring industry news points to a remodel-heavy market: existing-home sales in November rose slightly to 4.13 million, and many homeowners are still hanging onto older low mortgage rates instead of moving. That often means more renovation work, more tile jobs, and more subfloor surprises hiding under old finishes.
Training helps crews stay consistent. The National Tile Contractors Association announced a packed January 2026 schedule with free workshops and regional training sessions, aimed at installers and contractors. That kind of hands-on education pays off quickly in fewer failures.
Also watch broader flooring news that affects specs and customer questions. For example, a major manufacturer recently announced a new testing method to detect PFAS in certain manufacturing inputs, after finding older testing wasn’t a good fit for some materials. Topics like this can show up in bid meetings, especially in commercial work.
If you want to sell “quality,” your subfloor prep tile process has to prove it.
Conclusion: prep is the profit
Most tile failures don’t start in the thinset, they start under it. Fix flatness, lock down movement, control moisture, and address deflection before the tile shows up on site. That’s how you protect your schedule, your margin, and your reputation.
The newest tile looks great in photos, and customers love hearing about the newest flooring products and trends, but the work that keeps your phone quiet is still the basics. Make subfloor prep tile work your standard, not your exception, and callbacks become the rare event they should be.