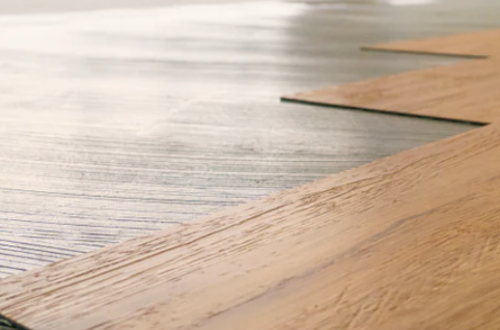
A luxury vinyl plank floor can look perfect on day one, then start to “talk back” months later. Edges curl, joints peak, adhesive lets go, or a musty smell shows up after the room is closed for a weekend. When that happens, the problem often isn’t the LVP, it’s the slab.
Before any underlayment rolls out, run a concrete slab moisture test plan that matches the jobsite risk. Think of it like checking the weather before pouring a foundation, it’s faster than fixing storm damage later.
This guide covers the on-site red flags contractors should spot fast, the test methods that hold up in real projects, and how to decide what to do when readings don’t look good.
Why slab moisture is a bigger deal under LVP than most crews expect
Concrete is porous, and it holds water from the original mix and from the ground below. That moisture can move upward as vapor. LVP is more moisture-resistant than many surfaces, but it can still trap vapor at the slab. Trapped vapor raises pH, softens some adhesives, and can feed mold in the wrong conditions.
A clean install starts with one simple truth: you can’t eyeball vapor drive. You can only measure it, then match the system to the result.
Concrete slab moisture red flags you should spot before you unpack LVP
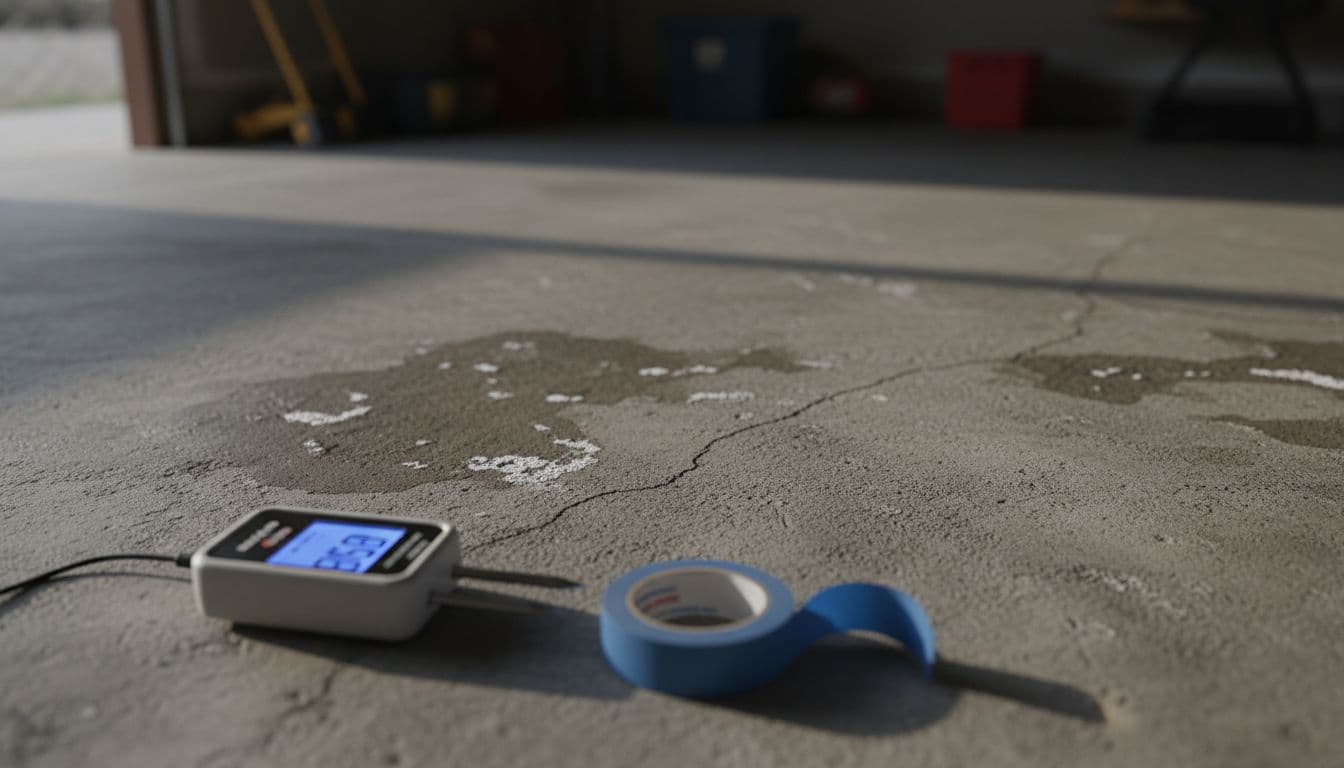
Start with a walk-through, then get low and look across the slab with a raking light. Moisture problems often leave “tells,” like footprints in wet sand.
Common red flags:
- Darkened patches that don’t match the rest of the slab, especially near exterior walls.
- Efflorescence (white, dusty salts), a sign moisture is moving through concrete and depositing minerals at the surface.
- Musty odor after the space has been closed up, even if the slab looks “dry.”
- Old adhesive that won’t scrape clean, or soft, gummy residue that suggests ongoing moisture.
- Rust stains near cracks or joints (moisture plus metal).
- Condensation on windows and high indoor humidity, which can slow drying and confuse readings.
- No visible vapor retarder under older slabs, or unknown slab history.
If you’re seeing multiple signs, treat the slab like a suspect until tests clear it.
Pick the right test, or you’ll get the wrong answer
Not all moisture tests measure the same thing. Some tell you what’s happening at the surface, others tell you what’s happening inside the slab where the moisture lives.
For background on the common methods and why they matter, IFTI’s overview is a solid reference: The Complete Guide to Moisture Testing in Concrete. For sports and resilient floor guidance, this industry position statement is also useful: Concrete Moisture Testing Recommendation (MFMA).
Quick comparison of common slab moisture tests
| Test method | What it measures | Best use | Main limitation |
|---|---|---|---|
| Plastic sheet (poly film) | Presence of condensation and darkening | Fast screening on small jobs | Pass doesn’t guarantee slab is “ready” |
| Calcium chloride (ASTM F1869) | Moisture vapor emission rate (MVER) at surface | When specs call for MVER | Sensitive to site conditions |
| In-situ RH (ASTM F2170) | Internal slab relative humidity | Best predictor for many resilient installs | Needs drilling, time, and correct depth |
| Pinless meter scan | Relative surface moisture trends | Mapping hot spots, triage | Not a standalone acceptance test |
The plastic sheet test (fast screening that costs almost nothing)
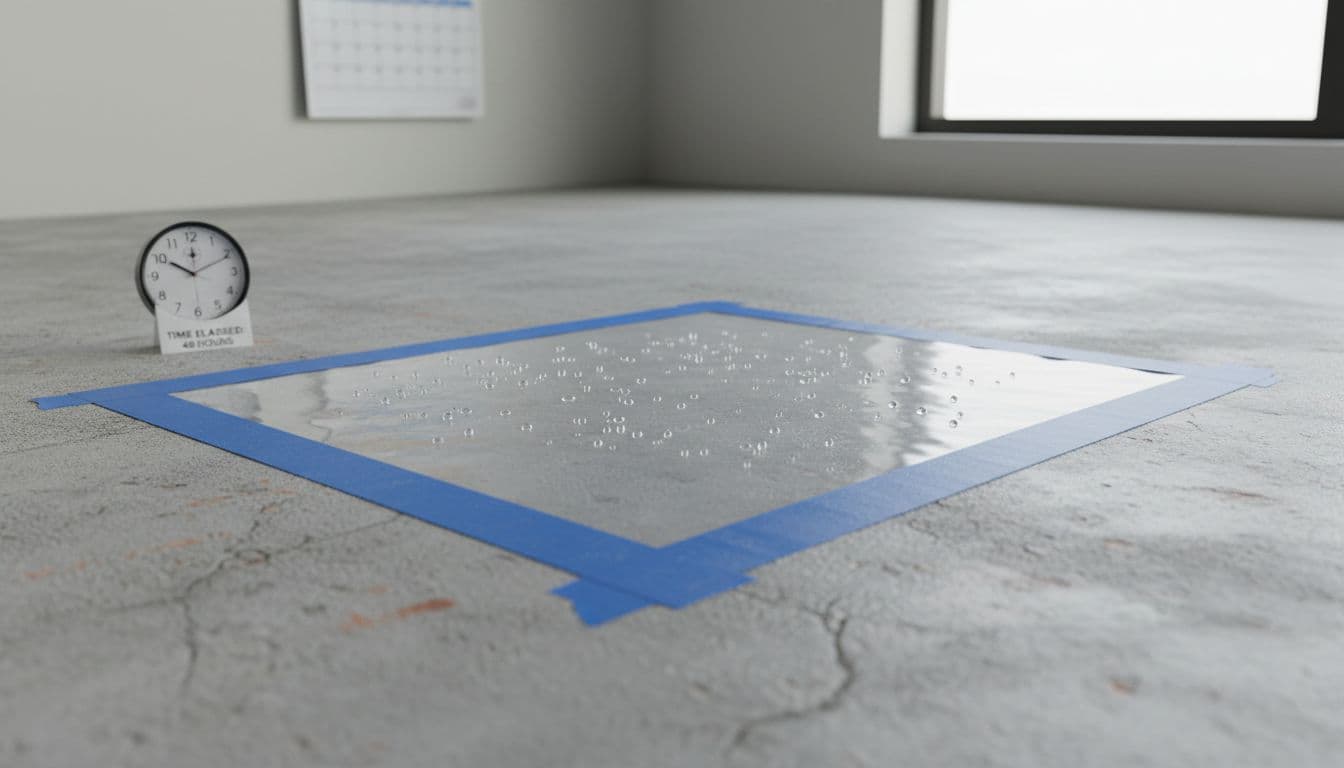
If you need a quick “should we worry?” check, the plastic sheet test is a good first step (often referenced as ASTM D4263). It’s not the final word, but it can stop a bad install before it starts.
Basic steps:
- Sweep and vacuum a test area (no dust, no loose curing compounds).
- Tape a clear plastic sheet tightly on all four sides.
- Leave it for 24 to 48 hours under normal HVAC conditions.
- Look for condensation, darkening, or a damp feel.
If you see moisture under the film, don’t rationalize it away. Move to a real quantifiable test and check the building conditions.
Calcium chloride testing (ASTM F1869) when specs call for MVER
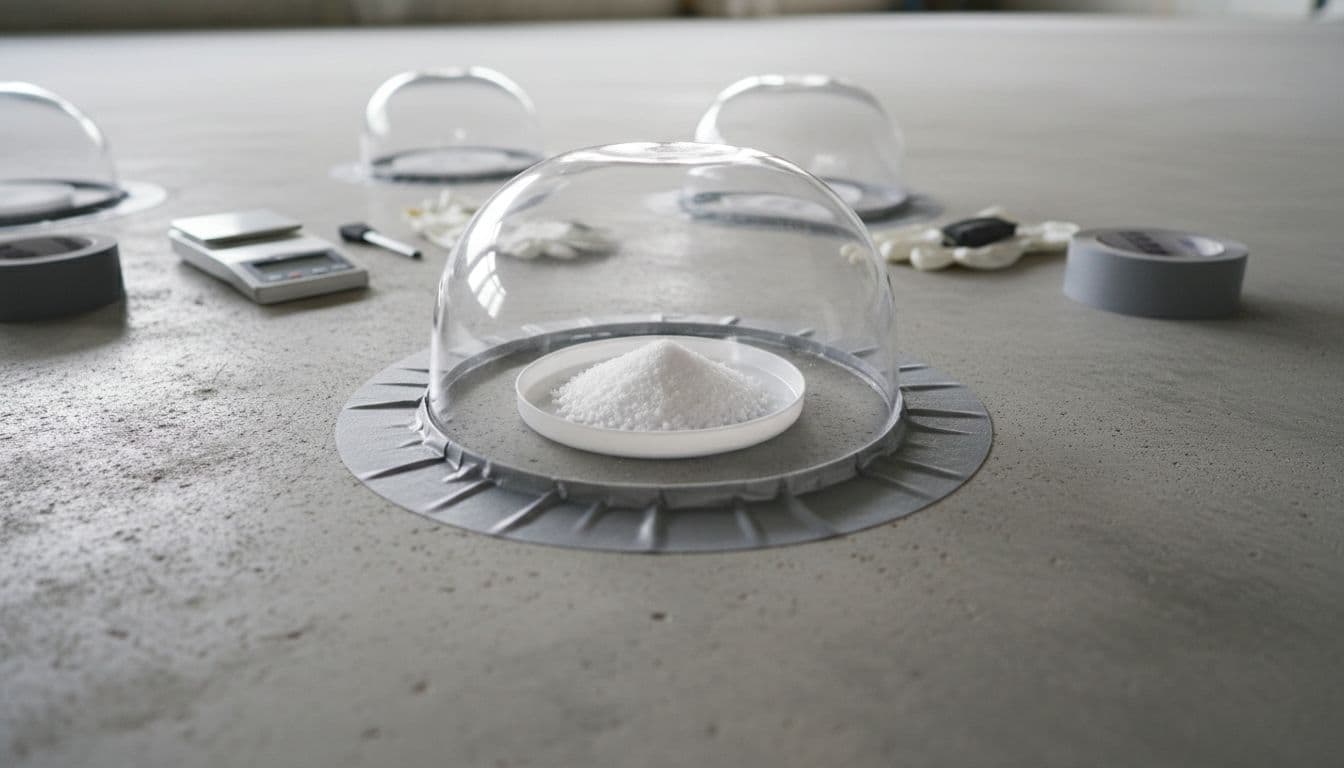
Calcium chloride testing measures moisture vapor emission from the slab surface over time. Many teams still use it because some product data sheets specify MVER limits.
Key points that prevent bad data:
- Prep the slab correctly (clean, no coatings in the test spot).
- Run tests where the floor will actually go, not just the driest corner.
- Keep HVAC stable. Big swings in temperature and RH can skew results.
If you’re doing LVP with adhesive, this method can help you spot risk early, but it still doesn’t tell the whole story inside the slab.
In-situ RH probe testing (ASTM F2170) for higher confidence
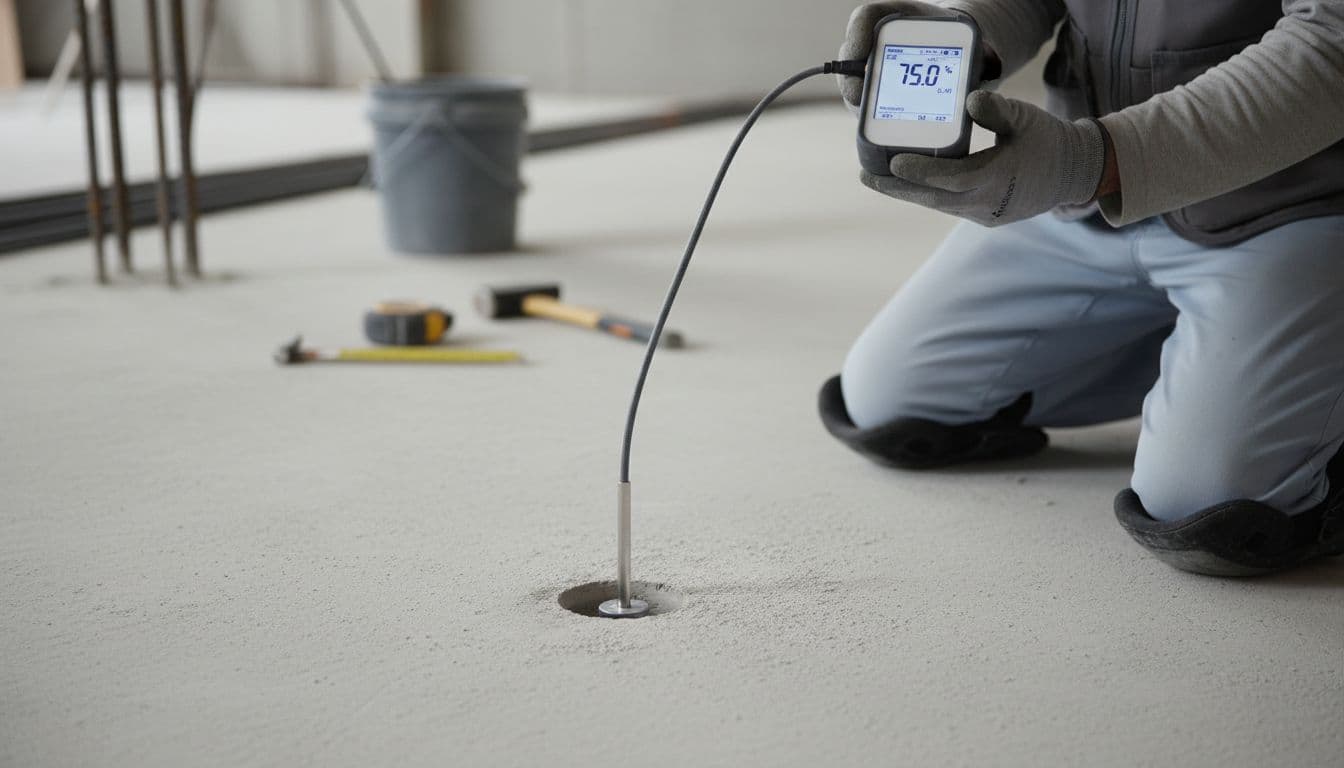
If you want the method many manufacturers trust most for resilient installs, this is it. In-situ relative humidity testing checks moisture conditions inside the slab, not just at the surface.
Practical tips that separate clean tests from messy ones:
- Drill at the correct depth for the slab condition (on-grade vs drying from one side).
- Let probes equilibrate the required time.
- Record location, depth, ambient conditions, and final RH.
This is the method that can save a flooring business from a callback that turns into a full replacement.
Don’t forget “flat and dry” go together
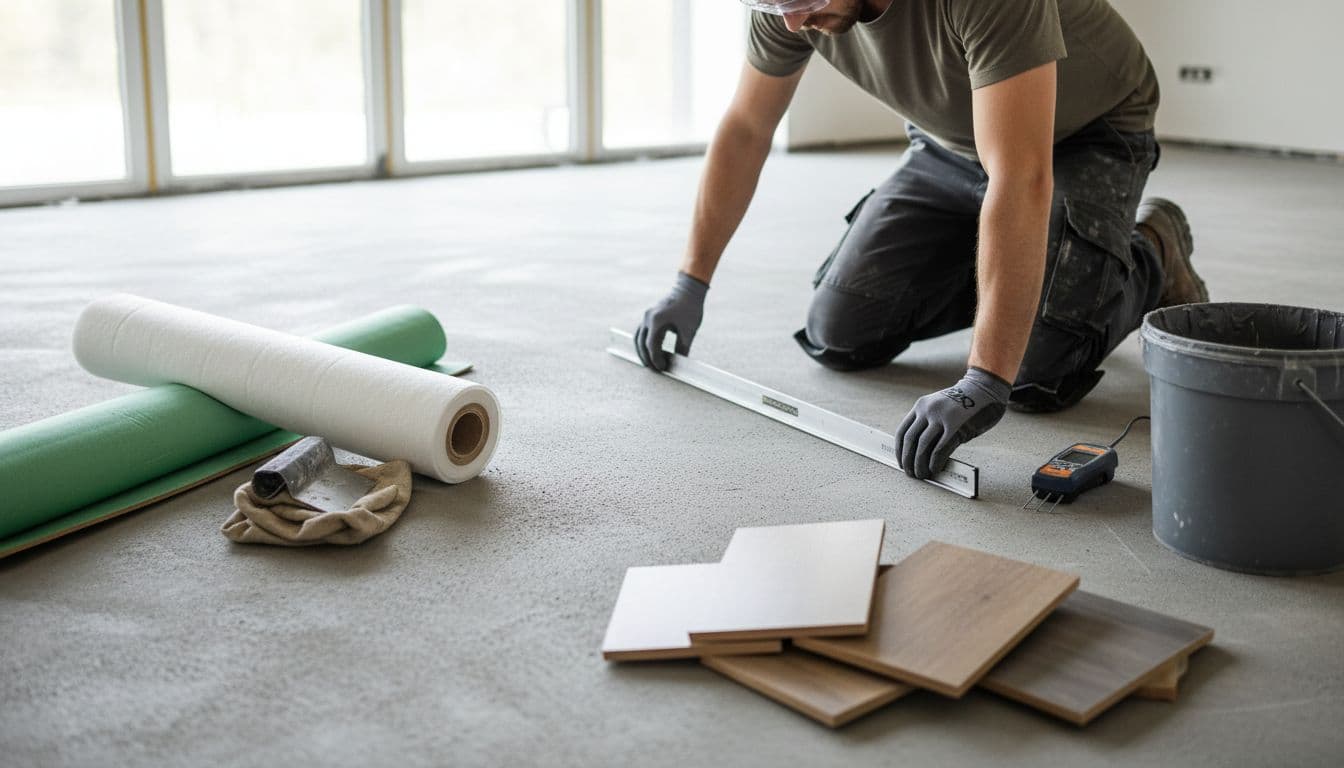
Moisture and flatness problems often show up together. Moisture can break down patch materials, and water can telegraph slab imperfections through floating floors.
While you’re testing, also check:
- High spots near control joints
- Cracks that may move
- Soft patches that powder when scraped
Treat prep as a system, not a checklist.
What to do if tests fail (without guessing)
When a concrete slab moisture test fails, the worst move is to “roll the dice” because the schedule is tight. Better options depend on the install type and manufacturer limits.
Common paths that actually hold up:
- Let the slab dry with stable HVAC and controlled dehumidification (especially after new pours).
- Remove surface barriers that trap moisture (some curing compounds, old adhesive films), when appropriate and safe.
- Use a moisture mitigation system approved for the measured RH or MVER. This is where new flooring techniques and better chemistry have helped crews handle borderline slabs.
- Choose the right assembly (underlayment, adhesive, and plank system) based on test results, not habit.
Always follow the LVP manufacturer’s published limits. If you need a plain-language overview of typical “acceptable moisture” ranges and how they’re discussed for vinyl, this is a helpful explainer: Acceptable Moisture Content in Concrete for Vinyl Flooring.
January 2026 flooring industry news that ties back to moisture testing
Moisture control is getting more attention because warranty risk is rising and products keep changing. In current flooring news, trade publications have focused on better jobsite measurement and documentation, not just faster installs.
A few themes showing up across flooring industry news and manufacturer conversations:
- More testing and traceability coming out of flooring factories, including tighter input checks and process control.
- Better field tools for scanning and tracking moisture patterns. FLOOR Trends covered one angle on pinless meters and resilient troubleshooting here: Tracking Moisture Problems in Luxury Vinyl Tile Floors with Pinless Moisture Meters.
- Training is back in focus. Installer education calendars for early 2026 have highlighted substrate prep and standards work, which directly affects moisture outcomes.
At the same time, flooring trends for 2026 continue to favor hard surfaces, including LVP in wider planks and more natural looks. That push for the newest flooring products and trends only works when the slab prep matches the product claims. A quick snapshot of broader consumer-facing design direction is here: Top 5 Flooring Trends of 2026.
Conclusion
Moisture problems don’t announce themselves with a siren, they start as small signals and turn into big failures. Spot the slab red flags, then confirm them with the right test method, not a guess.
When you document results and respond with the right system, you protect the install, your crew, and your flooring business reputation. The next time a slab “looks fine,” ask your process to prove it.