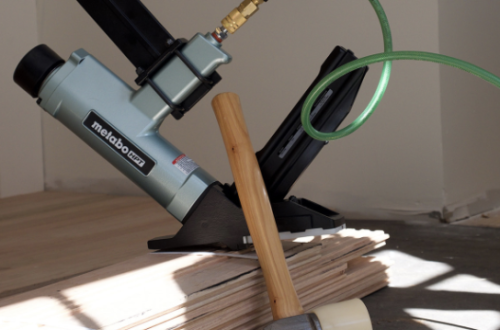
Kitchens and baths are where good installs get tested. Ice maker lines drip, dishwashers burp steam, kids launch bathwater, and the floor has to take it without swelling, smelling, or calling you back.
That’s why LVP underlayment moisture planning matters in 2026 more than ever. LVP can handle surface water, but what happens below the planks is what decides whether the job stays flat and quiet, or turns into a warranty debate.
This guide focuses on moisture-friendly underlayment choices for LVP in wet zones, plus the installation details that keep kitchens and bathrooms stable.
Why moisture control under LVP isn’t optional in wet rooms
Think of underlayment like a rain jacket for the subfloor. The planks may be waterproof on top, but moisture can still move as vapor from below, or sneak in from the edges after a spill.
Common moisture paths in kitchens and baths include:
- Vapor drive from concrete (even when it looks dry)
- Minor leaks at supply lines, toilet seals, or dishwashers
- Wet mopping and puddles that reach edges and transitions
- Humidity swings that push movement at seams and walls
A moisture-friendly underlayment doesn’t “fix” plumbing or bad prep, but it can help block vapor, reduce odor risk, and protect the locking system from repeated stress.
Start with the subfloor, because it changes everything
Underlayment picks should start with what you’re installing over, not what’s on sale.
Concrete slabs (including condos and slab-on-grade homes)
Concrete releases moisture vapor for a long time. In kitchens and baths, that vapor mixes with higher room humidity. Here, a vapor barrier strategy is usually the priority, along with flatness.
If your LVP already has an attached pad, adding a second soft underlayment can cause locking failures. Follow the manufacturer spec, not habit.
Wood subfloors (plywood or OSB)
Wood doesn’t “breathe” the same way concrete does, but it can swell when it absorbs moisture at edges and fastener points. In bathrooms, pay extra attention to toilet areas, tub fronts, and doorways.
You may not need a full vapor barrier on every wood subfloor, but you still need tight seams, good perimeter gaps, and a plan for incidental water.
What moisture-friendly underlayment looks like in a kitchen install

In many 2026 kitchen installs over slab, you’ll see some version of: slab, vapor barrier (film or integrated), underlayment, click LVP. That stack fits current flooring trends pushing more rigid-core LVP into kitchens, including wide planks and longer boards that don’t forgive movement.
For a quick view of kitchen and bath style direction tied to material choices, see Kitchen & Bath Flooring Trends & Design Ideas for 2026.
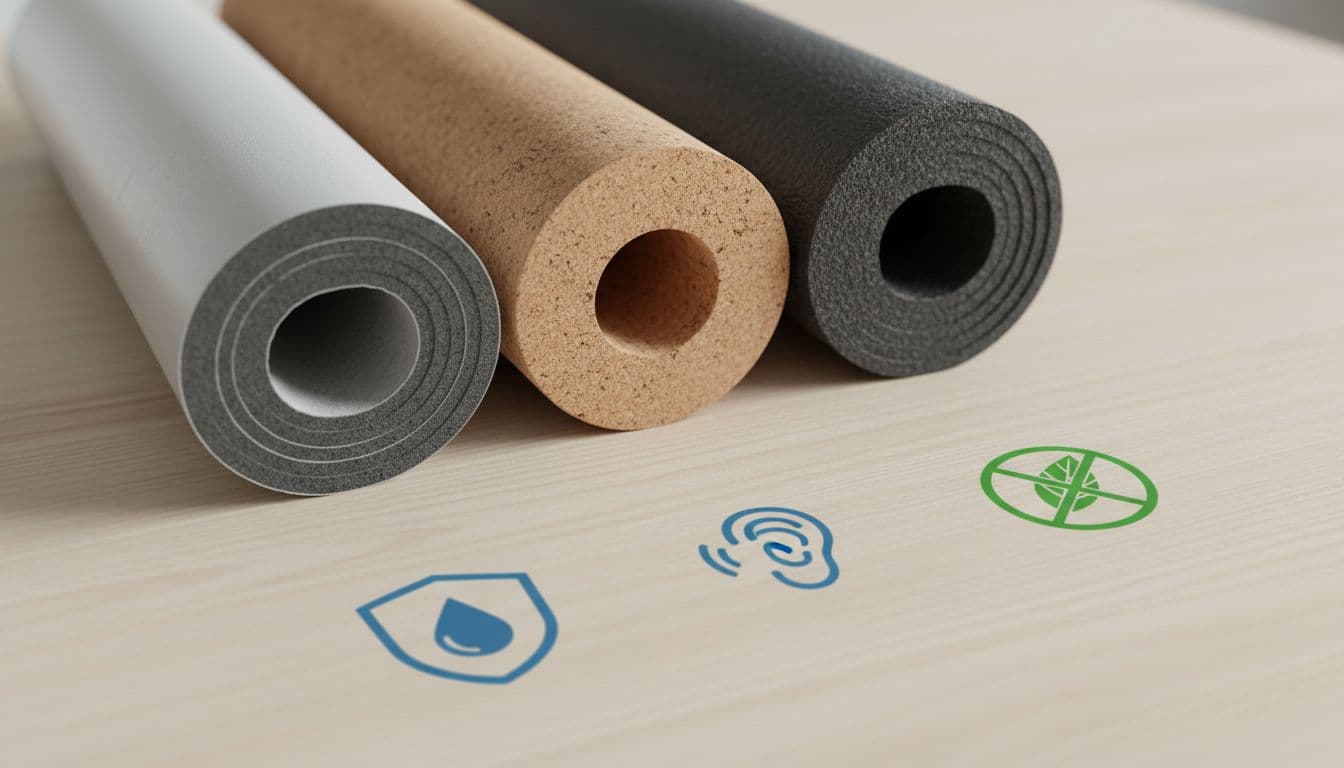
2026 underlayment choices that play well with moisture (and when to use them)
Underlayment choices keep expanding as flooring factories build more LVP with attached pads, and as retailers push quieter, thicker-feeling floors. Still, the best picks for wet rooms fall into a few practical categories.
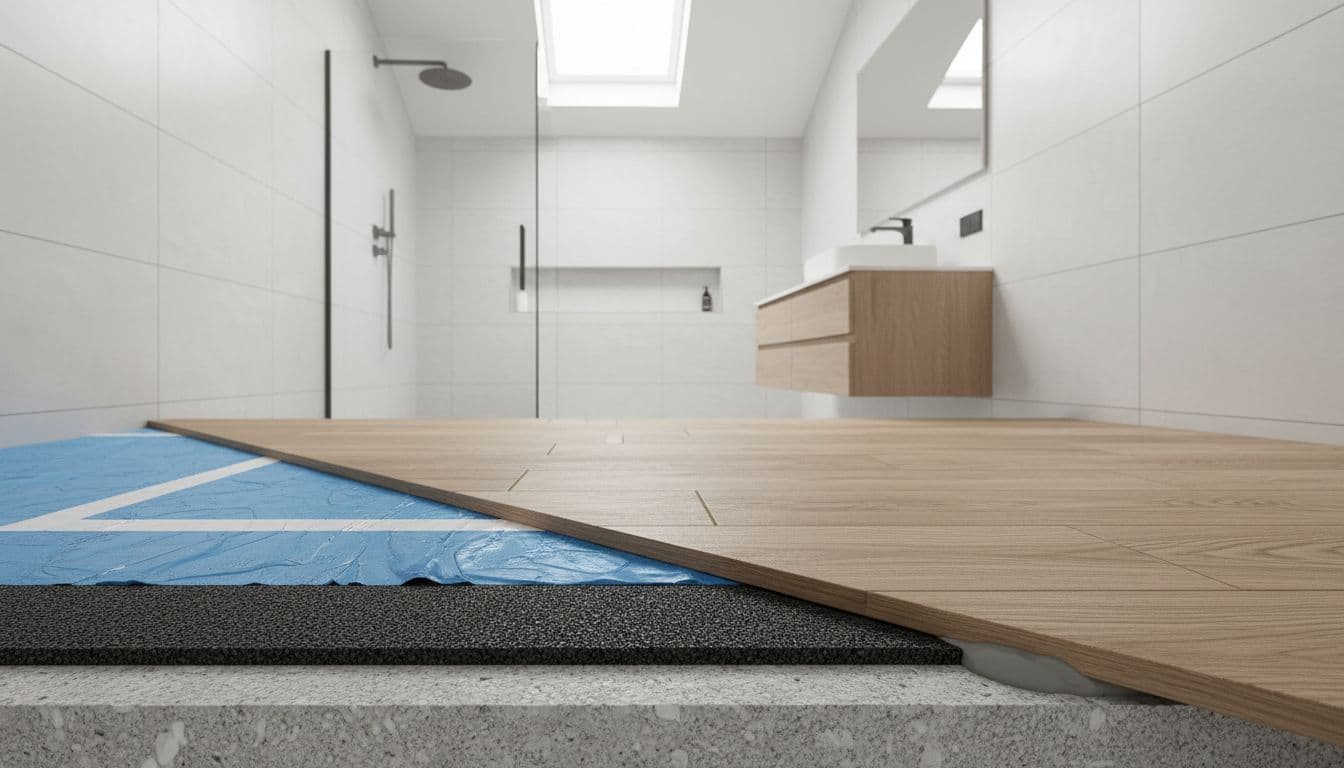
Closed-cell foam with an integrated vapor barrier (common “all-in-one” roll)
This is often IXPE or similar closed-cell foam with a film layer.
Best for: Concrete slabs in kitchens, powder baths, laundry-adjacent areas
Why it works: Closed-cell foam won’t act like a sponge, and the integrated film helps slow vapor transmission.
Watch-outs: Tape the seams with the tape specified for the system. Skipping seam tape is like leaving your rain jacket unzipped.
6-mil poly vapor barrier plus a manufacturer-approved underlayment
Some specs still call for a separate poly film, then a thin underlayment above it (or none at all if the product has a pad).
Best for: Slabs with higher vapor risk, or when the LVP spec calls for it
Why it works: Poly is simple and consistent when installed correctly.
Watch-outs: Poly wrinkles can telegraph or create a “crunchy” feel. Keep it flat, overlap per spec, and tape cleanly.
For broader background on moisture barrier concepts and why vapor matters under resilient floors, Moisture Barrier Underlayment is a helpful reference.
Rubber or rubber-cork composite underlayment (focused on sound and feel)
Bathrooms above living spaces often need sound control. Rubber blends can reduce footfall noise while staying stable in humid conditions.
Best for: Multi-family baths, second-story kitchens, projects with acoustic targets
Why it works: Dense materials can cut hollow sound and add comfort without compressing too much.
Watch-outs: Some rubber products have specific adhesive or compatibility rules. Check for staining or plasticizer concerns with vinyl.
Natural cork underlayment (comfort-forward, with a reality check)
Cork is naturally comfortable and can resist microbial growth in normal conditions, which aligns with the way many brands position cork products today. It can be a smart choice when comfort and sound matter.
Best for: Drier kitchens, upstairs powder rooms, projects prioritizing comfort and sustainability
Why it works: Cork feels warmer and can dampen sound.
Watch-outs: It’s not a “standing water” solution. In full baths where puddles happen, cork needs the right moisture strategy above and below, and it may not be the best bet.
Quick comparison table for wet-zone LVP underlayment
| Underlayment type | Moisture approach | Best fit | Common risk if installed wrong |
|---|---|---|---|
| Closed-cell foam + integrated vapor barrier | Blocks slab vapor, resists absorption | Slab kitchens, light-use baths | Untaped seams, trapped bumps |
| 6-mil poly + approved underlayment (or none) | Strong vapor barrier under the system | Slabs with higher vapor | Wrinkles, poor overlaps |
| Rubber or rubber-cork composite | Adds sound control, stable in humidity | Upstairs baths, condos | Compatibility misses, bad seams |
| Cork | Comfort and sound support | Drier kitchens, powder rooms | Swelling if water sits or edges wick |
Bathroom-specific details that separate “looks good” from “stays good”
Bathrooms punish edges. Most failures start at the perimeter or around the toilet. Underlayment helps, but bathroom success is really a system:
Seams and transitions: Use the right tape for underlayment seams and follow the LVP transition details so water doesn’t funnel under the floating floor.
Perimeter expansion gap: Don’t pack it tight. Leave the gap, then use approved trim methods. If you need a seal at edges, use products that don’t restrict movement.
Wet area rules: LVP in a bathroom isn’t the same as a shower pan. If the design calls for heavy water exposure, you may need a different floor assembly.
Installation habits that protect the floor (and your schedule)
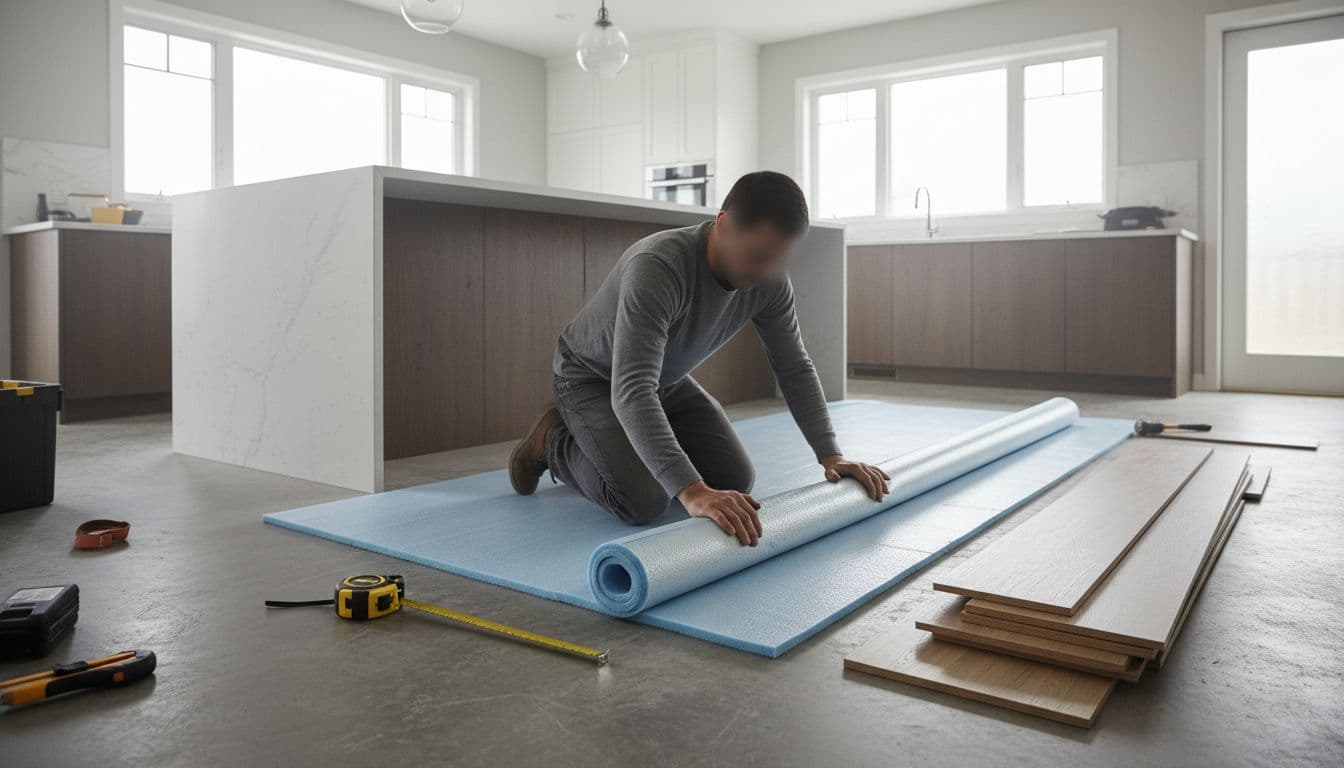
Moisture-friendly products still fail when the basics get skipped:
- Flat beats thick. A thicker pad can’t hide humps. It can amplify movement at the click joints.
- Treat seams like plumbing. Overlaps and tape jobs have to be consistent.
- Follow the attached-pad rule. If the LVP includes a pad, don’t stack softness unless the spec allows it.
- Don’t trap active moisture. If there’s a known moisture issue, test and address it. Underlayment is not a bandage for a wet slab.
If your team needs a refresher on best practices, the training calendar for tile and surface prep in early 2026 is a good reminder that the industry is pushing education harder (see NTCA Announces January 2026 Education & Training Schedule).
2026 flooring industry signals that affect underlayment choices
Staying current isn’t just for designers. It protects margins in the flooring business.
Right now, flooring news and flooring industry news show two clear underlayment themes:
- More focus on “waterproof” systems, including underlayment suppliers promoting moisture control and better performance. A useful snapshot is Underlayment: Suppliers get in on the waterproof act.
- More scrutiny of materials and inputs, including testing and documentation. That mindset shows up across categories, like the push to detect chemicals in manufacturing streams (see Shaw Develops New Testing Method to Detect PFAS in Manufacturing Materials).
For contractors and retailers, these updates tie directly to warranties, specs, and what counts as acceptable prep. They also influence the newest flooring products and trends clients ask for, especially quiet floors, thicker visuals, and “waterproof” marketing that needs a real assembly behind it.
Conclusion
Moisture-friendly underlayment for LVP in kitchens and baths isn’t about one magic roll. It’s about matching the subfloor, the room, and the product spec, then installing it like water is always waiting for a weak spot.
When you treat vapor barriers, seam tape, and perimeter details as part of the finished floor, callbacks drop and performance goes up. That’s the kind of new flooring techniques that pays off long after the tools are packed.