A flat tile floor looks simple, until light hits it at a low angle and every edge starts talking. In 2026, tile lippage control matters more because customers expect tight grout lines, crisp rectified edges, and big formats that act like mirrors.
The good news is that lippage isn’t a mystery. It’s usually a chain reaction: surface prep, mortar choice, trowel notch, and how the tile gets seated. Clip leveling systems can help, but they can’t rescue a weak setup.
This guide breaks down clips vs traditional methods, how to choose clip size, how to match notch to tile, and a beat-in routine that keeps the field flat.
Why lippage still happens (even with “better” tile in 2026)
Lippage is height difference between neighboring tile edges. It can be a safety issue, a call-back risk, and a visual flaw that makes premium tile look rushed. Several factors tend to stack up on the same job.
First, tile warpage is real. Even well-made tile can have a slight crown or bow from firing and cooling. That’s why offset patterns can backfire with certain shapes. If you want a deeper look at what’s considered acceptable and how pros spec around it, see lippage limits and specification basics.
Next, substrate flatness is the quiet killer. A leveling clip can pull two edges into plane, but it can’t flatten a hump that runs three tiles wide. When installers tighten harder to “make it work,” they often squeeze out mortar and create voids.
Tile size trends also push the risk higher. The newest flooring trends and products keep leaning into larger formats and thinner profiles, which look great but demand more consistent support. Add tight grout joints and strong directional lighting, and even small error looks big. Flooring trends can change on the sales floor fast, so it helps to watch what gets promoted at annual flooring shows. For example, Surfaces coverage often spotlights installation-focused product rollouts and retailer strategy, like Surfaces ’26 industry updates.
Finally, technique creates or prevents lippage. If ridges don’t collapse, coverage stays uneven. If the tile is “tapped” but not seated, corners float. Most lippage complaints trace back to mortar management and beat-in, not the tile itself.
Clip leveling systems vs old-school methods (what each does best)
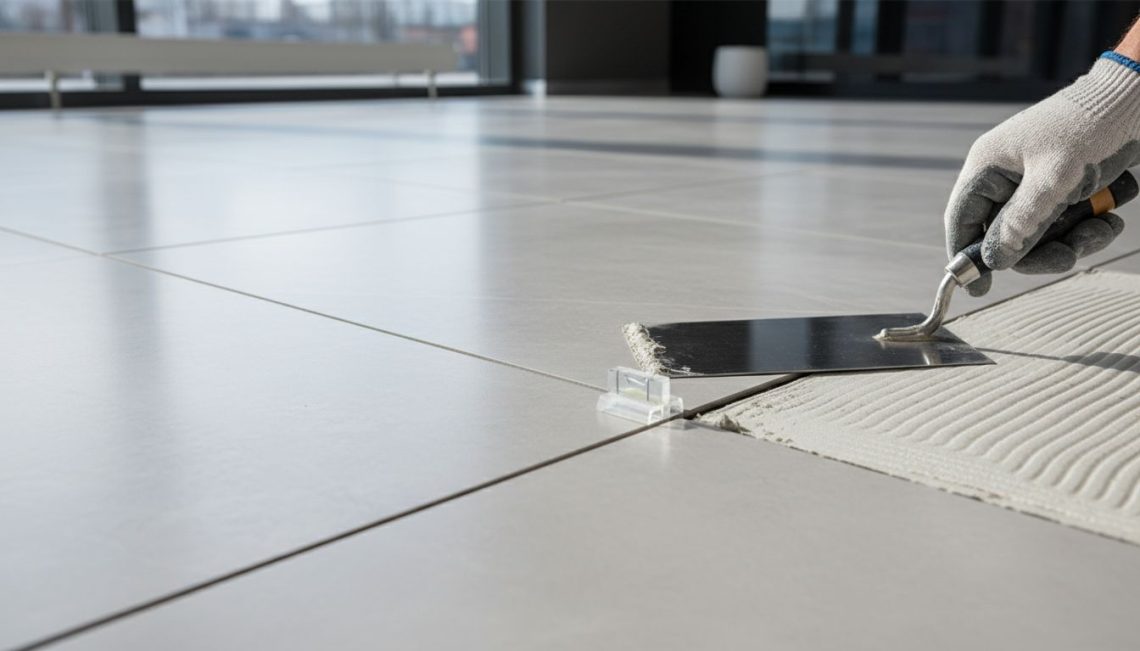
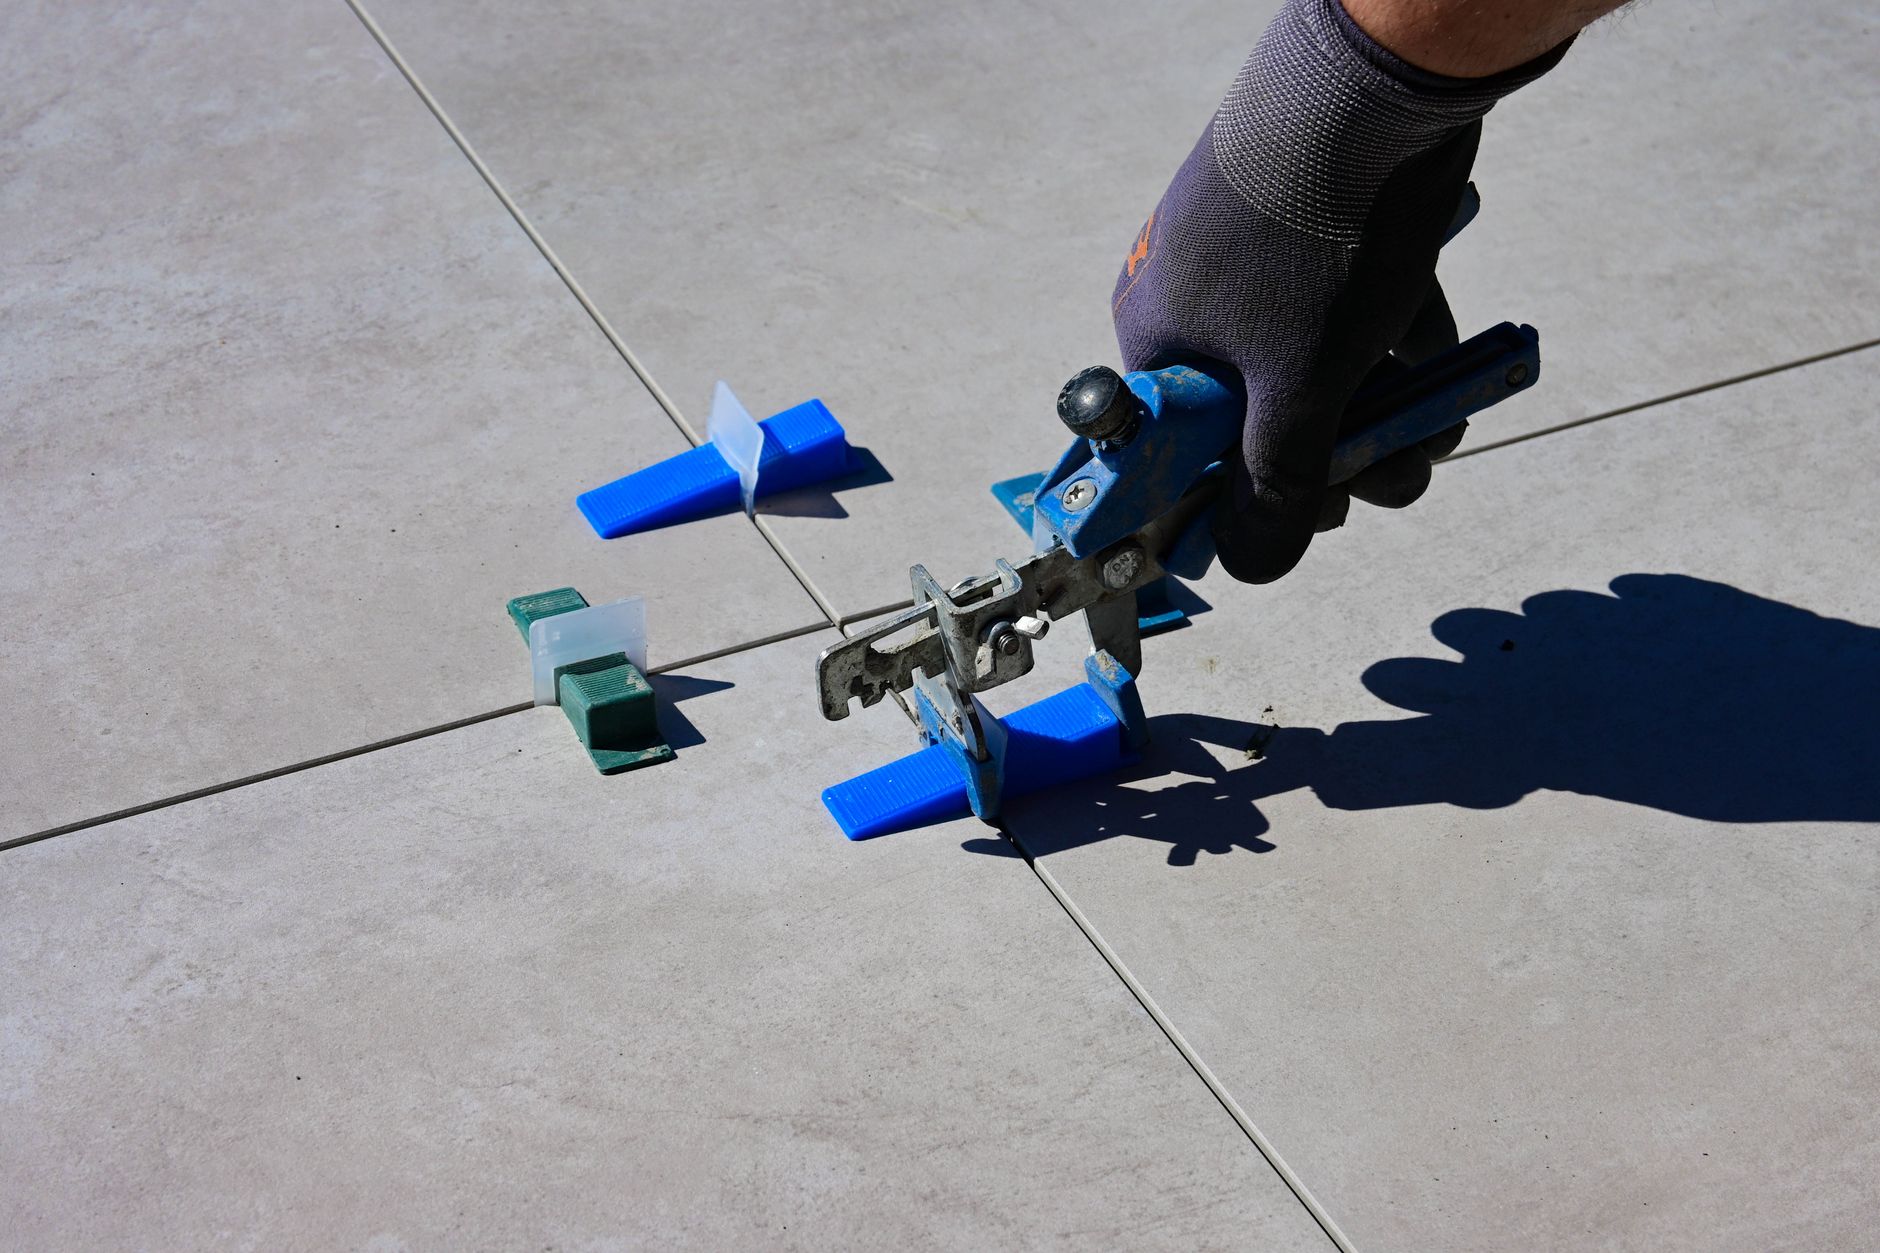 Photo by Vladimir Srajber
Clip systems are common in 2026 for a reason. They can hold neighboring tiles in plane while mortar cures. They also reduce finger fatigue compared with constant straightedge checks and micro-adjustments.
Traditional “old-school” methods still matter, though. Spacers, straightedges, beating blocks, and a disciplined lift-and-check routine often beat clips on walls, small formats, and tight corners. Many crews use both: old-school judgment, with clips as a temporary clamp.
Here’s a quick side-by-side to keep expectations realistic:
| Topic | Clip leveling systems | Old-school methods (spacers, straightedge, hand-set) |
|---|---|---|
| Best use | Large-format floors, long runs | Walls, small formats, detail areas |
| Strength | Holds edges aligned while curing | Maximum feel and control tile-by-tile |
| Common failure | Over-tightening, mortar squeeze-out | Inconsistent seating without frequent checks |
| Speed | Faster once the crew is practiced | Slower, but can be cleaner in tight spaces |
| What it can’t fix | Out-of-flat substrate, wrong trowel notch | Out-of-flat substrate, warped tile |
The takeaway: clips don’t replace prep and coverage, they protect good work from shifting.
If you’re comparing system styles and what “good” looks like in the field, choosing a tile-leveling system is a useful reference because it focuses on insertion, clamping pressure, and clean break-off.
Clip systems are best treated like a clamp, not a jack. If you’re “lifting” a tile with clips, the prep or mortar plan is already behind.
For flooring stores and distributors, this also ties into training and merchandising. Customers ask about systems because they see them online. Meanwhile, manufacturers keep pushing tighter edges and bigger sizes. That pressure flows back through flooring manufacturing factories and into installation standards. On the retail side, pairing the right clips with the right mortar and trowels reduces complaints and protects the brand.
Picking clip size, trowel notch, and a beat-in routine that stays flat
Getting flat tile is less about one magic product and more about matching parts to the job. Clip size, notch size, and beat-in technique need to agree with each other.
How to pick the right clip size (and how many)
Clip size usually tracks your intended grout joint. Crews often choose 1/16-inch for very tight joints, 1/8-inch for many floors, and wider clips when the layout and tile edges call for it. Still, the tile manufacturer’s joint guidance should lead, especially with rectified edges.
Placement matters as much as thickness. Use more clips on larger tiles and along edges that want to ride high (often where tile has a slight crown). On planks, clips near corners and along the long sides help control “ski jump” corners, but only if coverage is there.
A practical rule: if you’re relying on clips to force corners down, increase your coverage plan first, then re-check flatness.
Trowel notch choice: build the mortar bed you actually need
Notch size is about achieving consistent coverage after the ridges collapse. Tile size, back pattern, substrate flatness, and mortar type all change the answer. When you want a simple overview of how notch size ties to thinset coverage, this trowel notch guide lays out the logic clearly.
Two points matter most in the field:
- Comb in one direction, then move the tile across the ridges to collapse them.
- If coverage is short, go up a notch, flatten the substrate, or both.
Also, keep a standard in mind. Wet areas and exteriors typically call for very high coverage. For broader installation references, many pros keep the TCNA material handy, such as the TCNA handbook reference PDF.
Beat-in technique that stays flat (without chasing tiles)
Beat-in should be repeatable, not improvised. The goal is full support, stable alignment, and no trapped ridges.
A reliable routine looks like this:
- Set the tile into fresh mortar, then shift it perpendicular to the trowel lines.
- Lift one early tile every so often to verify ridge collapse and coverage.
- Back-butter when the tile back is heavily patterned or coverage comes up short.
- Insert clips while the tile can still move, then snug the caps gradually.
- Beat in with a beating block that bridges multiple tiles, not just one.
- Re-check with a straightedge before the mortar firms up, then stop touching it.
If you can’t get flat without overtightening clips, treat that as a signal to fix prep or notch, not a reason to crank harder.
This is also where the market is heading. The newest flooring products arriving through dealer channels often come with tighter visual expectations. That makes installer education a sales advantage, not just a jobsite concern.
Conclusion
In 2026, tile lippage control is a system, not a single tool. Clip systems help hold a flat plane, while old-school methods build the judgment and touch that prevent problems. When clip size, trowel notch, and beat-in work together, the floor stays flat under real light. Keep an eye on flooring news and flooring industry news, especially around annual flooring shows, because installation expectations move as fast as products do. What part of your process causes the most rework: prep, coverage, or finishing the field without shifting tiles?