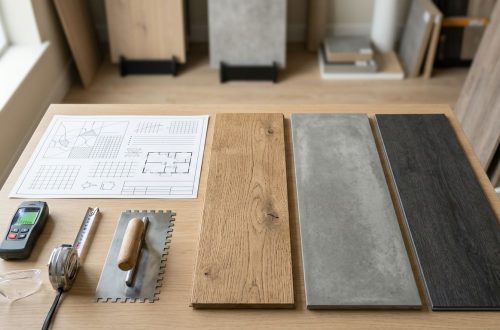
A concrete slab can look clean, flat, and dry, then still ruin an LVP install. The surprise is often chemistry, not craftsmanship. Concrete slab pH (a quick read on how alkaline the surface is) can decide whether patch compounds harden right, primers bond, and adhesives stay stable.
If you’ve ever seen adhesive turn soft, patches dust off, or white salts creep through, you’ve seen what high alkalinity can do. The good news is that pH checks are fast, cheap, and easy to document, and they help protect your warranty and your schedule.
Why concrete slab pH matters for LVP installs (even floating floors)
Concrete is naturally alkaline. Fresh cementitious materials can read very high on the pH scale, and that alkalinity can linger at the surface, especially when moisture keeps moving through the slab. One practical summary from HORIBA notes that fresh concrete is often above pH 11, and high alkalinity can interfere with resilient floor bonding and performance (pH of cement for floor installation testing).
For LVP work, surface pH matters in a few common ways:
- Adhesives can break down when exposed to high alkalinity, leading to bond loss.
- Patches and self-levelers can fail to cure properly or can “dust” at the surface.
- Primers and mitigation coatings can lose adhesion if the slab is contaminated or still pushing salts.
- Efflorescence is a warning sign, not just a cosmetic issue; it usually means soluble salts and moisture are traveling.
High pH is often tied to moisture. Think of moisture as the delivery truck and alkalinity as the cargo.
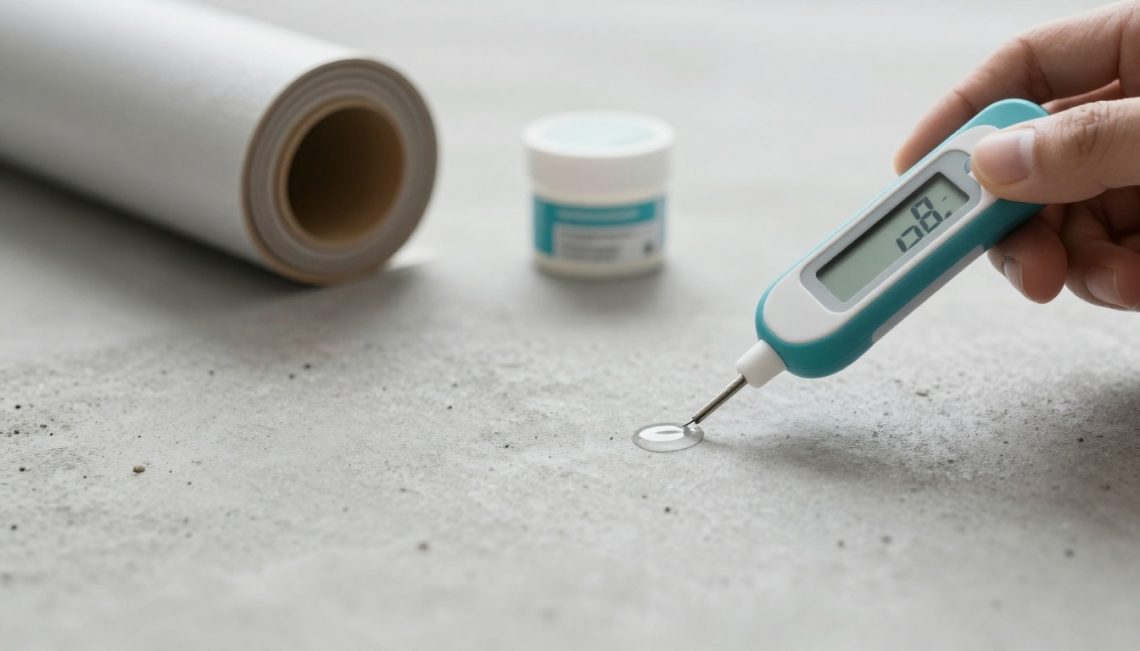
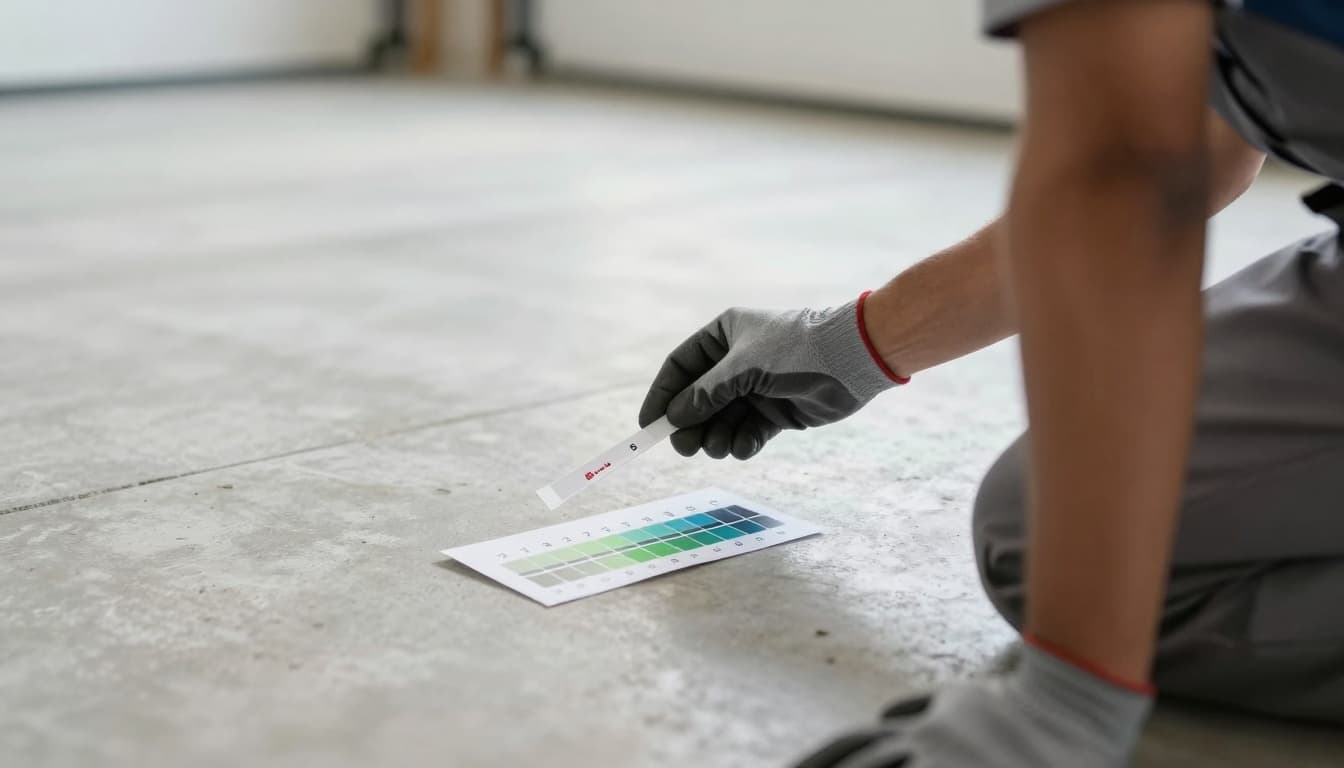
A simple, jobsite concrete slab pH test (no lab needed)
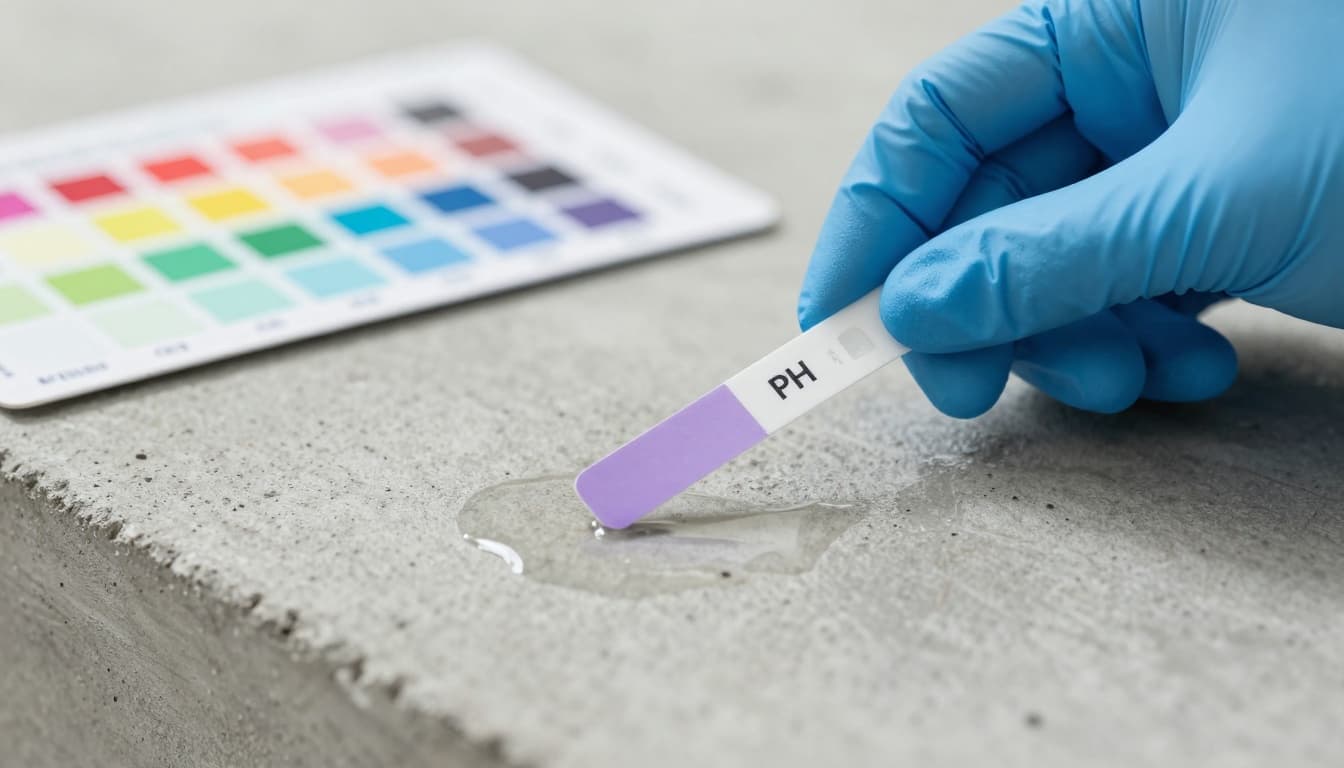
Most installers use pH paper or strips because it’s quick. The key is consistency.
Here’s a straightforward field method used across the trade (and commonly taught in subfloor inspection education), similar to what’s outlined in training resources like FlooringTech’s pH measuring lesson:
Step-by-step (quick, repeatable):
- Prep a test spot: Sweep and vacuum. If you’ve ground the slab, test after grinding and dust removal.
- Use distilled water: Place a small puddle (about a teaspoon) on the concrete. Tap water can skew readings.
- Apply the strip: Set the pH strip into the puddle or press it into the damp spot (follow strip directions).
- Wait the stated time: Many strips read in seconds, some take longer. Don’t guess.
- Compare and record: Match the color to the chart and write down the result, location, date, and slab conditions.
Test multiple areas, not just the “best-looking” spot. Doorways, exterior walls, plumbing walls, and low spots deserve extra checks.
Your no-nonsense pH and alkalinity test kit
You don’t need much, but you do need the right basics:
- Wide-range pH strips (close-range strips can “top out” and hide how high the pH really is)
- Distilled water
- Clean plastic cup or dropper
- Paper towels (white is best so it doesn’t stain-test the slab)
- Marker and notebook for a simple log
- PPE: gloves and eye protection (especially when salts or cleaners are involved)
If you want more precision, a calibrated pH meter can help, but strips are usually enough for screening and documentation.
Target ranges for concrete slab pH before LVP
There isn’t one universal pH number for every LVP, adhesive, primer, or underlayment system. Product data sheets win every time. Still, you can use practical targets to flag risk early and avoid a surprise on install day.
One published reference point is Australia’s resilient flooring guidance cited by HORIBA, which states a surface pH between 9 and 10 before installation (HORIBA overview). Many North American systems fall in a similar neighborhood, but always confirm.
| Surface pH reading | What it usually means on site | Typical next move |
|---|---|---|
| 7 to 9 | Generally manageable for many systems | Proceed if moisture testing also passes and products allow it |
| 9 to 10 | Common “watch zone” | Verify specs, consider primer, document readings |
| Above 10 | Higher risk for adhesives and underlayments | Plan mitigation steps before LVP goes down |
| Above 11 | Often tied to newer concrete or active moisture/salts | Don’t install yet, diagnose moisture, mitigation likely needed |
If the slab is high pH and also high moisture, treat moisture as the root problem. Moisture is the reason alkalinity keeps showing up at the surface.
How to read results and keep a slab pH log (without slowing the crew)
A “Slab pH Log” doesn’t need to be fancy. It just needs to answer: what did you test, where, when, and what conditions existed?
Record:
- Room name and rough sketch of test points
- pH reading per point
- Date and time
- HVAC status (on/off), indoor temp and RH if available
- Notes on visible salts, dampness, curing compounds, sealers, or old adhesive
This kind of documentation supports installers, retailers, and the flooring business when questions come up later.
When pH is too high: practical fixes that don’t create bigger problems
High alkalinity isn’t solved by hope or a thicker trowel. The goal is to get the surface stable and compatible with the full system: concrete, mitigation (if needed), patch, adhesive (if used), and LVP.
1) Remove surface contaminants and weak layers
Grinding or shot blasting can remove laitance, curing compounds, old adhesive residue, and salt-laden surface paste. Vacuum thoroughly. Retest after prep.
2) Address moisture first (because it keeps feeding alkalinity)
Moisture is still the main driver of flooring failures. Wagner Meters has a clear overview of how excess moisture impacts adhesives, primers, and underlayments (avoid flooring problems with accurate moisture testing).
If moisture tests fail, don’t treat pH like a separate problem. Fixing water entry, vapor drive, or drying conditions often improves pH over time.
3) Don’t “acid wash” your way into trouble
Installers sometimes consider acid to drop pH fast. That can backfire by leaving residues, weakening the surface, or creating bonding problems. If a chemical neutralizer or cleaner is used, it needs to be approved by the system manufacturer, thoroughly rinsed, and allowed to dry, then retested.
4) Use a manufacturer-approved mitigation and primer system when required
If readings stay high or moisture stays active, a mitigation system may be the realistic path. Follow the exact prep profile and cure times. The best coating in the world won’t bond to dust.
For guidance on common substrate prep mistakes, INSTALL’s trade guidance is a useful reality check (Avoiding Moisture Mistakes in Substrate Preparation).
5) Choose patch and underlayment products that match the slab conditions
Some cementitious products tolerate higher pH than others. Confirm compatibility and limits in writing. When in doubt, call tech services and document the response.
A quick January 2026 flooring industry news angle: why chemistry is getting more attention
Subfloor chemistry is showing up more often in flooring news because materials and regulations keep changing. For example, Shaw Industries recently developed a new testing approach aimed at detecting PFAS in manufacturing inputs after finding older protocols weren’t a good fit for many non-water materials (FloorDaily report). That’s a reminder that product formulas and quality control inside flooring factories keep evolving, and installers feel those changes on the slab through primers, adhesives, and underlayments.
Training is also picking up. The NTCA announced a January schedule packed with free workshops and regional training sessions, which reflects how fast new flooring techniques and best practices move (NTCA January 2026 education schedule). Keeping up with flooring trends and the newest flooring products and trends is great, but prep skills still decide whether those products perform.
Conclusion: test the slab, then install with confidence
A fast concrete slab pH check can prevent the slowest problem of all: a callback. Use distilled water, test multiple spots, log results, and treat high pH as a signal to look harder at moisture and surface condition.
When numbers are high, slow down long enough to fix the cause, not just the symptom. That’s how you protect the floor, your crew’s time, and your reputation in the broader flooring industry news cycle.