Luxury vinyl plank is sold as “waterproof,” but the install system still depends on a dry, stable base. Skip subfloor moisture testing and you can end up chasing peaking joints, moldy odor complaints, loose planks, or adhesive failures that look like “product defects” on day one and turn into a callback on day 30.
For contractors and flooring companies, moisture testing is also paperwork. It’s your proof that the site was ready, and it protects your margin in a competitive flooring business.
This guide covers practical test options for concrete and wood subfloors, how to run them the right way, and how to interpret results without guessing.
Why moisture is still the #1 LVP installation trap
Moisture moves like smoke. It finds seams, edges, and low spots. A slab that “feels dry” can still be releasing water vapor, and a wood subfloor can look clean while holding enough moisture to swell at the fasteners.
LVP has grown fast in the newest flooring products and trends, and that popularity has pushed better click systems and stronger wear layers. But none of that fixes a wet subfloor. Moisture problems also show up more in tight schedules, fast turns, and winter installs when HVAC is not stable.
Moisture testing tools you’ll actually use on site
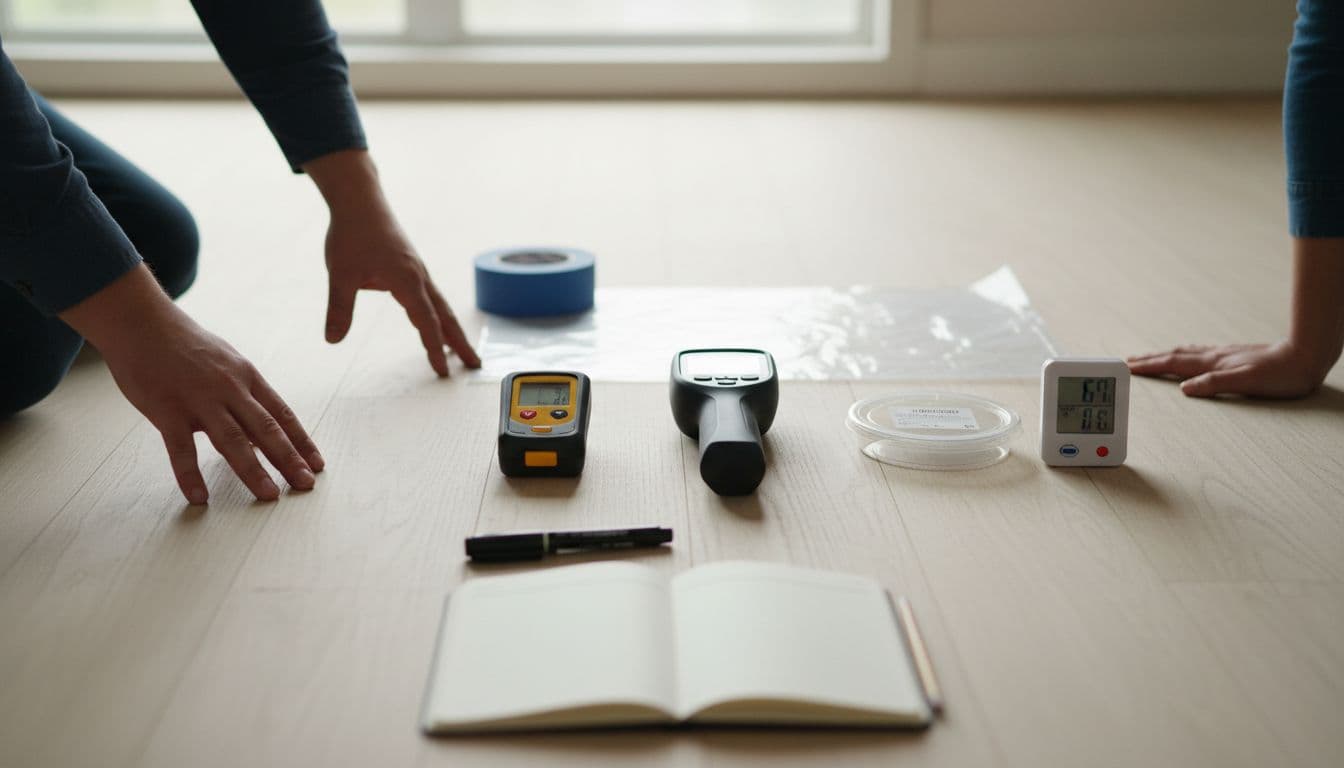
Most crews end up using a mix of “fast screening” tools and “reportable” tests. Screening tools help you pick locations and spot risk. Reportable tests support a go or no-go decision and match what manufacturers ask for.
Here’s a quick comparison:
| Test method | Best for | What it tells you | Notes |
|---|---|---|---|
| Pinless concrete meter | Concrete screening | Comparative moisture, not true vapor rate | ASTM guidance: https://www.astm.org/f2659-22.html |
| In-situ RH probes | Concrete decisions | Relative humidity inside the slab | Often requested in resilient specs |
| Calcium chloride kits | Concrete decisions | Moisture vapor emission rate (MVER) | Check product limits and local expectations |
| Pin or pinless wood meter | Plywood/OSB | Moisture content (MC) in wood | Also check joist bays and edges |
| Plastic sheet test | Concrete screening | Condensation risk and obvious vapor drive | Quick red flag, not a final pass |
Manufacturer instructions still rule. Keep a copy of the specific LVP manual on the job, because limits vary by product and installation method. A good example of the type of language you’ll see is in many rigid core LVP guidelines like this PDF: http://pdf.lowes.com/productdocuments/000d694f-ce2f-48e7-a0da-c48747d9ea7d/47545593.pdf
Concrete subfloors: how to test moisture and get results you can trust
Step 1: Start with conditions, not gadgets
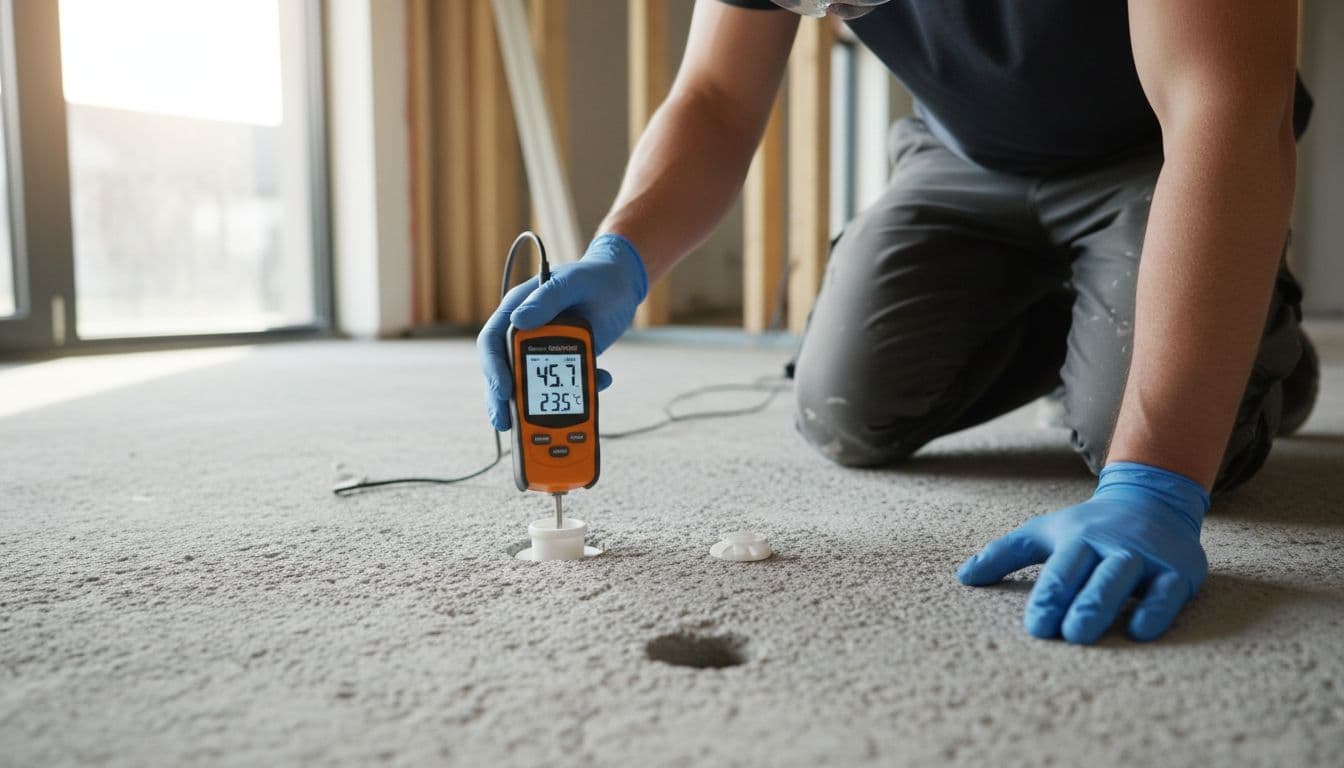
Concrete testing is sensitive to temperature and HVAC stability. If the building isn’t at service conditions (or close), your numbers can swing. Document ambient temperature and RH at the time of testing, plus whether HVAC is running.
Also walk the slab. Look for dark edges, white powdery residue, damp tacky areas, or past water intrusion. These clues help you place tests where the slab is most likely to fail.
Step 2: Use a concrete meter to map hot spots
A non-destructive concrete meter is fast. Treat it like a metal detector: you’re looking for “where,” not “how much.”
Run a grid pattern, mark high readings, then place your decision tests there. If you want a standards-based reference for this screening approach, ASTM’s guide for comparative concrete readings is here: https://www.astm.org/f2659-22.html
Step 3: Choose the decision test your spec team will stand behind
For resilient floors, the two common decision paths are:
In-situ RH probes: Measures humidity inside the slab, which often tracks long-term performance better than surface-only checks.
Calcium chloride (MVER): Measures how much vapor leaves the slab surface over a set time.
Many spec writers also point to broader substrate evaluation guidance like Forbo’s substrate evaluation and preparation document (useful even if you’re installing another brand): https://forbo.blob.core.windows.net/forbodocuments/854e2433-f00d-49b3-94fb-dc8bc8237fe6/IG%20Substrate%20Evaluation%20&%20Preparation%20Guidelines%20v2.20.pdf
Step 4: Interpret concrete results the right way (no “averaging to pass”)
Don’t average failures into a pass. If one area fails, that area can telegraph through the whole install, especially with floating systems that can trap moisture under underlayment.
Use this mindset:
Low risk: Results are inside the LVP manufacturer’s written limits for your install method.
Borderline: Results are close to the limit, and site conditions are still changing (new slab, recent rain, HVAC just started).
High risk: Results exceed limits, or you see visible moisture symptoms along walls and penetrations.
If you need an industry viewpoint on concrete moisture testing practices, MFMA publishes a clear recommendation that’s easy to share with GC partners: https://www.maplefloor.org/en/concrete-moisture-testing-recommendation/
Wood subfloors: moisture testing that prevents squeaks and swell
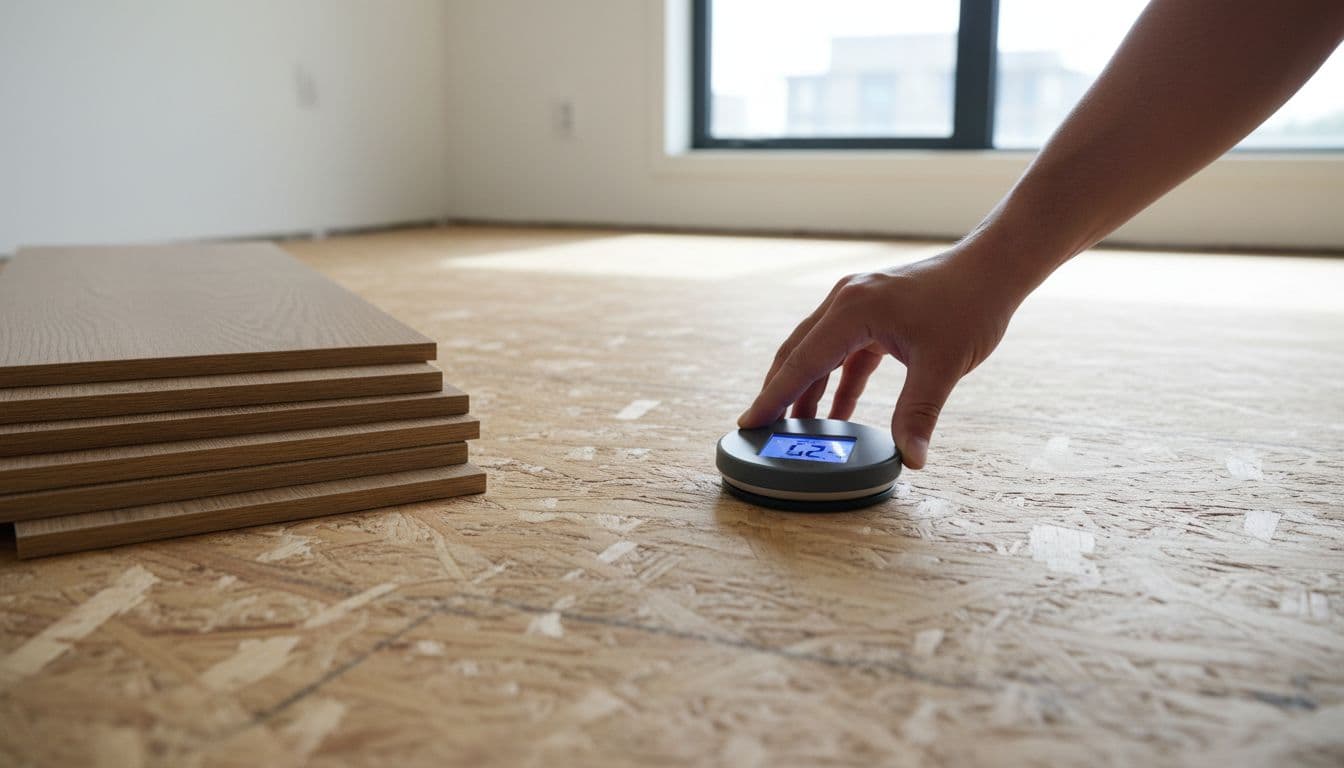
Wood testing is usually simpler, but it’s easy to do it wrong by only checking the center of the room.
Where to test on plywood or OSB
Hit the spots that behave like sponges:
- Exterior walls and sliding doors
- Around dishwashers, ice makers, and toilets
- Seams between panels and patched areas
- Over crawlspaces, especially near vents
Also check multiple sheets. One wet panel can crown and print through.
How to read wood results without guessing
Your wood meter gives moisture content. What matters is consistency.
Target: Wood subfloor readings should be stable across the room, with no sudden spikes at edges or plumbing walls.
Red flag: A sharp jump in moisture in one zone. That usually points to a leak, wet crawlspace air, or a recent patch that hasn’t dried.
If you want a practical overview of subfloor prep steps that pair well with moisture checks (flattening, fastening, cleaning), this guide is a solid reference: https://www.wagnermeters.com/moisture-meters/wood-info/subfloor-preparation/
Turning numbers into a clear install decision (and a paper trail)
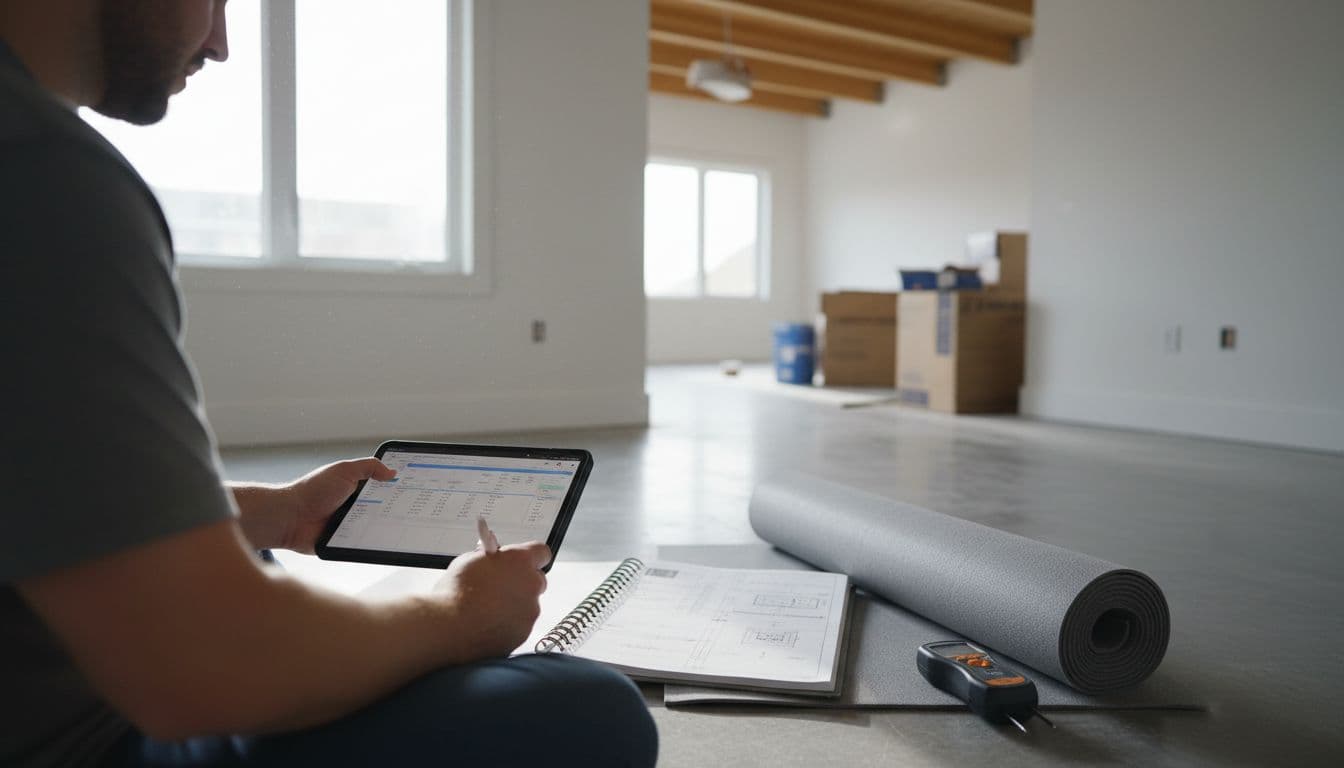
Moisture results only matter if they lead to a decision everyone understands. This is where crews can tighten the process.
A simple way to document subfloor moisture testing
Write down:
Location (room and exact spot), test type, reading, ambient temp/RH, and date/time. Add photos of test placements if possible.
If results are high, your next move should match the risk
Options often include waiting for dry-down, improving HVAC control, sealing the slab with an approved mitigation system, or switching to a different installation method that the manufacturer allows. The wrong move is installing and hoping the underlayment “handles it.”
This kind of discipline is also showing up in flooring industry news beyond moisture. In late 2025, Shaw Industries announced a new method to detect PFAS in manufacturing materials, after finding older testing protocols were not enough for certain non-water inputs. That focus on testing and documentation is spreading from flooring factories to the jobsite: https://www.floordaily.net/flooring-news/shaw-develops-new-testing-method-to-detect-pfas-in-manufacturing-materials
What this means for crews following flooring trends in 2026
LVP demand stays strong in many flooring trends because it installs fast and sells well. At the same time, GC schedules are tighter, slabs are poured year-round, and moisture risk shows up more often in multifamily turns.
Treat moisture testing as a standard step, like checking flatness. It’s one of the new flooring techniques that pays for itself because it cuts failures that are expensive to fix and hard to explain.
Conclusion
Moisture testing isn’t busywork, it’s the difference between a clean LVP install and a slow leak that turns into a claim. Use screening tools to find risk, use decision tests to confirm, and match your interpretation to the manufacturer’s limits. When you document subfloor moisture testing well, you protect the install, your reputation, and your bottom line in today’s flooring business.