Winter installs can feel calm on the surface. The home is quiet, the HVAC is running, and the jobsite looks stable. Then a few weeks later, the call comes in: gaps opened up, end joints look stressed, or a glue-down area released in spots.
That’s why LVP moisture testing in winter deserves its own mindset. Cold weather changes indoor humidity, subfloor behavior, and even how crews stage materials. If you treat winter like any other season, you’re betting the install on conditions that won’t last.
This guide breaks down what winter does to LVP installs, what to test (and when), and how to document it so your crew, customer, and warranty file all tell the same story.
Why winter air changes what “dry” really means
In most regions, winter brings colder outdoor air with less moisture. When that air gets heated indoors, relative humidity (RH) drops unless the home is humidified. The result is a drier interior than many installers see in spring or summer.
That shift matters because your installation is a system:
- Wood subfloors lose moisture as indoor RH falls, and they can shrink across panel seams.
- Concrete slabs can still release moisture vapor year-round, even while the room air feels dry.
- LVP planks do not swell like wood, but they still respond to temperature and can be affected by subfloor movement, adhesive performance, and joint stress.
A good winter install is less about “it feels dry” and more about measured conditions. Seasonal swings are normal, but surprises during seasonal swings are what create claims.
What winter-related failures can look like on LVP jobs
Winter problems rarely show up as dramatic flooding or obvious wet spots. They show up as small defects that grow.
Common winter symptoms include:
Gapping and separation: More common over wood subfloors that dried down after installation, pulling panels apart at seams and changing the floor plane.
Peaking or edge stress: Can happen when the product was installed tight to walls or fixed objects, then the space warms and expands, or the home’s humidity rises later.
Telegraphing at panel edges: Subfloor seams that were flat during install can become more visible after the subfloor dries and shifts.
Glue-down bond issues: Adhesives are sensitive to slab moisture, pH, and jobsite temperature. Winter jobsites that are heated “sometimes” are risky, even if the floor looks fine on day one.
If you want a practical reference on humidity limits and how excess moisture shows up, this overview is helpful: Luxury Vinyl Tile: Maximum Moisture Levels Before Damage.
The winter moisture-testing stack (ambient, slab, and wood)
Think of winter testing like a three-layer check. If one layer is ignored, the others can mislead you.
1) Measure ambient conditions first
Log temperature and RH in the room where the floor will live. In winter, the HVAC may be running, but humidification may not be. Bedrooms over garages, basements, and additions often read differently than the main living space.
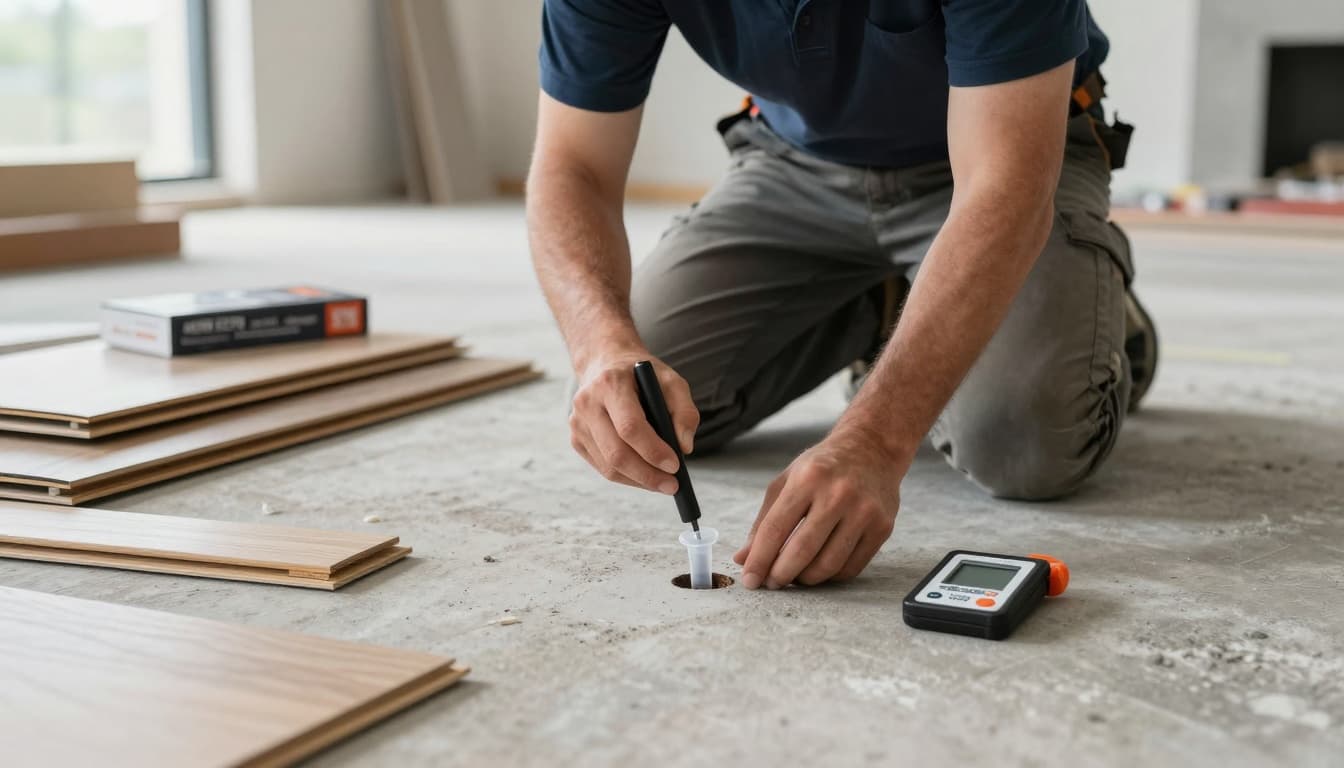
2) Test concrete slabs based on the install type
For floating LVP, slab moisture still matters because vapor can affect underlayments, mold risk at transitions, and long-term odor complaints. For glue-down LVP, slab moisture is directly tied to adhesive performance.
Use the test method and limits required by the product and adhesive manufacturer. Keep your readings with dates, locations, and the site conditions at the time of testing.
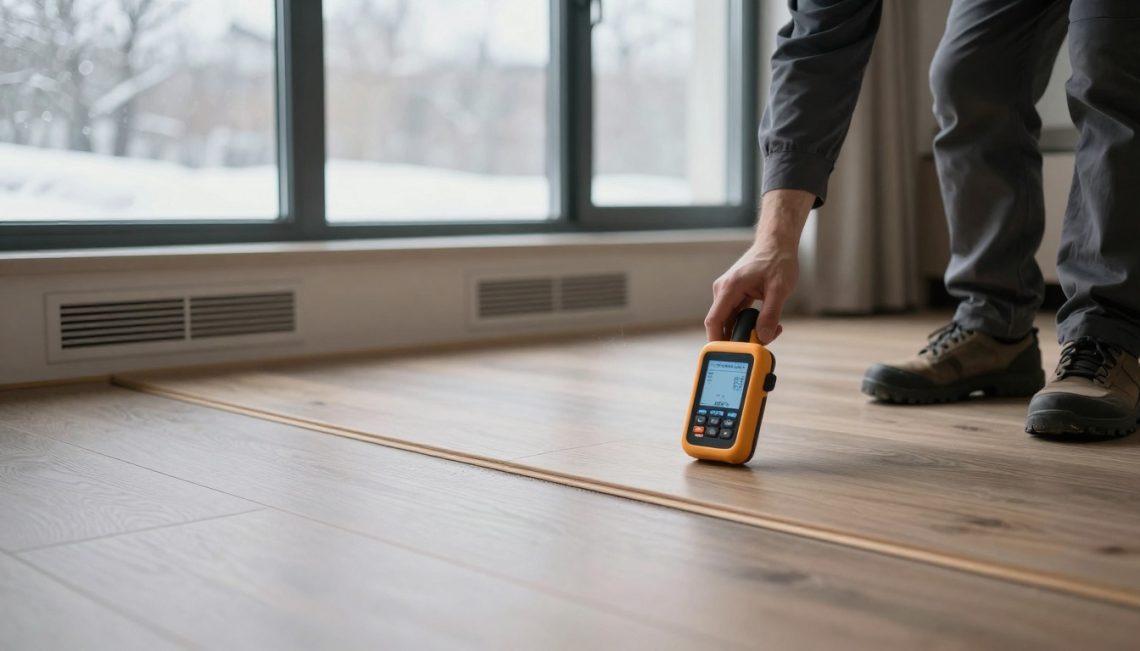
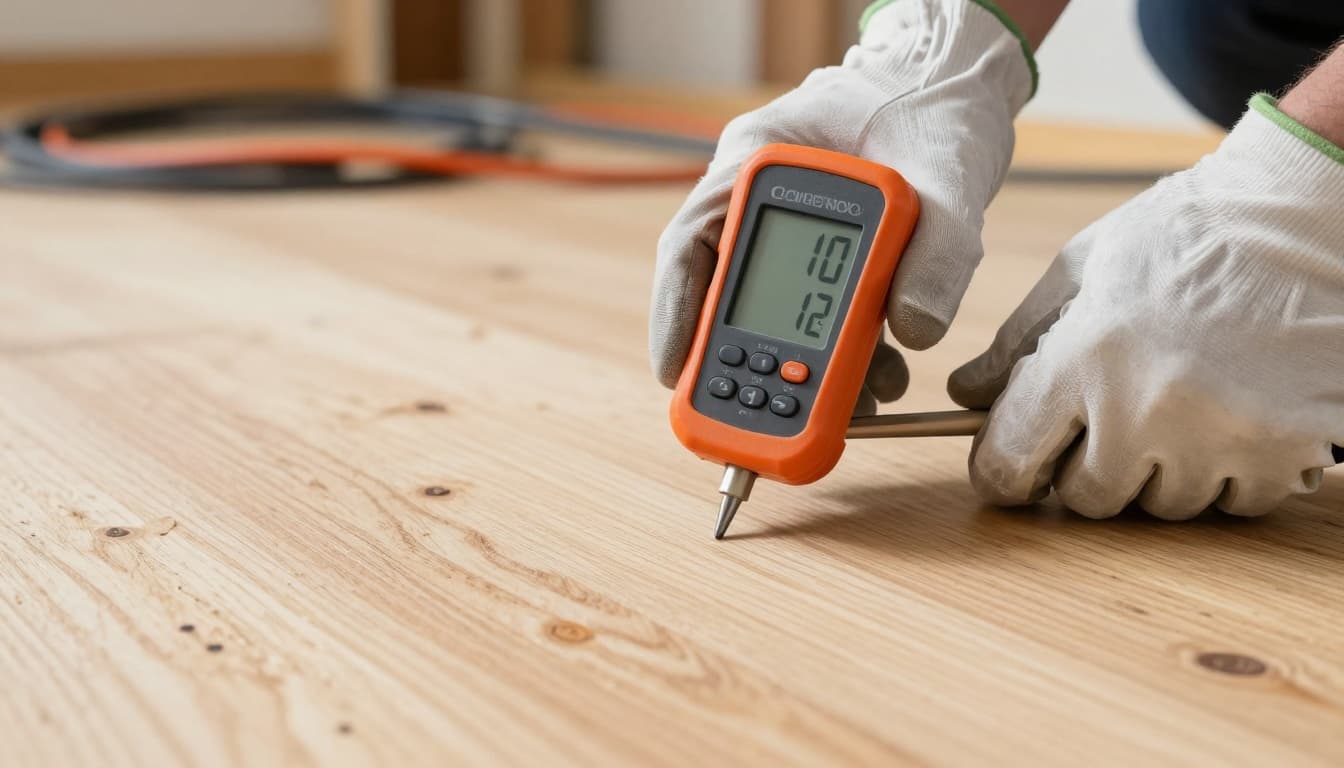
3) Test wood subfloors with a real plan
Winter dryness can pull moisture out of plywood and OSB, changing seams and fastener hold. Take multiple readings across the space, not just one “good” spot near the doorway.
For a tool-focused look at pinless meters used on resilient installs, see: Tracking Moisture Problems in Luxury Vinyl Tile Floors with Pinless Moisture Meters.
A practical winter workflow for LVP moisture testing
Winter jobs go smoother when you stop guessing and start staging.
Here’s a field-ready workflow that fits most crews:
Stabilize the jobsite: Confirm heat is on and consistent. Space heaters that run “when someone’s there” create wide swings.
Record ambient RH and temperature: One reading is not enough if the space has multiple zones (basement plus main floor, addition, bonus room).
Test the subfloor correctly: Follow the manufacturer-required test method for concrete or wood. If you’re switching products or adhesives, re-check requirements.
Inspect flatness again after conditioning: If the home was unheated before, re-check after it has been at living conditions.
Protect perimeter movement: Expansion gaps and proper transitions matter more when the home’s humidity will swing between seasons.
Document it all: Photos, readings, and where each reading was taken. That file protects the installer and helps the retailer explain outcomes.
A quick snapshot for winter planning:
| What to check | What you’re measuring | Why winter changes it | What to document |
|---|---|---|---|
| Room air | Temperature and RH | Heated air often drops RH fast | Date, time, room location |
| Concrete slab | Moisture vapor condition | Vapor emission can continue year-round | Test type, map points, results |
| Wood subfloor | Moisture content trend | Panels can dry, shrink, and shift | Multiple readings across zones |
| Material staging | Product temperature | Cold planks can change fit and handling | Storage location and time |
| Install details | Gaps and transitions | Seasonal movement shows up at restraints | Photos before base/trim |
Acclimation in winter: what it is, and what it isn’t
Acclimation gets misused as a catch-all fix. In winter, it’s easy to stack LVP in a cold garage, bring it inside, and call it acclimated the next morning. That’s not acclimation, it’s a temperature shock waiting to happen.
Real acclimation means the product is stored in the same conditions it will live in, long enough to stabilize. It also means the subfloor and ambient air are within spec, since the product can’t “acclimate” its way out of a wet slab or a drying wood deck.
If you want a plain-language refresher that’s easy to share with customers, this summary helps: Does Luxury Vinyl Flooring Need to Be Acclimated?
Winter 2026 flooring industry news that connects to moisture risk
Installers don’t work in a bubble. The products, adhesives, and expectations are shaped by flooring industry news, manufacturer updates, and what’s happening in flooring factories.
Two themes showing up in current flooring news are worth tracking because they tie back to moisture and indoor conditions:
- More attention on chemical detection and inputs: Shaw Industries shared a new testing methodology to detect PFAS in manufacturing materials, after finding older protocols did not fit many non-drinking-water inputs. That kind of testing culture often flows downstream into clearer documentation and tighter process controls. Source: Shaw Industries invents testing methodology to detect PFAS
- More installer education opportunities: The NTCA outlined January 2026 training workshops and regional sessions. Education is where crews pick up new flooring techniques for prep, moisture evaluation, and failure prevention that can reduce winter callbacks. Source: NTCA Announces January 2026 Education & Training Schedule
On the sales side, customers are still shopping by look and durability, following flooring trends and asking for the newest flooring products and trends they saw online. That makes winter moisture discipline a competitive edge for any flooring business that wants fewer claims and better reviews.
Conclusion: winter installs reward the crews who measure, not guess
Winter doesn’t ruin LVP installs, guessing does. When indoor RH drops, wood subfloors move, slabs keep releasing vapor, and small shortcuts show up later as big complaints.
Build a simple routine around LVP moisture testing, document your readings, and set expectations with the homeowner before the first plank clicks in. The best winter jobs are the ones that look the same in March as they did on install day.