Moisture is the quiet troublemaker on a jobsite. It doesn’t announce itself, it just waits. Then a floor cups, adhesive lets go, or seams peak after turnover, and everyone asks the same question: “How did we miss that?”
That’s why subfloor moisture sensors are getting more attention in January 2026. Between tighter schedules, more moisture-sensitive materials, and homeowners expecting “worry-free” floors, more contractors are adding monitoring to the usual pre-install testing.
What subfloor moisture sensors are (and what they aren’t)
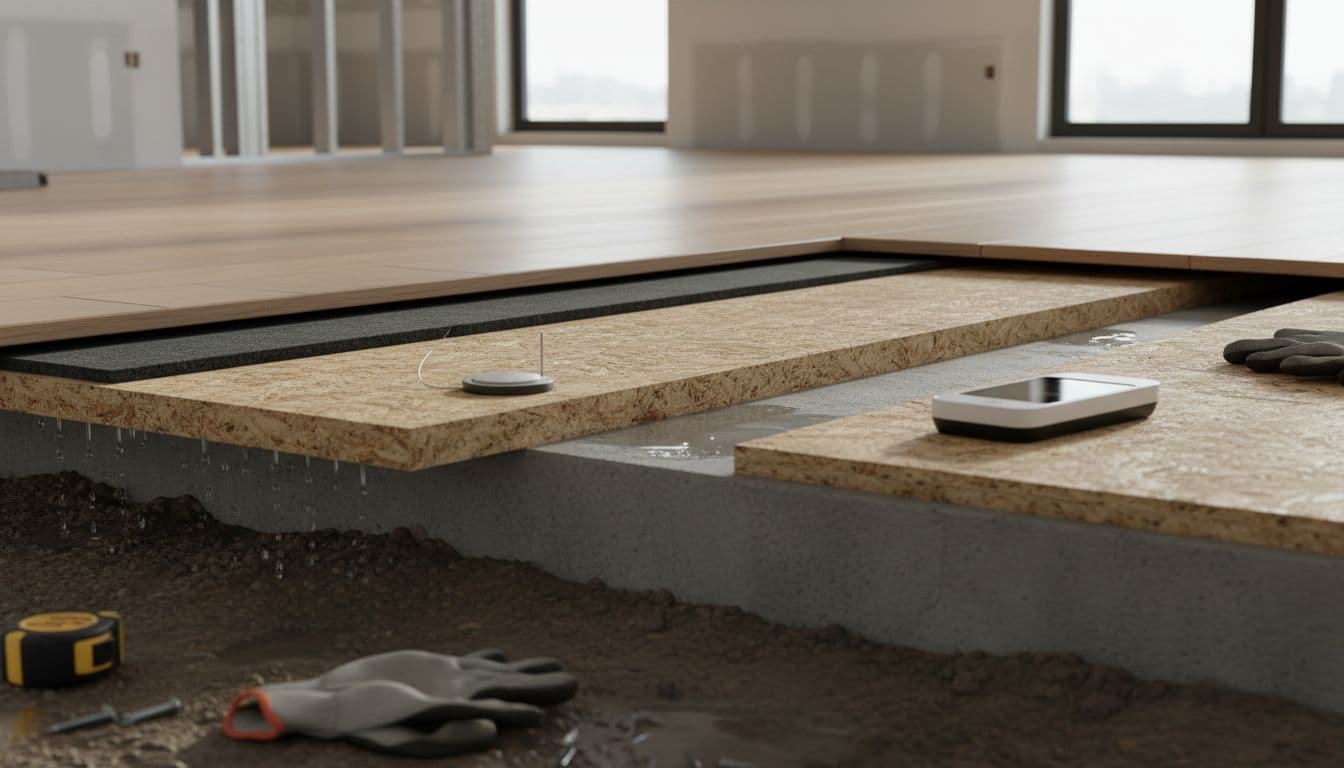
A subfloor moisture sensor is a device that detects moisture conditions below the finished floor, often by measuring wood moisture content (MC), concrete relative humidity (RH), temperature, or a mix of these. Some are embedded and left in place, others are placed temporarily, and some stream data to a phone or hub.
What they aren’t is a magic pass that replaces required test methods in a spec or warranty. Think of sensors like a smoke detector, it’s there to warn you early. Moisture testing is more like a full inspection report.
In practice, sensors help answer questions you can’t solve with a single snapshot reading:
- Is the slab still drying after HVAC starts cycling?
- Is a crawlspace moisture issue seasonal?
- Did a small plumbing leak wet the subfloor for days before anyone noticed?
How subfloor moisture sensors work (common types you’ll see)
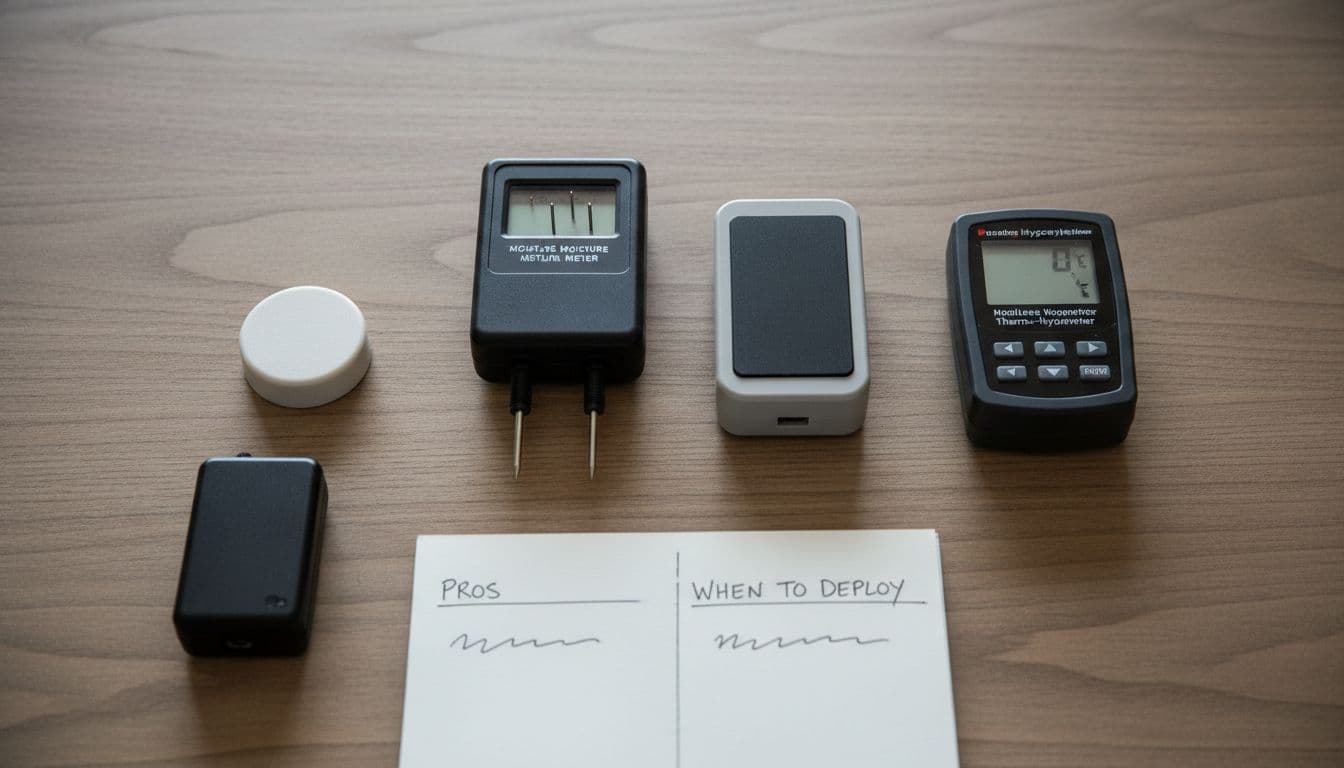
Sensor systems vary a lot, but most fall into three buckets.
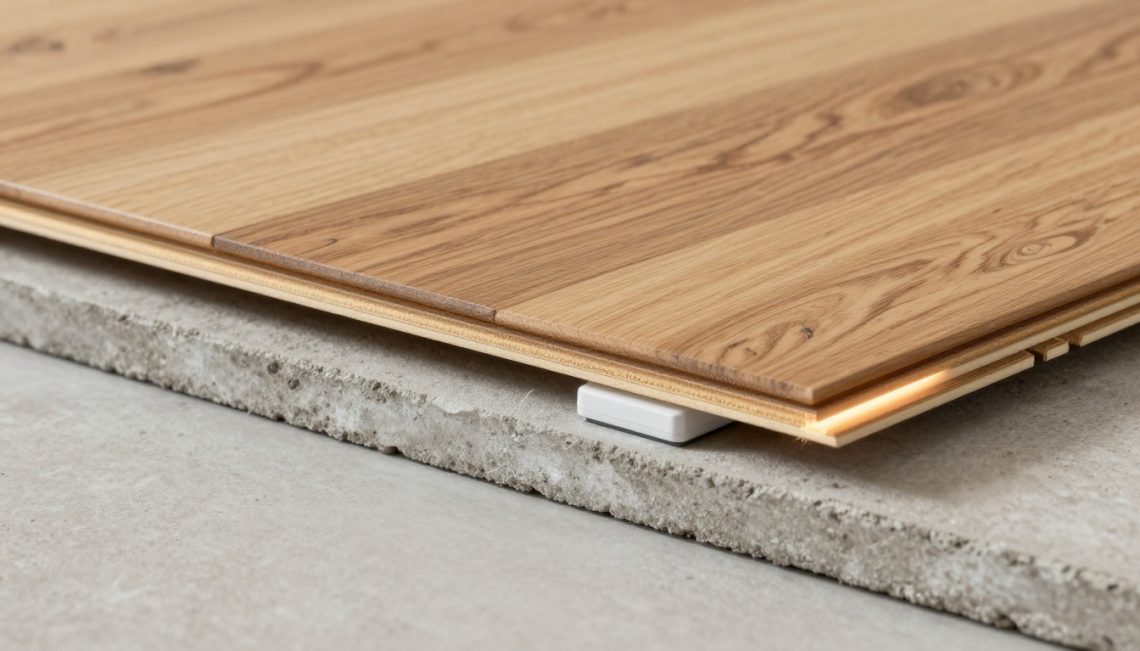
Embedded “leave-behind” sensors
These are installed in or on the subfloor (wood or concrete adjacent assemblies) and monitor conditions over time. Many are wireless and log readings at intervals.
Best fit: long projects, high-risk sites, and any space where conditions change after you leave.
Handheld meters used as sensors (spot checks)
Pin-type or pinless meters can act like a sensor in the moment, but they’re not continuous. They’re still useful because they’re fast, portable, and familiar.
Best fit: estimating risk during demo, verifying dry-down progress, or validating what a monitoring system reports.
For a practical refresher on wood and subfloor moisture checks before hardwood work, see this walkthrough from Floor Trends: How to Moisture Test Hardwood and Subfloor for Hardwood Installation.
In-slab RH probes and related systems
When you’re on concrete, the conversation often shifts to in-situ RH testing. Many crews use probes for compliance, then add monitoring to keep an eye on conditions until install.
If you need a standards-focused reference for concrete testing expectations, MFMA’s guidance is a solid baseline: Concrete Moisture Testing Recommendation.
The real-world pros of subfloor moisture sensors
Earlier warnings, fewer surprise callbacks
Continuous monitoring catches “new moisture,” not just “existing moisture.” That matters when a building is still stabilizing, or when trades are still running water and HVAC.
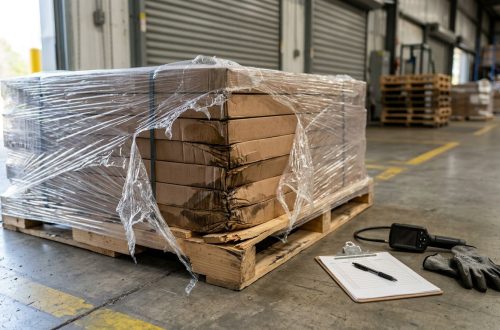
Better documentation for tough conversations
In the flooring business, the argument isn’t always about what happened, it’s about what can be proven. Time-stamped logs can support decisions like delaying install, adding mitigation, or adjusting acclimation.
Fits where the market is going
A lot of current flooring trends lean practical: waterproof rigid core, pet-friendly finishes, and warm wood visuals that still need stable conditions to perform. At the same time, smart home expectations are rising, including sensors hidden under the floor to flag issues early.
That mix of style and function shows up in both consumer-focused reports and flooring industry news coverage. The newest flooring products and trends may look tougher on the surface, but moisture below the surface still wins if it’s ignored.
Helps on complicated assemblies
Radiant heat, sleepers, thick underlayments, sound mats, and floating systems can all hide moisture movement. A sensor doesn’t solve the design, but it helps you see the change before the finish shows it.
The cons (and the mistakes that make them worse)
Cost and coordination
Sensors add material cost, labor, and sometimes subscriptions. They also add one more coordination point with the GC or owner, especially if you’re leaving hardware in place.
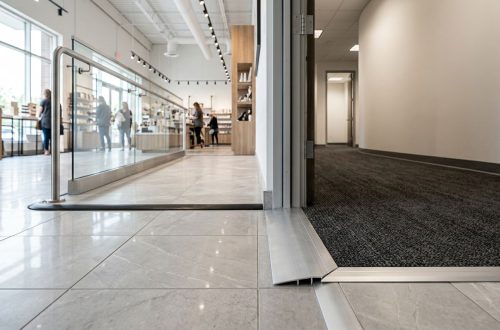
Placement can mislead you
A sensor installed in a “safe” spot can give a false sense of security. Moisture problems are often localized, near exterior walls, plumbing runs, door thresholds, slab cracks, or low crawlspace zones.
Data isn’t the same as decisions
Sensors produce numbers. They don’t tell you if an adhesive warranty is satisfied, or if the slab meets the flooring manufacturer’s limits. Treat sensor data as a signal, then confirm with the required method.
A good overview of concrete testing options and tool selection is here: Your Essential Guide to Using and Choosing Concrete Moisture Meters.
False alarms (and ignored alarms)
If alerts aren’t set up right, you’ll get noise. If alerts are too strict, people start ignoring them. Either way, the system loses trust fast.
When to deploy subfloor moisture sensors (the “use them here” list)
Subfloor moisture sensors earn their keep in predictable situations, not as a default on every job.
New concrete, fast schedules, or late-start HVAC
New slabs can keep moving in moisture for weeks, even when the surface feels dry. If install dates are fixed and the building is still coming online, monitoring can show whether the trend is improving or stalling.
Basements, slabs-on-grade, and known wet sites
If the site has a history (high water table, past flooding, poor drainage), a single test day doesn’t tell the full story. Monitoring helps you see cycles after rain events and seasonal swings.
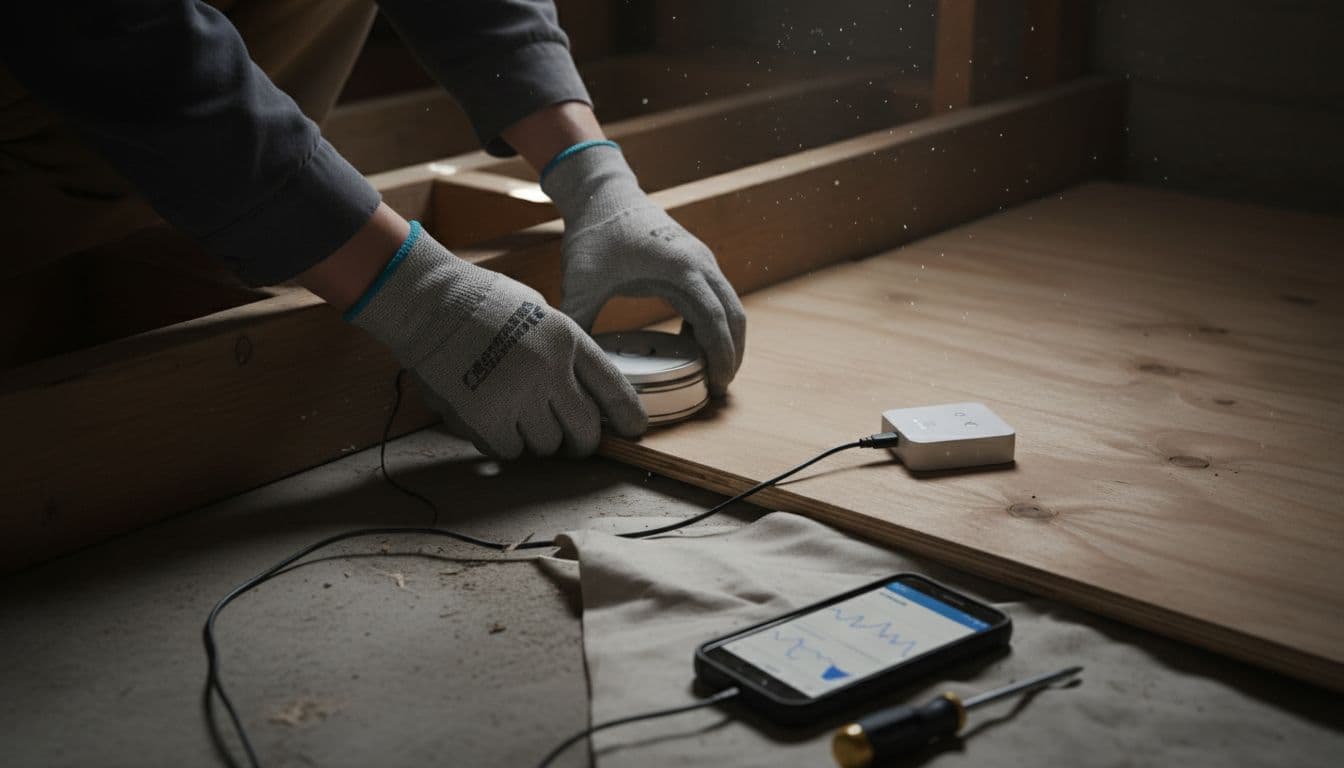
Crawlspaces and wood-framed subfloors
Crawlspaces change with weather, venting, and ground cover conditions. A sensor placed near the worst area can warn you before a wood subfloor climbs into risky MC ranges.
Moisture-sensitive finishes (wood, some laminates, and certain adhesives)
Wide planks and long boards look great, but they can show movement faster. Many crews are pairing “better-looking” installs with new flooring techniques like tighter moisture control, more detailed acclimation plans, and data logs that prove conditions were stable.
Commercial turnovers where you won’t be on site every day
If the building stays active after hours, a sensor can catch events you’d never see in a morning walk-through, like overnight cleaning water, small supply line leaks, or HVAC setbacks.
How to make sensors pay off (without overcomplicating the job)
Keep it simple and repeatable:
Start with a risk map: mark exterior walls, plumbing, entries, low points, and known crack lines. Put sensors where failure is most likely, not where install is easiest.
Pair sensors with standard tests: sensors track change, tests confirm readiness. Use both, and write it into your closeout notes.
Agree on who gets alerts: installer, GC, owner, or all three. Decide what happens when readings cross a line.
Store records like job photos: sensors are part of your documentation package now, right beside moisture test logs and site conditions photos.
Why sensors are showing up more in 2026 flooring conversations
This isn’t happening in a vacuum. Across the industry, measurement and verification are becoming normal. Recent flooring news includes manufacturers developing better chemical detection methods for manufacturing inputs, and trade groups expanding education schedules for installers and contractors. The common thread is accountability, from flooring factories to jobsite conditions.
For contractors, that shift is practical. When clients ask for durable, low-maintenance floors, you need the subfloor to match the promise.
Conclusion
Subfloor moisture sensors don’t replace good prep, but they make hidden risk harder to ignore. The upside is earlier warnings, stronger documentation, and fewer expensive surprises after install. The downside is cost and misuse, especially poor placement and treating data like a warranty pass. Use sensors where conditions change over time, and where your reputation can’t afford a moisture guess.